What’s the Best Way to Clean Your Immersion Blender?
Sure, you could always throw your immersion blender into the dishwasher and pray to the kitchen gods for a miracle, but let's face it, that's hardly the best approach. You've just whipped up a culinary masterpiece, and now you're left staring down the barrel of your blender, wondering how to tackle the aftermath without it becoming a science project.
The secret lies in the immediate detachment and a quick rinse, but there's more to it than meets the eye. Stick around, and you'll discover a few tricks that'll turn this dreaded chore into a breeze, ensuring your handy tool remains in top-notch condition for your next culinary adventure.
Immediate Detachment and Rinse
To ensure your immersion blender's longevity, immediately detach the blending shaft from the motor unit and give it a quick rinse under hot water after use. This simple step is crucial in preventing food residue buildup, which can be a hassle to clean if left to harden. By doing so, you're not just making your cleaning routine easier but also protecting your blender from potential damage.
When you're done blending, it's tempting to just leave the cleanup for later. However, the longer food particles sit on the blender's blades and shaft, the harder they become to remove. A prompt rinse under hot water ensures that these particles are washed away before they've the chance to stick. This doesn't just apply to the blades; make sure you're rinsing the entire shaft to keep every nook and cranny clean.
Soap Blending Technique

Now that you've detached and rinsed your immersion blender, it's time to focus on the soap blending technique. This process involves basic steps using soap and water to ensure your appliance isn't just visually clean but hygienically safe for your next use.
We'll cover quick clean-up tips and highlight safety precautions to keep in mind, making maintenance both efficient and effective.
Soap and Water Basics
For a quick and effective clean, fill a container with warm, soapy water and submerge your immersion blender's wand. This simple step is crucial in loosening any stuck-on food particles, ensuring a thorough cleaning process.
- Gently rub off food residue from the blender using a soft sponge or cloth. This action helps in dislodging particles from the blades without causing damage.
- Rinse the immersion blender under running water to remove soap and food remnants. It's important to ensure that all soap suds are washed away to avoid any soapy taste in future uses.
- Dry the blender thoroughly, including the blending wand, before storing. This step prevents mold or mildew growth, keeping your blender safe and hygienic for its next use.
Immersion Blender Safety
After mastering the basics of cleaning your immersion blender with soap and water, let's ensure you're also keeping safety in mind, especially when employing the soap blending technique.
To effectively clean an immersion blender, fill a container with warm soapy water and immerse the blender. Running it for 10-20 seconds helps dislodge food particles from the blades. However, it's crucial to avoid getting water near the electrical components. Always handle the blades with care to avoid accidents.
After using the soap blending method, rinse the blender under running water to remove any soap residue. Remember, not all parts may be dishwasher safe, so check the manufacturer's instructions. This way, you ensure your immersion blender is clean and safe for its next use.
Quick Clean-up Tips
To swiftly and effectively clean your immersion blender, fill a tall glass with warm soapy water and immerse the device, running it for 10-20 seconds. This soap blending technique ensures you clean the blades thoroughly without much hassle.
If there's still food stuck, don't fret. Follow these steps:
- Repeat the process with hot water and more soap if necessary until the blades sparkle.
- Ensure the blender is unplugged before you submerge the blending end or dry it to avoid any mishaps.
- Dry the blender back with a paper or kitchen towel right away to prevent water spots and bacterial growth.
Getting your blender back to its pristine condition is that simple. Plus, you'll be ready to blend again in no time!
Scrub Brush Method

When tackling tough residue on your immersion blender, a gentle-bristled scrub brush can be your best ally. Stubborn residue, often a byproduct of frequent use, can cling to the blades and shaft, compromising the blender's efficiency. By opting for a scrub brush with soft bristles, you're making a choice that's not only effective at removing these pesky particles but also safe for the blender's delicate components.
The scrub brush method is particularly recommended for a deep clean. It's the perfect solution for reaching those hard-to-reach areas where food residue buildup tends to hide. Simply dip your blender's shaft and blades under warm soapy water, and gently scrub away any lingering particles. This process ensures that every nook and cranny is addressed, maintaining the cleanliness and hygiene of your immersion blender after each use.
Incorporating this cleaning technique into your routine isn't just about hygiene; it's also about preserving your appliance's optimal performance. Regular removal of food particles prevents them from hardening or clogging the mechanism, ensuring your immersion blender runs smoothly for longer. So, next time you're done blending, reach for that scrub brush—it's a small step that makes a big difference.
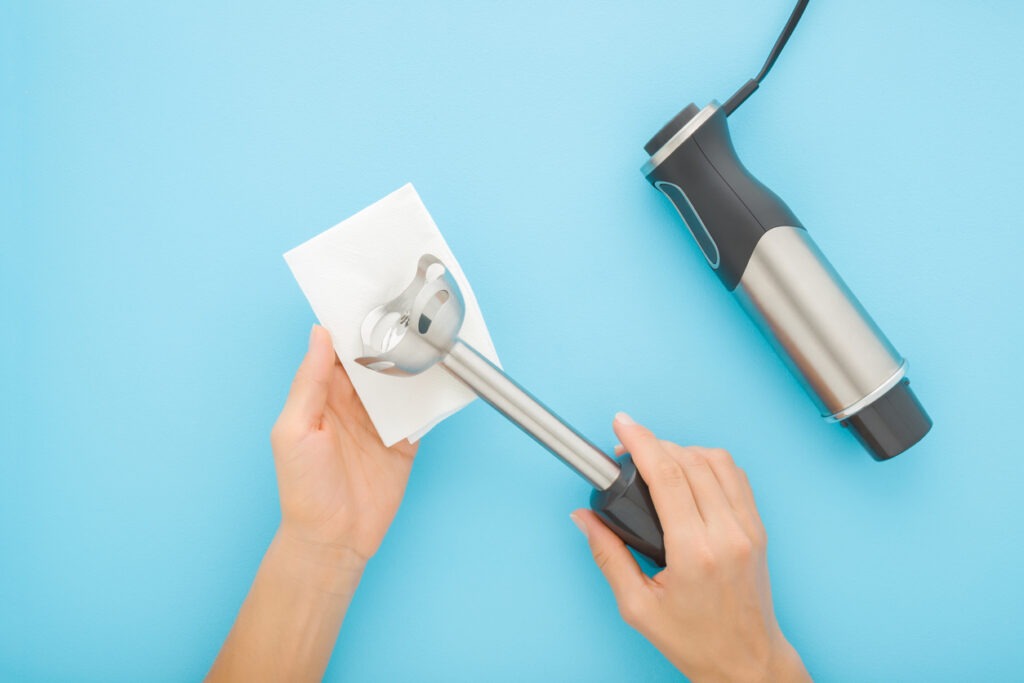
Disassembling the Blender
Before you start cleaning your immersion blender, it's essential to safely disassemble it. You'll need to twist the blending arm counterclockwise or use the release button to detach the blade, depending on your model.
Following the manufacturer's step-by-step guide ensures you won't damage the unit and allows for a thorough clean.
Safety First
Always unplug your immersion blender first to ensure a safe start to the cleaning process. When it comes to cleaning an immersion blender, disassembling it correctly is key to avoiding any mishaps. Here are three steps to follow:
- Twist the blending arm counterclockwise to separate it from the motor body. This step is crucial for accessing hard-to-reach areas that need cleaning.
- Check for a release button or latch that allows you to detach the blade assembly. This ensures you can clean every nook and cranny thoroughly.
- Ensure all parts are cool before you start to disassemble. Handling parts that are too hot can lead to burns.
Adhering to these safety protocols not only protects you but also ensures your immersion blender is cleaned effectively and remains in good condition.
Step-by-Step Guide
To start disassembling your immersion blender, first twist the blending arm counterclockwise to detach it from the motor body. This initial step is crucial to clean the blender effectively.
Next, look for a release button or latch to carefully detach the blade. This allows you access to hidden areas where food residue often accumulates. Properly disassembling the blender isn't just about cleanliness; it ensures thorough cleaning and maintenance, keeping your appliance in top shape.
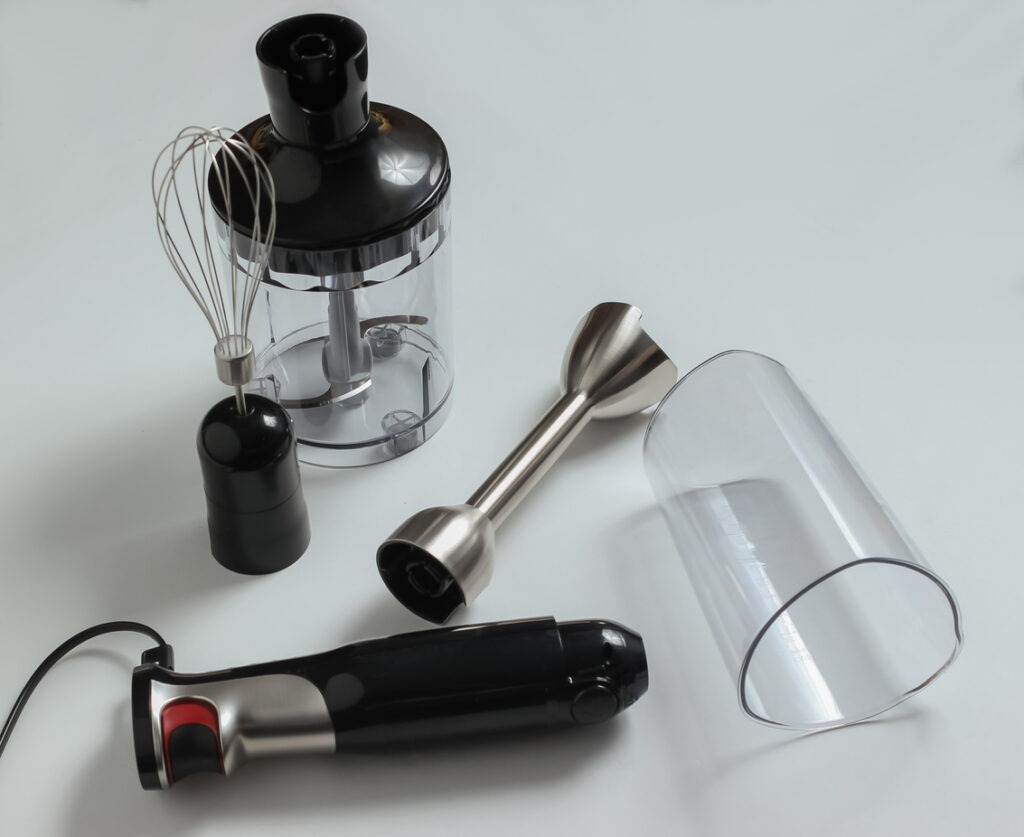
Deep Cleaning Components
For a truly thorough clean, start by detaching the blending arm and blade from your immersion blender. This is a crucial step in ensuring that your hand blender remains in optimal condition. Once you've managed to detach the blending arm, you're ready to move on to the next steps for a deep clean.
Here's how to proceed:
- Soak in Warm Soapy Water: Place the detached parts into a bowl of warm water mixed with dish soap. This will help loosen any stubborn food residue that's clinging to your immersion blender. Let them soak for a few minutes to ensure the residue softens up.
- Use a Soft Sponge or Brush: After soaking, take a soft sponge or brush and gently scrub the blending arm and blade. This will help remove any remaining food particles without scratching or damaging the parts.
- Ensure All Parts Are Dry: It's vital to make sure every component is completely dry before you think about reassembling your hand blender. This prevents moisture from causing any damage or mold growth.
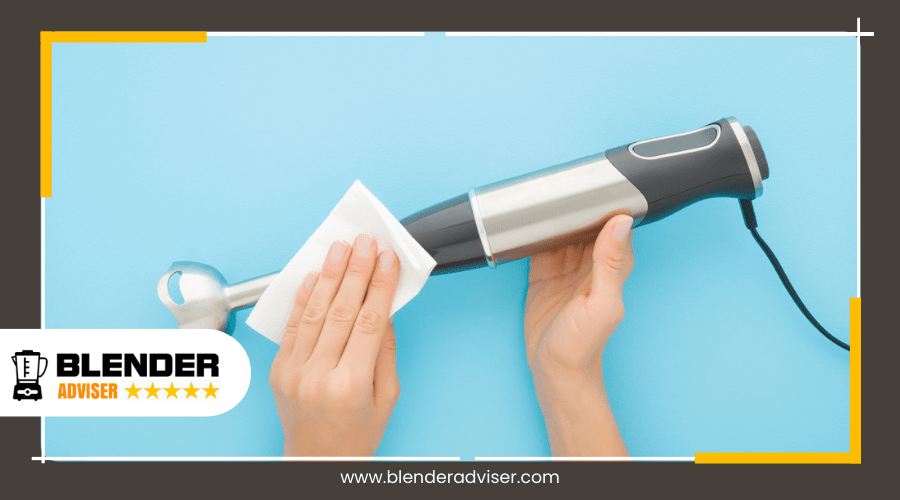
Drying and Reassembly
Once you've ensured all parts are thoroughly cleaned, it's crucial to dry them completely before reassembly to prevent any potential mold or mildew issues.
After rinsing the components with warm water and dish soap, grab a clean, lint-free cloth to start the drying process. Make sure the blender wand and any attachments are dried meticulously, paying close attention to water spots or residual moisture, especially around the blades and motor unit. A damp cloth can be handy to wipe off any leftover white vinegar solution, ensuring it's completely dry before moving on.
If you find any hard-to-reach spots, use a toothpick to gently remove any remaining debris or moisture. This can be especially useful in crevices around the blade.
Once every part is confirmed to be completely dry, you're ready to reassemble the immersion blender. Remember to put it back together in the reverse order of disassembly to guarantee everything aligns correctly and functions as expected.
Storage and Maintenance Tips
Properly storing your immersion blender in a clean, dry area is crucial for preventing mold and ensuring its longevity. After you've taken the time to clean your immersion blender thoroughly, the next step is to ensure it's stored properly to avoid any damage or decrease in performance over time. Here are a few tips to keep your blender in tip-top shape:
- Make sure all parts are completely dry before storage. Moisture is the enemy of your blender's components, leading to rust and damage. After cleaning, give each piece enough time to air dry or pat them down with a clean towel.
- Keep attachments together. This not only helps in maintaining organization but also prevents the frustration of misplacing parts when you need them the most. Consider using a storage bag or container designated for your immersion blender and its accessories.
- Regularly inspect and perform maintenance. It's not just about where you store your blender, but also how you keep it. Regular inspections for cleanliness and wear can help you address any maintenance needs promptly, ensuring your immersion blender remains in perfect working condition.
Conclusion
So, you've got the scoop on keeping your immersion blender in tip-top shape. Remember, right after use, detach and give it a quick rinse. Don't shy away from that soap blending trick for a thorough clean, and a scrub brush can tackle any stubborn bits. Disassemble for a deeper clean when needed, and always dry before reassembling.
Store it properly and stick to regular maintenance. With these steps, your blender will stay ready for whatever recipe you've got up your sleeve.