What to Do When My Blender Is Leaking?

Imagine you're in the middle of blending your favorite smoothie, and you notice a puddle forming beneath your blender. It's frustrating, isn't it? If your blender's leaking, the first step is pinpointing where the leak's coming from - be it the top or bottom. This could mean anything from a simple fix like tightening the base or replacing a worn-out seal, to adjusting how you fill your blender.
But what if the solution isn't that straightforward? Stick around, and let's explore some lesser-known tips and tricks that could save your blender, and your smoothies, from a watery fate.
Identifying the Leak Source
To effectively fix a leaking blender, first, you'll need to pinpoint where the leak is coming from. If you notice the leak at the top of the blender goblet, it's likely due to overfilling. However, if the leak originates from the bottom, the problem might lie with the base or the rubber seal. This distinction is crucial because the steps you'll take to address the issue depend on its source.
When the leak is from the bottom, closely inspect both the blade assembly and the seal. The seal, a crucial component for maintaining water-tightness, could be damaged or worn out, leading to leaks. It's not just about the seal, though. The base of the blender, where the blade assembly is mounted, must be tight and secure. A loose base can cause leaks, compromising the blender's functionality.
If you discover that the seal is indeed damaged, replacing it's your best bet to stop the leak. Ensuring the base is tightened properly will also help prevent future leaks. Addressing these areas is essential for maintaining your blender's performance and longevity.
Inspecting the Gasket

After identifying the source of your blender's leak, it's crucial to inspect the gasket. You'll need to look for signs of wear, such as cracks or misalignment, and understand the importance of proper maintenance. If you find any damage, replacing the gasket with one suited for your model will effectively stop the leak.
Identify Gasket Wear Signs
Identifying signs of wear, such as cracks or misalignment on your blender's gasket, is crucial in preventing leaks. The rubber seal, that thin yet vital component, can be the culprit behind those frustrating blender leaks. Inspecting it closely, you might find cracks radiating from the center or edges, a telltale sign that it's time for a replacement. Moreover, visible tears or deformities on the gasket significantly compromise its sealing ability, letting liquids escape.
Ensure the seal is properly aligned with the blender jar and blade assembly; even a slight misalignment can lead to leaks. Remember, promptly replacing a damaged or deteriorated gasket not only stops leaks but also extends the life of your blender.
Regular checks are your best defense against unexpected kitchen mishaps.
Proper Gasket Maintenance Tips
Having learned how to spot signs of wear and tear on your blender's gasket, let's now focus on how best to maintain it for optimal performance and longevity. Inspecting the gasket for wear, cracks, or misalignment is crucial to ensure it creates a watertight seal. This simple step can prevent leaks between the blender jar and blade assembly, extending your blender's lifespan and ensuring efficient blending.
| Maintenance Tip | Benefit |
|---|---|
| Inspect for wear | Prevents leaks |
| Check for cracks | Ensures a watertight seal |
| Note misalignment | Avoids inefficient blending |
| Replace if damaged | Extends blender's lifespan |
Regularly checking and replacing the gasket when needed helps avoid potential leakage issues, keeping your blender in top condition.
Replacing a Faulty Gasket
Once you've noticed signs of wear or damage on your blender's gasket, it's crucial to replace it promptly to prevent leaks. Inspecting the rubber gasket for any cracks, wear, or misalignment is key to determining if it's the culprit behind your blender leaking. Look closely for any signs of damage that may be leading to leaks.
A faulty gasket is often at the heart of blender leakage issues. Ensuring your gasket is properly aligned and in good condition is essential for maintaining a watertight seal. Replacing a damaged or worn-out gasket can effectively stop the leaks and prevent future ones, keeping your blender running smoothly without any messy surprises.
Blade Assembly Check
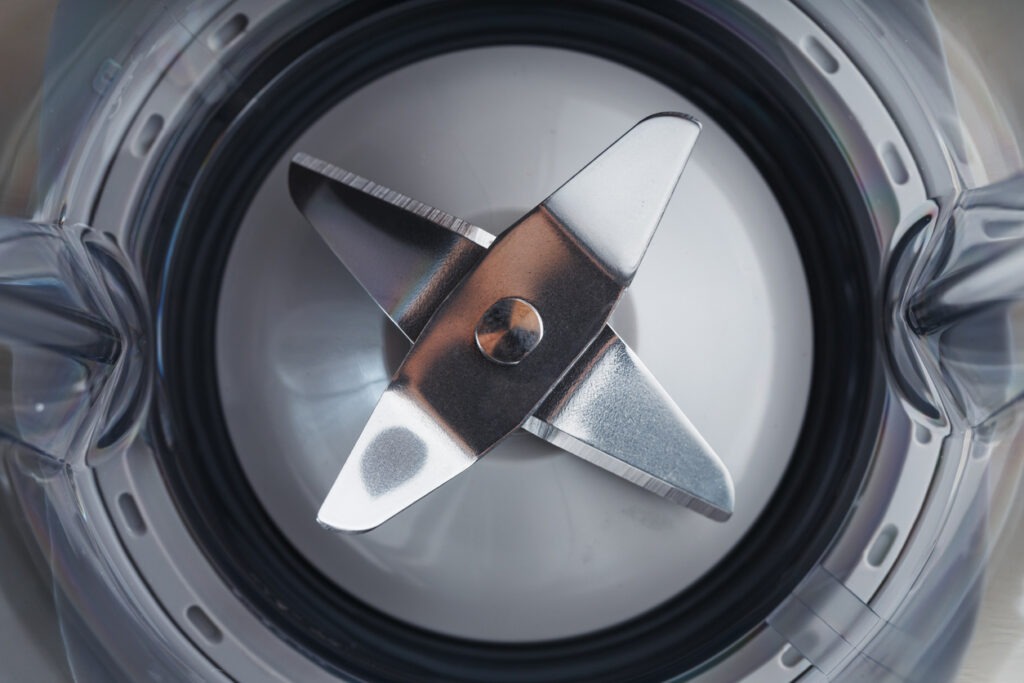
Before using your blender, it's crucial to check the blade assembly for any signs of damage, looseness, or misalignment to prevent leaks. This step can't be overlooked because even a slight issue with the blade assembly could be the root cause of your blender leaking. When you inspect the blade assembly, look out for any wear and tear that might contribute to leakage. It's not just about spotting the obvious damage; sometimes, the signs of wear are subtle yet significant.
Ensure the blade assembly is securely attached to the blender. A loose blade assembly isn't just a leak hazard; it can also affect your blender's performance and potentially cause more serious damage down the line. If you find any part of the blade assembly damaged or faulty, replace it promptly. Operating your blender with compromised parts will only lead to more problems.
Examining the Blender Jar
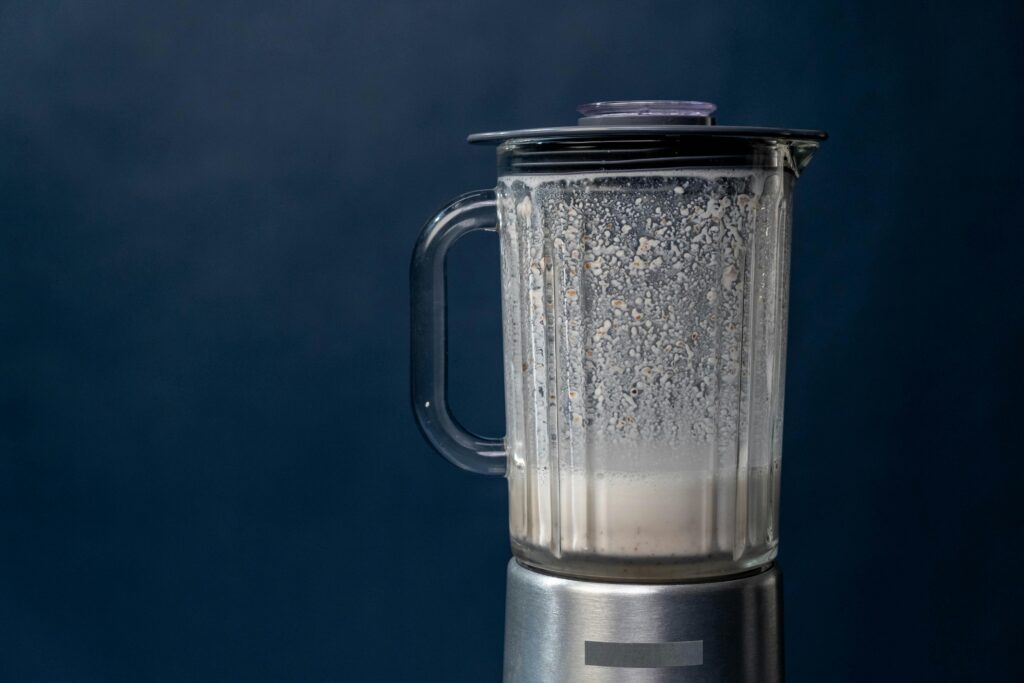
After ensuring the blade assembly is secure and undamaged, it's essential to turn your attention to the blender jar itself. Begin by checking the jar for any cracks, damage, or misalignment. Even the smallest crack can lead to your blender leaking from the bottom, especially when it's working hard to blend your ingredients.
Next, make sure the blender jar is securely attached to the motor base. A loose connection can often be the culprit behind leaks. It's not just about the tightness; alignment plays a crucial role as well. Misalignment can cause uneven pressure and, eventually, leaks.
Cleaning the blender jar thoroughly is another critical step. Residue or buildup, especially around the gasket or seal, can prevent a tight seal, leading to leaks. After cleaning, inspect the rubber seal or gasket closely for any signs of wear or damage. A worn-out seal is often a direct cause of leaks.
Adjusting Ingredient Quantities

To prevent your blender from leaking, it's crucial to measure and adjust ingredient quantities accurately, ensuring they don't exceed the jar's capacity. Overfilling the blender jar not only risks a messy cleanup but can also strain the blade assembly and push against a faulty gasket, leading to leaks. It's vital to leave enough space in the jar to accommodate the expansion of ingredients as they blend, which helps in maintaining the integrity of the seal and prevents pressure from building up to a point where leakage might occur.
Following the blender manufacturer's recommended guidelines on ingredient levels is a straightforward way to minimize the risk of leakage. These guidelines are designed to ensure that the blender operates within its optimal conditions, safeguarding against overfilling and ensuring a smooth blending process. Making adjustments based on the specific capacity of your blender's jar will aid in achieving the perfect blend without the worry of leaks. Remember, a little space can make a big difference in preventing leaks and ensuring the longevity of your blender.
Monitoring Heat and Pressure
When you're looking to keep your blender in top shape, paying attention to the heat and pressure it's under is key. You'll need to manage temperatures wisely, especially when blending hot ingredients, to prevent any chance of pressure build-up. This careful monitoring can significantly reduce the risk of leaks, ensuring your blender lasts longer and performs better.
Manage Temperature Wisely
Managing the temperature and pressure within your blender is crucial to prevent leaks and ensure its longevity. If your blender is leaking, a good first step is to check if the blade assembly is properly tightened and then consider the temperature of ingredients you're blending.
Here are some tips to help you manage wisely:
- Avoid blending hot ingredients directly from the stovetop; let them cool slightly first.
- Monitor the temperature of ingredients before blending to ensure they're not too hot.
- Use appropriate settings on your blender to maintain a balance between heat and pressure, avoiding unnecessary stress on the seals.
Pressure Build-up Prevention
After checking the blade assembly and cooling your ingredients, it's equally important to monitor heat and pressure to prevent your blender from leaking. Avoid blending hot ingredients directly, as this can cause pressure build-up leading to leaks. Be mindful of the heat levels; excessive pressure from too much heat is a common cause for concern. Always test your blender for appropriate heat resistance to sidestep pressure-related issues. Following the manufacturer's guidelines on managing heat and pressure is crucial.
| Strategy | Benefit |
|---|---|
| Cool Ingredients | Reduces risk of pressure build-up |
| Monitor Heat Levels | Prevents excessive pressure |
| Test Heat Resistance | Avoids pressure-related issues |
| Follow Guidelines | Ensures proper pressure management |
| Monitor Temperature | Prevents unexpected leaks |
Replacing Worn Parts
To fix a leaking blender, first identify and replace the specific worn part, such as a damaged gasket or cracked jar. It's crucial to pinpoint the exact cause of the leak, which often stems from a loose blade assembly, a deteriorated rubber ring, or a jar that has developed cracks over time. Once you've determined the culprit, the next steps are relatively straightforward but essential for getting your blender back to its optimal state.
- Purchase the exact replacement part from the manufacturer or authorized dealers to ensure compatibility and avoid further issues.
- Follow the manufacturer's instructions or consult a reliable guide to safely replace the worn part in your blender. This step is vital to ensure you don't accidentally damage your blender further.
- Test the blender after replacing the worn part to make sure the leak has been effectively resolved. This not only confirms the success of your repair but also reassures you that your blender is ready for use once again.
Regularly inspecting and maintaining all parts of your blender can prevent future leaks and maximize its lifespan, keeping it running smoothly for years to come.
Tightening Loose Components
If your blender's leaking, one effective step you can take is to check and tighten any loose components. Start by ensuring the blender base is securely fastened to the jar. This might seem basic, but it's often overlooked and can be the root cause of leaks. Next, inspect the rubber seal or gasket. It's crucial for maintaining a tight seal and preventing leaks, but if it's misaligned, cracked, or damaged, it won't do its job properly.
Don't forget to tighten any loose blade assemblies. These need to be properly sealed to the jar to prevent leakage. A loose blade assembly is a common culprit for leaks, so making sure it's tightly fastened can often solve the problem.
Additionally, check the blender jar itself for any cracks or damage. Even a small crack can lead to significant leaks during operation. Ensure all components are properly aligned and assembled. Misalignment can lead to gaps through which liquids can escape, undermining the blender's performance.
Preventive Maintenance Tips

While tightening loose components is a crucial step in addressing leaks, incorporating preventive maintenance tips can significantly enhance your blender's longevity and performance. Taking care of your blender isn't just about fixing problems as they arise; it's also about preventing them from happening in the first place. Here are a few key strategies to keep your appliance in top shape and prevent leaks:
- Regularly inspect and replace any worn or damaged gaskets. These small, but critical, parts ensure a tight seal between the blender jar and the base, preventing leaks.
- Make sure the blade assembly is properly aligned and securely attached. A loose or misaligned blade assembly is a common culprit for leaks, as it can allow liquids to seep through the gaps.
- Clean and maintain the blender jar to prevent cracks or damage. A well-maintained jar is less likely to develop issues that could lead to leaks. Additionally, avoid overfilling the jar and follow recommended ingredient levels to minimize the risk of leaks.
Conclusion
In summary, if you're facing leaks with your blender, first pinpoint where it's coming from. Check the gasket and blade assembly for any wear or damage, and ensure the blender jar is intact. Adjust your ingredient quantities to avoid overfills and monitor heat and pressure during use. Replace any worn parts immediately, and don't forget to tighten any loose components.
Regular maintenance is your best bet to prevent future leaks, keeping your blender in top shape for years to come.
Related posts