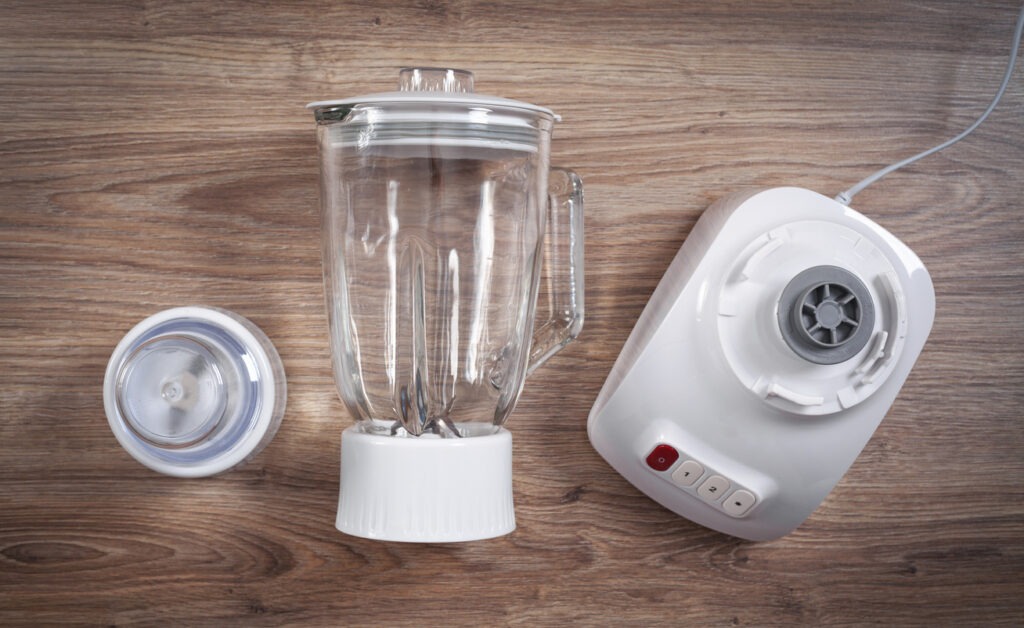
What Are the Parts of a Blender?
Just as a symphony relies on the harmony of its various instruments, a blender's performance is contingent upon the seamless operation of its components. You've probably used this kitchen staple without giving much thought to its inner workings. Yet, understanding the roles of the jar, blade assembly, motor base, and even the seemingly insignificant gasket seal can elevate your blending game.
These parts, when correctly assembled and maintained, work in concert to produce everything from smoothies to soups with ease. So, why should you care about getting to know these elements better? Well, it could be the key to unlocking new culinary adventures and ensuring your blender's longevity.
Blender Jar
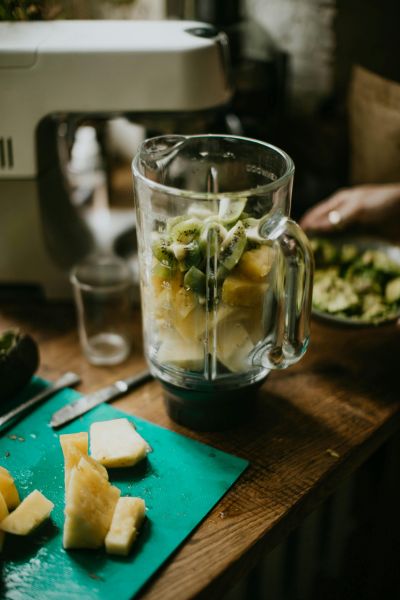
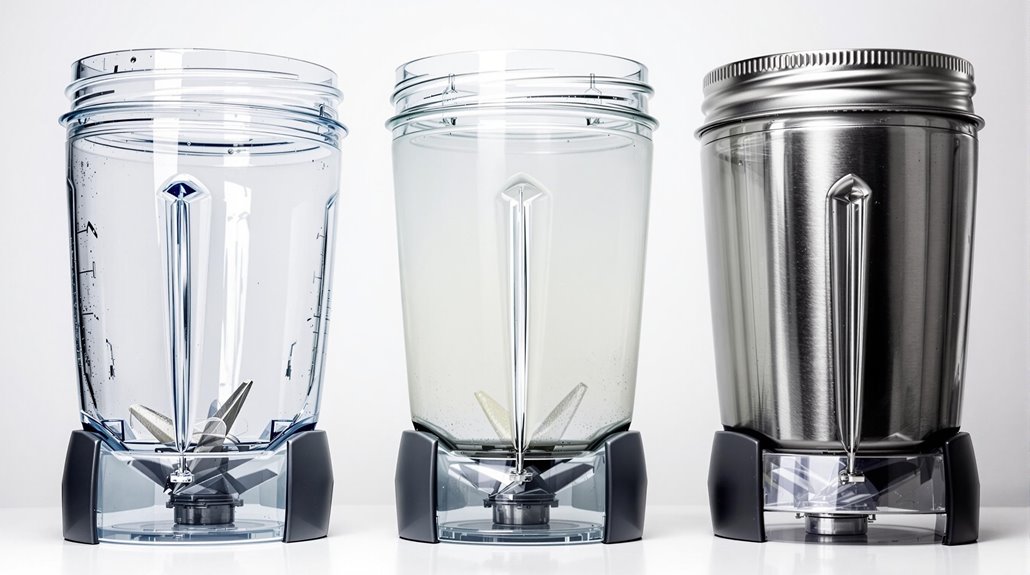
The blender jar, a crucial component, is where you'll add ingredients for blending and is available in materials like glass, plastic, or metal. This versatility ensures you've got options to match your preferences, whether it's the durability of glass, the lightweight nature of plastic, or the sleek look of metal. It's designed to sit snugly on the main base of your blender, with an open bottom that allows for easy access to the blades. This setup is essential for the blending process, enabling the blades to whirl and chop your ingredients into the desired consistency.
Now, let's talk about the jar base. It plays a pivotal role in keeping your blender stable and secure during operation. The design of the jar base ensures a tight fit onto the blender's motor base, preventing any wobbling or movement that could lead to spills or uneven blending. It's this connection between the jar and the base that transforms your added ingredients into smoothies, soups, or whatever you're whipping up. Always make sure the jar is correctly aligned and locked in place before starting your blender to ensure a smooth and efficient blending experience.
Jar Lid
Your blender's jar lid is essential for keeping everything inside while you blend, featuring a design that often includes a rubber stopper to ensure a tight seal. This lid, typically made of durable materials like plastic or glass, plays a critical role in your blending experience. It's not just a simple cover; it's your first line of defense against spills and splatters that can occur during the blending process. The rubber stopper, a key feature of the lid, works tirelessly to maintain an airtight seal on the jar. This seal is what keeps your ingredients securely inside, preventing any leakage that could turn your kitchen counter into a mess.
Moreover, the lid is ingeniously designed to support the addition of ingredients mid-blend. You won't have to remove the entire lid just to add another banana or a splash more milk to your smoothie. This functionality ensures that your blending process is as smooth and uninterrupted as possible. In essence, the lid isn't just a top for your blender jar—it's an integral component that enhances both the safety and efficiency of your blending.
Lid Center Cap
Building on the jar lid's importance, let's focus on its central feature: the lid center cap, a small but crucial piece that keeps your blending mess-free and efficient. This tiny plastic component, nestled at the heart of your blender's jar lid, plays a pivotal role in your blending experience. It's not just there to fill a gap; it's there to enhance your blender's functionality and versatility.
The lid center cap ensures that your liquids stay inside the jar, preventing any potential spills or splashes that can occur during the blending process. Moreover, its design allows you to add ingredients conveniently while the blender is still running, without having to stop and open the lid fully. This feature is especially useful for recipes that require gradual additions to achieve the perfect texture.
Here's a closer look at why the lid center cap is so essential:
| Feature | Benefit |
|---|---|
| Keeps liquids inside | Prevents spills |
| Convenient addition of ingredients | Enhances functionality |
| Maintains a tight seal | Ensures mess-free blending |
| Small and unobtrusive | Adds to the blender's versatility |
| Easy to remove and clean | Simplifies post-use cleanup |
With the lid center cap, you're not just blending; you're doing it more efficiently and with less cleanup afterwards.
Blade Assembly

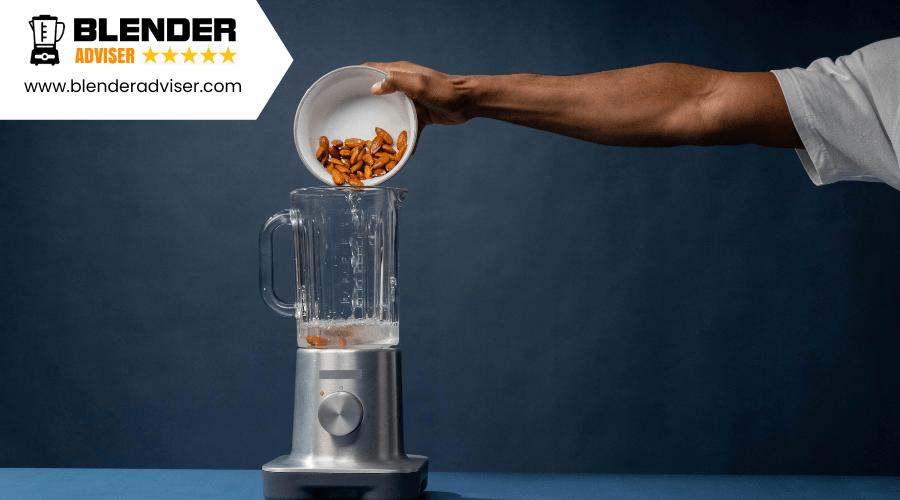
Diving into the heart of your blender, let's examine the blade assembly, a critical component that ensures your ingredients are mixed to perfection. This vital part, usually nestled at the base of the blender jar, consists of stainless steel blades arranged in multiple planes. The design isn't just for show; it's engineered for efficiency. The blade cutter typically boasts four blades with angled ends. These aren't just randomly placed; their design pushes ingredients upward towards the center, ensuring a smooth and even blend.
What keeps these blades securely in place? A bottom screw cap, essential for preventing the blade from detaching during operation. It's a small but crucial component that maintains the integrity of your blending process. Additionally, a rubber drive clutch plays a pivotal role, sitting snugly between the motor and blade assembly. This isn't just filler; it's key to facilitating the blending process, ensuring that your ingredients are perfectly mixed.
Together, the bottom screw cap and the rubber drive clutch ensure the proper alignment and stability of the blades. Without them, the seamless operation you've come to expect from your blender, especially when tackling the contents of the blender jar, wouldn't be possible.
Gasket Seal
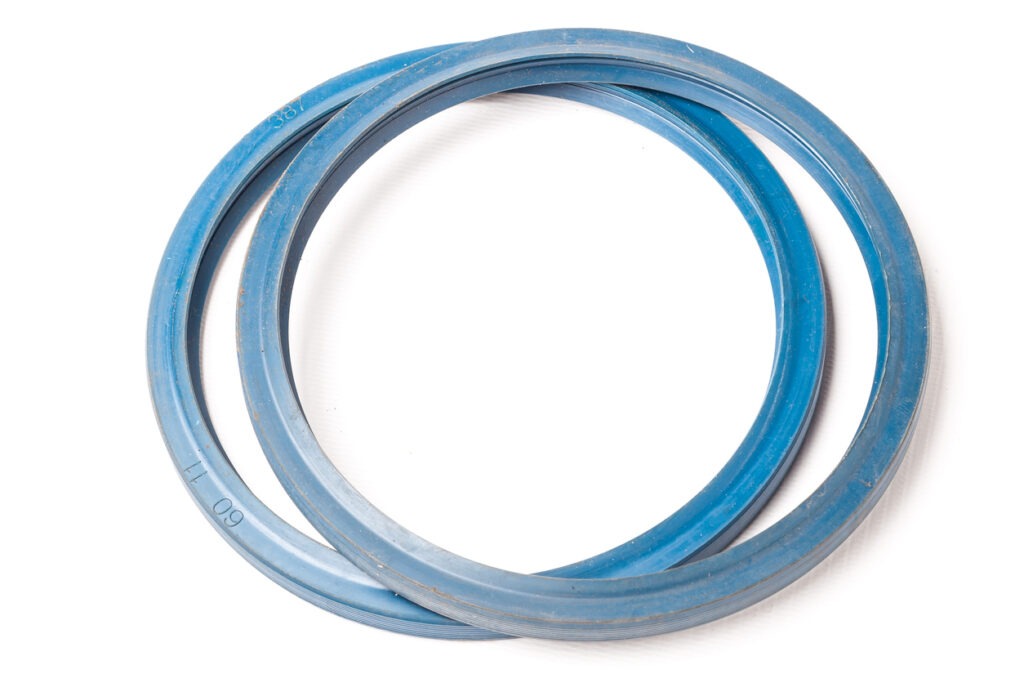
Moving on from the blade assembly, let's focus on the gasket seal, a crucial part that ensures your blender works without a hitch.
You'll need to keep an eye on it for wear and tear, as a damaged seal can cause leaks and affect your blender's performance.
Understanding common issues and how to maintain the gasket seal will save you from unwanted messes and extend your blender's life.
Gasket Seal Maintenance
To ensure your blender continues to operate efficiently, it's crucial to regularly maintain its gasket seal. This seal ring is the unsung hero that keeps your blender running smoothly, preventing leaks and ensuring everything blends perfectly. Without proper care, the seal can wear out, leading to frustrating leaks or even motor damage. Here's a simple guide to help you keep your gasket seal in top shape:
| Do | Don't |
|---|---|
| Inspect regularly | Ignore leaks |
| Clean after each use | Use harsh chemicals |
| Replace when worn out | Over-tighten |
| Purchase correct size | Use damaged seals |
Common Seal Issues
After exploring how to maintain your blender's gasket seal, let's examine the common issues these seals may face. Gasket seals are crucial for preventing leaks and ensuring a tight seal between the blade assembly and the blender jar. However, they're prone to wear and tear over time, which can lead to leaks during blending.
A damaged or worn gasket seal might let ingredients escape, causing a messy and inefficient blending process. Regularly checking and replacing these seals when they're worn is essential to keep your blender performing optimally and prevent leaks.
Proper maintenance of gasket seals is also vital to avoid contamination and ensure a safe, effective blending experience.
Jar Base
Exploring the blender's jar base reveals its crucial role in securing the blades and ensuring your blending process is both stable and efficient. This round unit, a fundamental among blender parts, screws onto the bottom of the blender jar. Its primary job? To hold the blades securely in place. But it doesn't stop there. It also provides a stable foundation for blending, ensuring that your ingredients are mixed thoroughly and efficiently.
The jar base's importance in the alignment of the blades can't be overstated. When secured onto the main blender base, it ensures that the blades are in the perfect position for whatever you're blending, be it smoothies, soups, or sauces. This alignment is vital for maintaining stability and efficiency during operation.
Made of durable materials like plastic or metal, the jar base is designed to withstand the rigors of daily use. Ensuring that it's properly attached to the blender jar is key to safe and effective blending. Without a well-functioning jar base, your blender's performance could be compromised, leading to less than ideal results. So, always make sure it's securely fastened before starting your blending adventure.
Motor Base
Now, let's turn your attention to the motor base of your blender.
You'll find that the power output varies among models, which affects how well your ingredients are blended.
Additionally, the design and features integrated into the motor base can significantly enhance your blending experience.
Power Output Variation
Understanding the power output variation in blender motor bases is crucial, as it significantly impacts their blending performance. The electric motor within the base drives the entire operation, dictating how well your blender can handle various ingredients. Depending on what you're blending, the power output of your blender's motor base can make a big difference.
- Motor bases range from 300 to 1500 watts, affecting how they blend.
- Higher wattage motors excel at crushing ice and frozen fruits.
- Lower wattage motors are ideal for simpler tasks like smoothies or sauces.
- Variable speed settings offer control over blending intensity.
- The motor base is the heart of the blender, powering the blades for efficient mixing.
Design and Features
How does the design of a blender's motor base enhance your blending experience? The motor base is the heart of your blender, housing the motor that powers the blades to mix ingredients efficiently. Its design provides stability, preventing your blender from moving or tipping during operation. Additionally, the motor base includes controls for adjusting the speed and settings, ensuring you achieve the desired consistency for any blending task. It's an essential component that supports the entire blending process, ensuring smooth and effective blending for various tasks.
| Feature | Benefit |
|---|---|
| Motor Housing | Powers blades efficiently |
| Stability | Prevents movement or tipping |
| Adjustable Controls | Achieves desired consistency |
| Essential Component | Supports entire blending process |
Control Panel
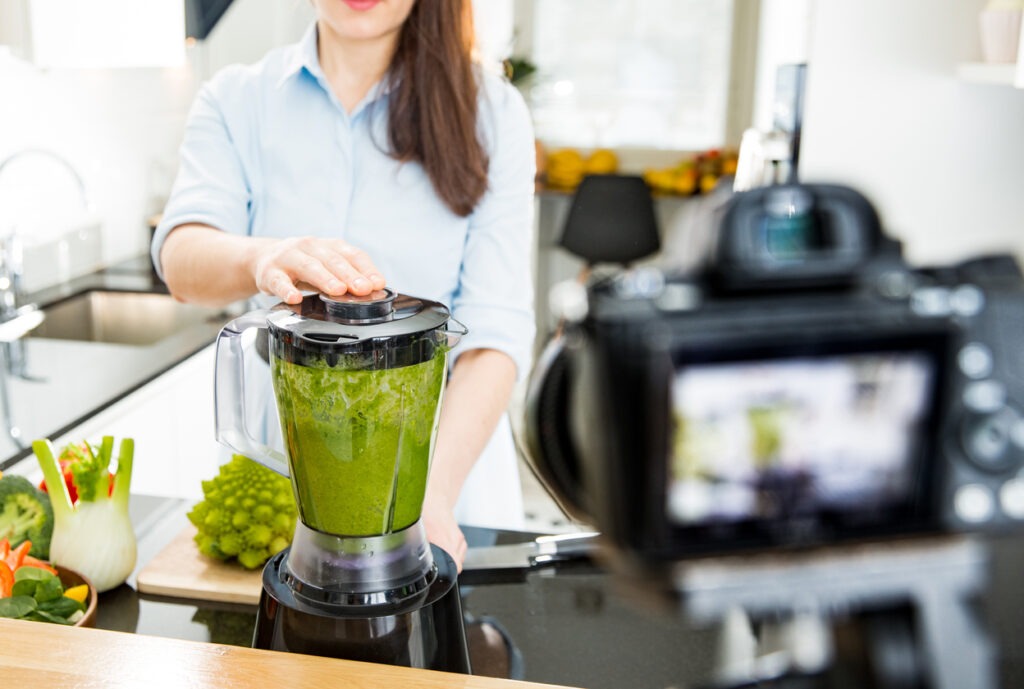
The control panel on your blender, featuring buttons or switches for power, speed settings, and sometimes pre-programmed blending functions, serves as the central hub for all your blending needs. It's where you interact most with your blender, adjusting the machine to perfectly match the task at hand, whether you're making a smoothie, soup, or crushing ice. Some models elevate your blending experience with touchpad controls or digital displays, allowing for more precise operation.
- Power Button: Turns your blender on and off, a straightforward way to start and end your blending sessions.
- Speed Settings: Let you adjust the blade speed, ensuring you can gently mix or powerfully blend ingredients as needed.
- Pre-Programmed Functions: Offer convenience with settings for common tasks like making smoothies or crushing ice.
- Safety Features: Including overload protection and automatic shut-off, keep you and your blender safe during operation.
- Digital Displays/Touchpad Controls: Found on more advanced blenders, these features provide precise control and feedback on your blending process.
Through the control panel, you can customize your blending to achieve the perfect texture and consistency, making it an indispensable part of your blender's functionality.
Power Cord

Ensuring your blender's performance, its power cord allows for efficient operation by connecting the appliance to an electrical outlet. This essential component is more than just a cable; it's the lifeline that powers up the motor housed at the bottom of the blender, enabling it to blend your ingredients into smooth perfection. The power cord's design ensures it fits perfectly into standard electrical outlets, making it easy for you to plug in and get started.
| Feature | Benefit |
|---|---|
| Insulated | Protects against electrical shocks, enhancing safety. |
| Retractable | Simplifies storage and minimizes tangling. |
| Standard Length | Ranges from 2 to 3 feet for convenient placement near outlets. |
Given its crucial role, it's important to handle the power cord with care. Avoid stretching it across the kitchen or exposing it to water, which could lead to damage or safety hazards. Remember, the power cord's functionality directly impacts the blender's operation. It's not just an accessory; it's a key player in ensuring your blender runs smoothly every time you need it.
Conclusion
So, there you have it, you're now familiar with the essential parts of a blender. You've got the jar where all your ingredients mix, the lid and center cap keeping everything tight, and the blade assembly doing the heavy lifting. Don't forget the gasket seal and jar base that connect everything securely to the motor base, which, driven by the control panel and powered through the cord, brings your blender to life.
Understanding these components ensures you're ready to blend smoothly and effectively.