Ultimate Guide to Blender Safety and Operation
In the days of yore, blending was a task reserved for the mortar and pestle, but today, you've got a high-powered machine right in your kitchen. As you embark on your culinary adventures, it's crucial to understand the ins and outs of your blender, not just for creating smooth concoctions but for ensuring your safety and the appliance's longevity.
Navigating through the myriad of buttons, speeds, and blades can be daunting, but worry not. This guide is your ally, equipped to demystify the complexities of your blender. Let's explore the essential tips and tricks that will transform your blending experience, ensuring you're both safe and savvy in your culinary exploits.
Understanding Your Blender
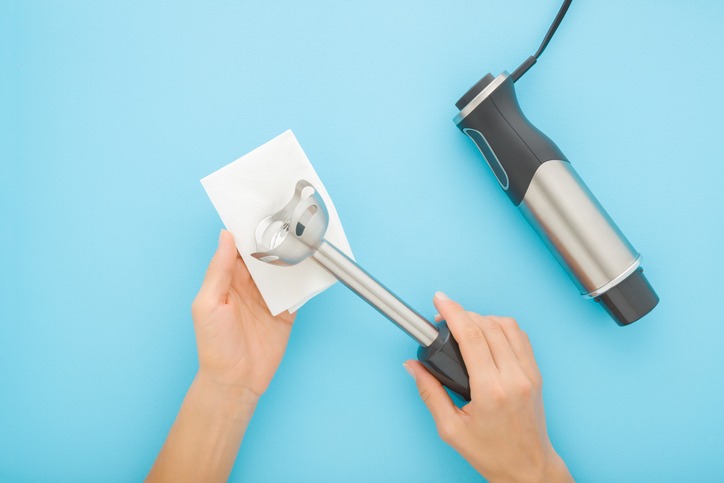
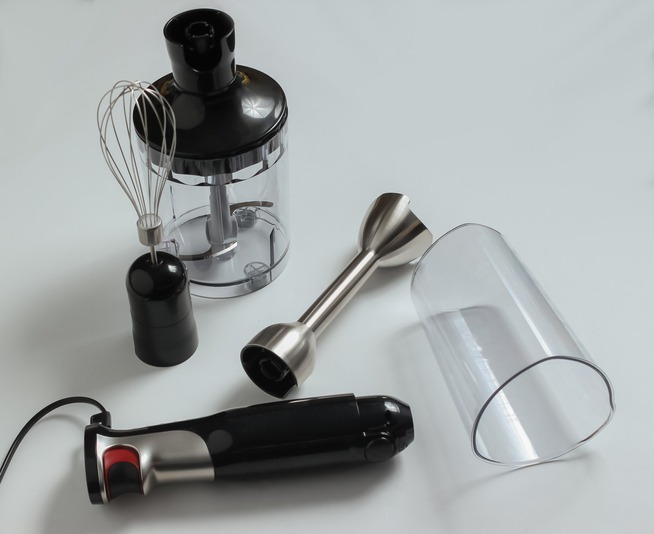
To safely and effectively use your blender, it's crucial to first understand its components and functionalities. Whether you're dealing with a countertop blender, an immersion blender, or a personal blender, each type has its unique features tailored to different blending needs.
For instance, countertop blenders come with a motor base and a removable blending container, making them ideal for a variety of recipes. Immersion blenders, on the other hand, are handheld and incredibly versatile, allowing you to blend directly in pots and pans, which is perfect when you're dealing with hot ingredients. Personal blenders are compact and designed for on-the-go use, ensuring you can enjoy your smoothies anywhere.
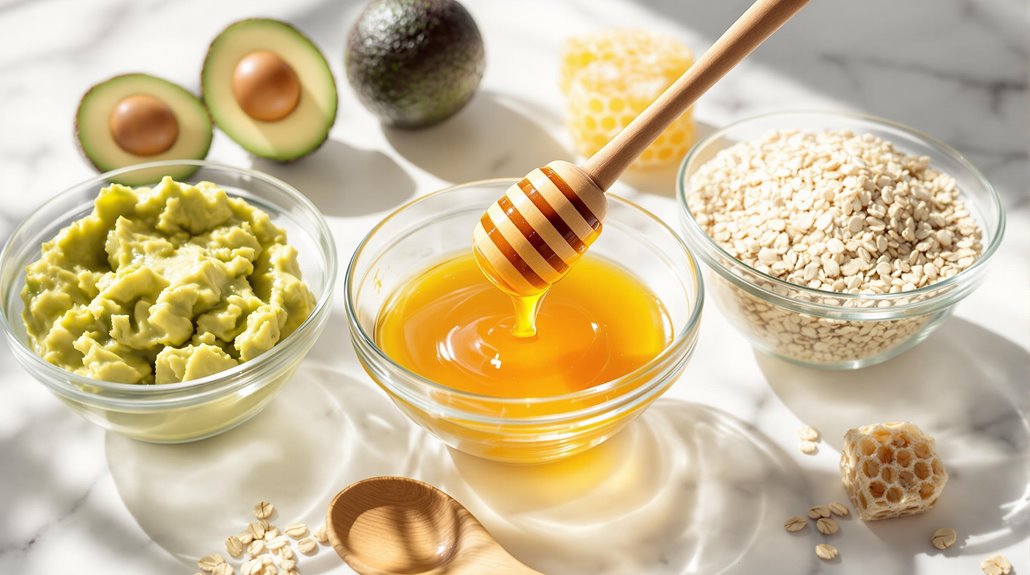
When it comes to blending hot ingredients or recipes, understanding your blender's capacity and limitations is key. Not all blenders are created equal, and some mightn't be suitable for handling hot liquids or ingredients. This knowledge not only prevents damage to your appliance but also ensures your safety during operation.
Blender Safety Essentials

Understanding your blender's features and limitations is crucial, but equally important is knowing how to operate it safely to prevent accidents and ensure longevity. Blender safety essentials are vital to keep you safe while using this powerful kitchen tool. Here are some key points to consider:
- Cool Your Liquids: Always let hot liquids cool before blending. This prevents blade wear and protects you from potential injuries that can occur from the sudden release of steam or splashing of hot liquids.
- Open With Care: After blending hot foods, always open the blender lid away from your face. This simple step helps you avoid steam burns, which can be surprisingly severe.
- Use Tools Wisely: Avoid placing utensils in the blender while it's operating. Not only does this prevent accidents, but it also protects your blender from damage. Similarly, never insert your hand into a blender while it's plugged in. Even if it seems off, it's better to be safe and unplug the appliance first. Additionally, discard any blenders with frayed cords to avoid electrical hazards.
Operating Your Blender
Operating your blender safely and efficiently starts with ensuring the lid is firmly in place to avoid any messy accidents. Always check that the blender lid is securely fastened before you start the appliance. This simple step prevents spills and accidents that couldn't only create a mess but also pose a safety risk.
When operating your blender, it's crucial to follow the recommended blending speed settings based on the ingredients you're using. This ensures optimal results and prevents motor strain, which can extend the life of your blender. High-performance blenders often come with a tamper tool, designed to push ingredients towards the blades for more efficient blending. Make sure to use this tool whenever necessary to achieve a smooth blend.
It's also important to avoid overfilling the blender. Always adhere to the maximum capacity indicated to prevent spills, leaks, and unnecessary strain on the motor. Overfilling can lead to poor blending results and may even damage your blender over time.
Cleaning and Maintenance
Keeping your blender in top condition requires regular and proper cleaning and maintenance. To ensure your blender operates efficiently and lasts longer, you need to follow some basic yet crucial steps for cleaning and maintenance. Here are three key practices to incorporate:
- Use warm water and liquid dish detergent for effective cleaning. Fill the blender base with warm water, add a drop of dish detergent, and blend for 35-45 seconds. This method helps in removing food particles and residue effectively without much hassle.
- Rinse the blending container and lid with hot water after detergent cleaning. After the initial cleaning with detergent, it's essential to rinse the container and lid thoroughly with hot water. This step ensures that no soap residue is left behind, maintaining the hygiene of your blending environment.
- Avoid using utensils and scrapers while the blender is running. To prevent accidents and damage to the blender's blades and motor, never insert utensils or scrapers into the blender while it's operational. This precaution helps in maintaining the integrity of your blender.
Troubleshooting Common Issues
When you encounter problems with your blender, the first step is to consult the owner's manual for model-specific troubleshooting advice. This manual is your go-to resource for understanding how to address issues tailored specifically to your model. It's not uncommon to face challenges like motor overheating, blade jams, or electrical hiccups.
Before diving deeper into troubleshooting, ensure you've checked the basics: power sources, connections, and correct assembly of your blender. These preliminary checks can save you time and prevent unnecessary stress.
If your blender refuses to start, don't panic. Begin by resetting the power source and checking the circuit breaker. Sometimes, the issue could be as simple as a damaged power cord. Inspect it thoroughly for any signs of wear or damage. If these steps don't kickstart your blender, it's time to call in the experts. Contact Customer Service for professional assistance.
Blender Accessories Guide
To elevate your blending experience, consider exploring the range of accessories available for your blender. These add-ons not only enhance the functionality of your blender but also make the process more efficient and enjoyable. Whether you're a smoothie enthusiast or a culinary adventurer, there's a variety of blender accessories designed to meet your needs.
Here are three essential accessories you should know about:
- Tamper Tools: These are lifesavers for pushing ingredients down towards the blades, ensuring everything gets blended smoothly without having to stop and mix manually. It's especially useful for thick mixtures.
- Personal Cup Adapters: For those who are always on the move, these adapters allow you to blend directly into a portable cup. Just blend, swap the blade for a travel lid, and you're ready to go. It's the ultimate convenience.
- Blade Scraper Tools: After blending thick mixtures, these tools help you get every last bit out of the blender, making cleaning up a breeze.
Mastering Blender Controls
Getting to know your blender's interface and the basic functions of its controls is the first step to becoming a blending pro. You'll find that mastering these elements can significantly impact your blending outcomes, from smoothies to soups.
Let's start by understanding the layout of the control panel and how each button and setting enhances your blending experience.
Understanding Interface Layout
Mastering your blender's interface layout, including its control panels, buttons, sliders, and menus, is key to navigating its functions efficiently and safely. Understanding the control panel is the first step in becoming proficient with your blender. Here's what to focus on:
- Digital Displays and Touchscreens: These provide real-time feedback on your blender's status and settings. They make it easier to adjust speed and select preset programs.
- Indicator Lights: These lights signal different modes of operation, ensuring you're aware when the blender is active or if there's an issue.
- Intuitive Placement: Controls are strategically placed for quick access. This design minimizes the risk of errors during operation, enhancing both safety and user experience.
Basic Functionality Explained
After understanding your blender's interface layout, it's crucial to learn how its basic controls work to make the most out of its capabilities. Blender controls typically encompass power buttons, speed settings, and preset programs designed for specific blending tasks.
Mastering these controls involves getting to know how adjusting the speed settings can alter the blending intensity, allowing you to achieve the perfect texture for your recipes. The pulse function is your go-to for breaking down tough ingredients with short bursts of power.
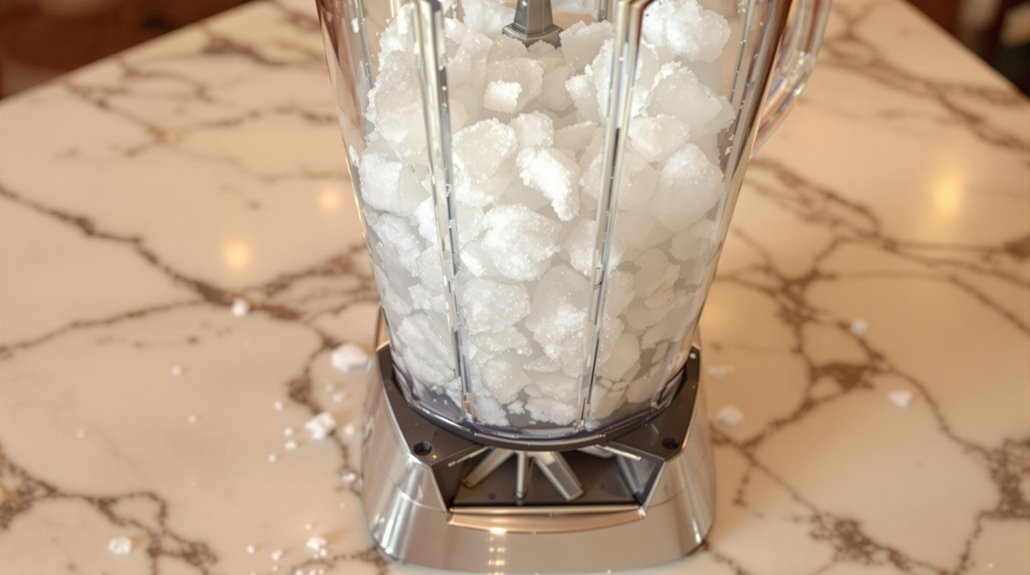
Moreover, preset programs offer the convenience of automating processes for making smoothies, soups, and crushing ice. Familiarizing yourself with each function will optimize your blending efficiency and results, ensuring you're leveraging your blender's full potential.
Advanced Blender Techniques
Now that you're comfortable with the basics, it's time to step up your game with advanced blender techniques. You'll learn how to safely ramp up speed for smooth textures and efficiently load your container for optimal blending. These skills are crucial for taking your culinary creations to the next level.
Safe Speed Ramp-Up
Why should you consider gradually increasing your blender's speed?
Implementing a safe blender speed ramp-up is essential for several reasons:
- Prevents Splattering: It helps avoid messy splatters by keeping ingredients contained, ensuring a cleaner blending experience.
- Protects the Motor: Starting at a lower speed with tough or large ingredients protects your blender's motor from unnecessary strain.
- Achieves Perfect Texture: Gradual speed increases allow for better control, helping you achieve the desired texture and consistency without over-processing.
Efficient Container Loading
Understanding the importance of safe speed ramp-up, let's explore how efficient container loading further enhances your blending experience. Proper container loading ensures ingredients are evenly distributed, allowing for efficient blending without straining the motor or compromising consistency.
Remember, overloading the container can harm your blender's performance. To avoid this, use the tamper tool to push ingredients towards the blades, ensuring everything blends thoroughly. Moreover, by layering soft and hard ingredients strategically, you'll prevent the dreaded jamming issue.
Always adhere to recommended loading capacities to optimize blending performance and prevent damage. Following these guidelines, you're not just blending smarter; you're safeguarding your appliance for long-term use.
Blending Tips for Success
To achieve the perfect texture in your recipes, it's crucial to adjust the blender speed, varying from low for chunky salsas to high for silky smoothies. Mastering blending tips can elevate your culinary creations, ensuring they come out just right every time.
Here are three blending tips for success:
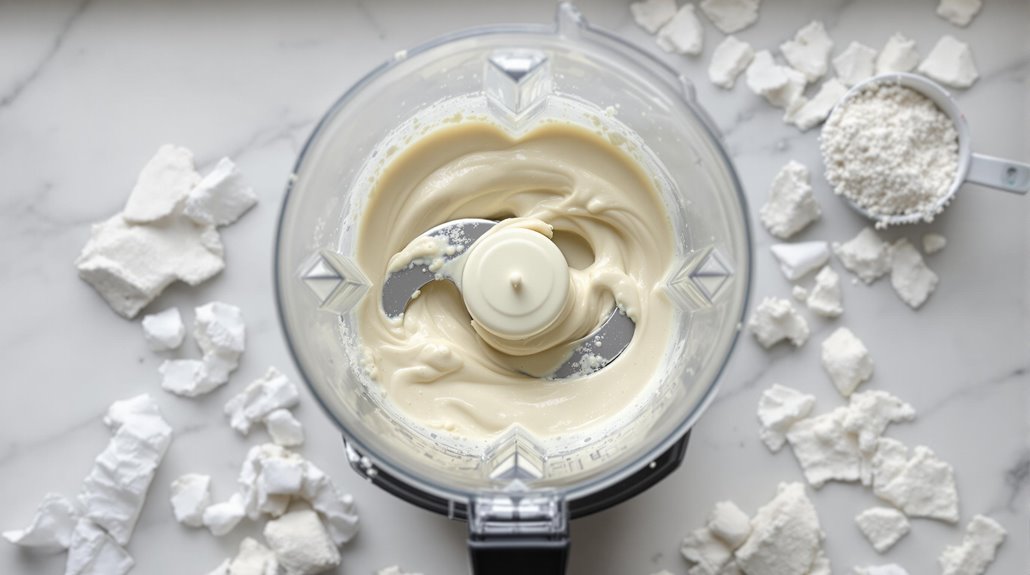
- Use the Tamper Tool: For thick mixtures like nut butter or hummus, don't forget to use the tamper tool. It helps push ingredients towards the blades, ensuring an even blend without having to stop and mix by hand. This trick can save you time and frustration.
- Rinse Immediately: After using your blender, make it a habit to rinse the container right away. Letting food residue dry can clog the blades and make cleaning a hassle. A quick rinse can prevent these issues and keep your blender ready for its next use.
- Follow Loading Instructions: For optimal results, it's important to load your blender correctly. Ensure ingredients are evenly distributed for efficient blending. This means adding liquids first, followed by softer items, and finally, harder items closer to the blades. This setup helps in creating a vortex that pulls ingredients down for a smooth, even blend.
Choosing the Right Blender
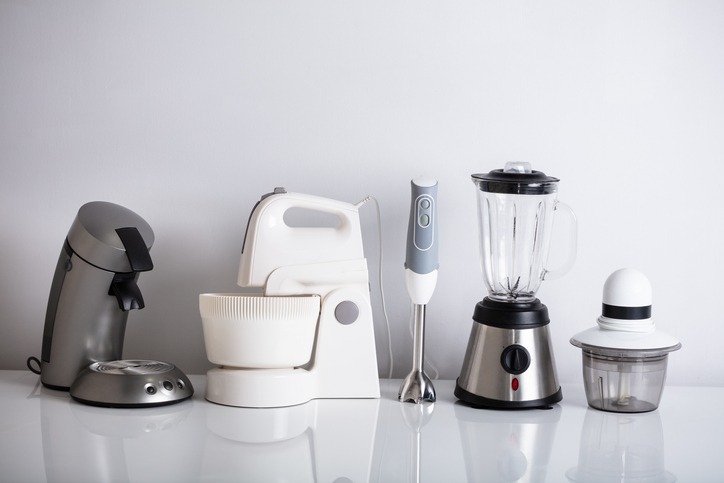
After mastering blending tips for success, it's crucial you choose the right blender to meet your culinary needs. The variety of types of blenders available can make this decision challenging, but focusing on your specific requirements will guide you. If versatility in the kitchen is your top priority, a countertop blender is your best bet. For those who favor handheld blending for soups or sauces directly in the pot, an immersion blender is ideal. Meanwhile, a personal blender caters to your on-the-go lifestyle, perfect for smoothies and shakes.
Don't overlook the importance of a powerful motor and durable blades, as these ensure efficient blending across a wide range of ingredients. Additional features like variable speed settings and pre-programmed functions can enhance your blending experience, while the material of the blending container contributes to optimal performance and durability.
Size and capacity are also crucial; you'll want a blender that can handle your typical recipe quantities without hassle. Finally, safety features such as lid locks, overheating protection, and stable bases are vital to prevent accidents during operation. Carefully comparing these aspects will help you find the perfect blender for your kitchen adventures.
Conclusion
In wrapping up, you've now got the tools to use your blender safely and efficiently. Remember, understanding your machine and following safety basics are key. Keep it clean, maintain it well, and don't shy away from troubleshooting when needed.
Master the controls, explore advanced techniques, and always aim for blending success. Choosing the right blender makes all the difference. Stick to these guidelines, and you'll enjoy smooth, hassle-free blending while keeping your blender in tip-top shape for years to come.