The Blender as a Tool for Special Diets
Have you ever pondered if a blender could truly revolutionize your special diet? While it's clear that blending offers a seamless way to incorporate fruits and vegetables into your daily regimen, there's a broader horizon to explore. Whether you're navigating the complexities of a gluten-free lifestyle or embarking on a plant-based journey, the versatility of a blender extends beyond basic smoothies. From concocting dairy-free milks to crafting gluten-free flours, the potential to tailor meals to your nutritional needs is immense.
Yet, how you harness this potential could make all the difference. Let's uncover the less obvious ways a blender can support your dietary goals, inviting a world of flavor and nourishment into your kitchen.
Essential Blender Basics
Understanding the fundamental operations of a blender, including blending, pureeing, and emulsifying, is key to preparing meals for special diets. When you're navigating the complexities of making soup that meets specific dietary needs, your blender becomes an indispensable tool. It allows you to easily incorporate a variety of nutrient-dense ingredients, such as fruits, vegetables, nuts, and seeds, ensuring that every spoonful is packed with the vitamins and minerals essential for health.
The versatility of a blender also means you can customize textures to suit any preference or requirement. Whether you need a smooth puree for easier digestion or a chunkier texture to add interest to your meals, you've got the control right at your fingertips. This adaptability is especially beneficial when you're aiming to satisfy special diet considerations, such as gluten-free, dairy-free, low-sugar, or high-fiber requirements.
Blending is more than just mixing ingredients; it's about creating meals that nourish and delight, without compromising on dietary needs. So, next time you're making soup, remember that your blender is your best ally in ensuring that your meals aren't only delicious but also perfectly suited to your dietary requirements.
Crafting Dairy-Free Milks
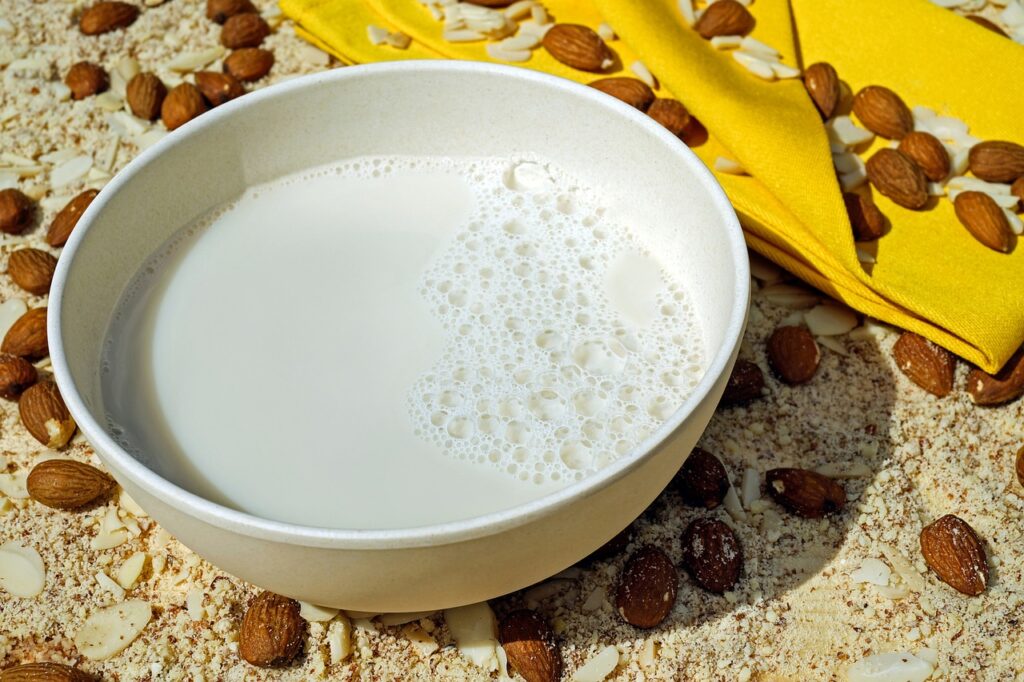
Having explored the essentials of blending for special diets, let's now focus on how you can craft dairy-free milks right in your kitchen with a blender. This process involves using alternative ingredients such as nuts, seeds, grains, or coconut to create plant-based milk substitutes tailored to your taste preferences and dietary needs.
Here are three key steps to get you started:
- Choose Your Base: Select from a variety of bases like almonds, cashews, or oats. For a unique twist, consider using wild rice. This grain can create a nutty, distinctive milk that's both delicious and nutritious.
- Blend with Water: Combine your chosen base with water in your blender. The ratio typically depends on how creamy you want your milk, but a good starting point is 1 part base to 3-4 parts water.
- Customize Your Milk: Add sweetness, flavors, or fortifications according to your preference. Homemade dairy-free milks can be enhanced with calcium, vitamins, and minerals to ensure they're as nutritious as traditional dairy milk, if not more.
Crafting dairy-free milks in your blender isn't just cost-effective and sustainable; it also lets you tailor the flavors, sweetness, and thickness to exactly how you like, making it a perfect fit for any special diet.
Gluten-Free Flours at Home
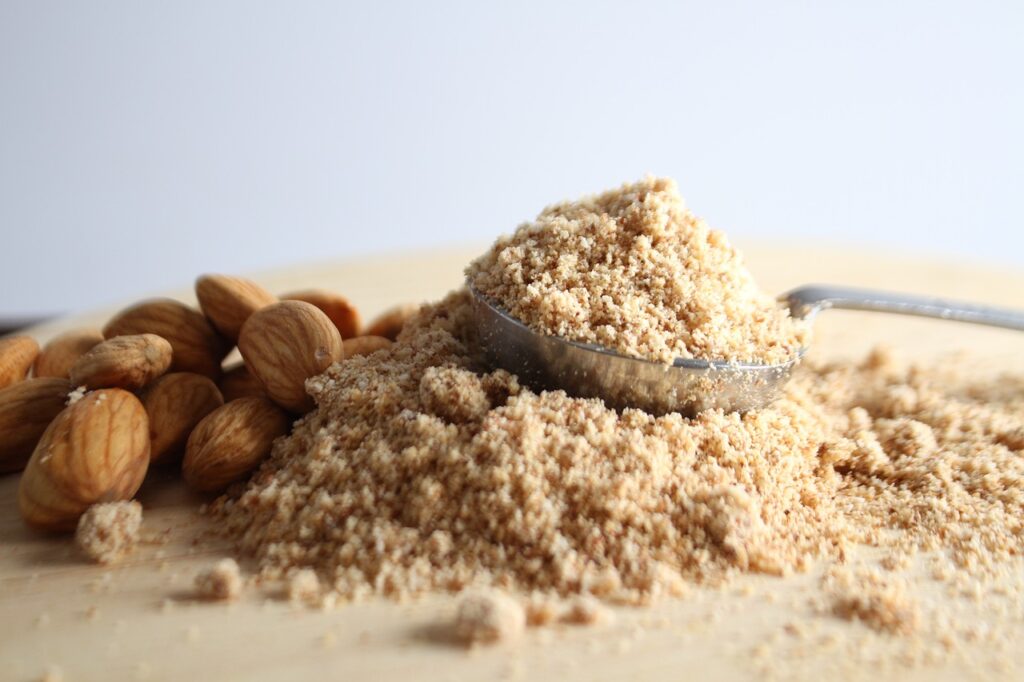
Turning to gluten-free flours, you have the power to ensure your diet stays clean and uncontaminated. By choosing the right grains, like almond or chickpea, you're not just sticking to safe options but also enhancing your meals' taste and nutritional value. A high-powered blender is your best ally in creating smooth, versatile flours at home, perfect for any recipe you're eager to try.
Homemade Flour Benefits
In today's health-conscious world, making your own gluten-free flours at home offers a wealth of benefits, from customization to increased nutrient retention. When you opt for homemade flour, you're not just choosing a healthier alternative; you're embracing a lifestyle that prioritizes:
- Customization: Tailor your flour blends using gluten-free grains like rice, quinoa, and buckwheat to suit your dietary needs and preferences.
- Nutrient Retention: Freshly milled flours retain more vitamins and minerals, providing a nutritional boost to your meals.
- Freshness and Safety: Grinding flour at home ensures it's free from preservatives and reduces the risk of cross-contamination with gluten.
Selecting Suitable Grains
After exploring the benefits of homemade flour, let's focus on how to choose the right gluten-free grains for your dietary needs. If you're steering clear of gluten, grains like almond, coconut, and rice flour are your allies. Don't overlook whole grains such as oats, quinoa, and buckwheat, which you can easily grind into flour at home. Sorghum, teff, and millet also offer nutritious alternatives that can be milled into diverse and flavorful flours.
Using a blender to grind these grains not only ensures freshness but also gives you control over the texture. Opting for homemade gluten-free flours allows for customization and ensures quality, catering specifically to your specialized dietary needs.
Nut Butter Perfection
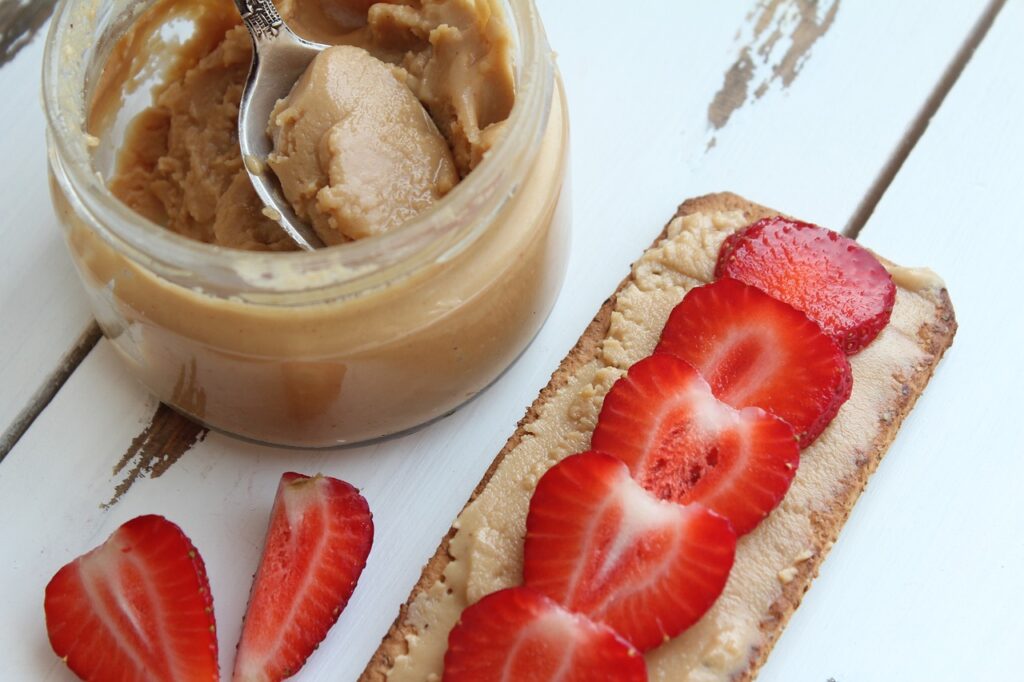
In your journey towards nut butter perfection, choosing the right nuts is your first step. You'll want to achieve a smooth consistency, which is where your blender's power comes into play. Let's explore how these elements combine to create delicious, healthy spreads that elevate your diet.
Choosing the Right Nuts
Selecting the right nuts is essential for crafting the perfect nut butter, each offering distinct nutritional benefits and flavors. Let's take a closer look at how to choose:
- Nutritional Value: Almonds, for instance, are high in vitamin E and magnesium. Prioritize nuts that align with your dietary needs.
- Flavor and Consistency: Cashews lend a creamier texture, ideal for those preferring a smoother spread. Consider the end result you're aiming for.
- Experimentation: Don't shy away from mixing different nuts like walnuts, pecans, or hazelnuts. This experimentation can introduce unique flavors and textures, enriching your nut butter experience.
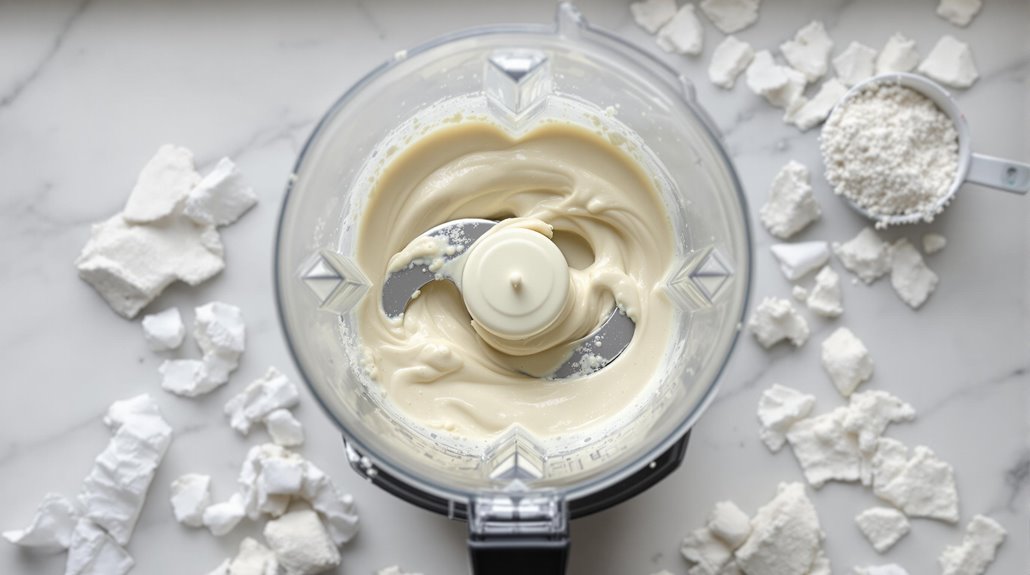
Achieving Smooth Consistency
Once you've chosen the right nuts for your butter, the next step is mastering the art of achieving a smooth consistency. Your journey to nut butter perfection hinges on using the right blender. High-quality blenders with powerful motors and sharp blades are essential.
Achieving that dreamy, creamy texture takes about 5-10 minutes of blending. You'll need to pulse the blender to prevent overheating and make sure to scrape down the sides for an even blend. Consider adding a bit of oil or liquid sweetener to ease the blending process and enhance spreadability.
Homemade nut butters not only allow you to control the ingredients but also let you customize flavors and sweetness levels. With the right approach, you're all set to create your perfect nut butter.
High-Protein Smoothies

For those aiming to enhance muscle recovery post-workout, incorporating high-protein smoothies into your diet can be a game-changer. With the right blend of protein-rich ingredients, you'll not only fuel your body for muscle growth but also help in quick recovery after intense exercise sessions.
Here are three key ingredients to include for a protein boost:
- Greek Yogurt: A creamy base that packs a high-protein punch, Greek yogurt also adds a smooth texture to your smoothies.
- Protein Powder: Available in various forms like whey, soy, or pea protein, this supplement can significantly increase the protein content of your smoothie without adding bulk.
- Nuts: Almonds, walnuts, or peanut butter not only add a rich flavor but also provide healthy fats and extra protein.
High-protein smoothies offer more than just muscle-building benefits. They're excellent for anyone looking to manage their weight or simply increase their protein intake for better health. Protein's ability to keep you feeling full longer makes these smoothies a perfect option for meal replacements or satisfying snacks. Remember, getting enough protein is crucial for maintaining muscle mass, supporting your immune system, and ensuring your body functions optimally.
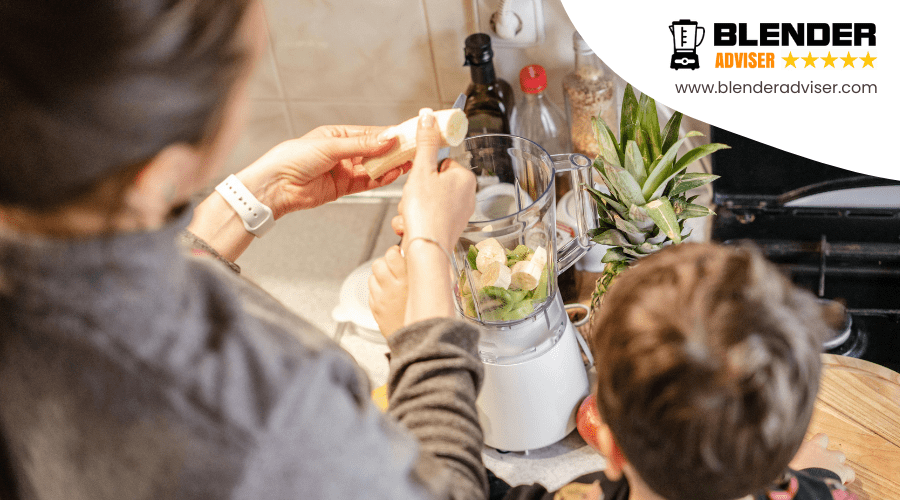
Creative Plant-Based Meals
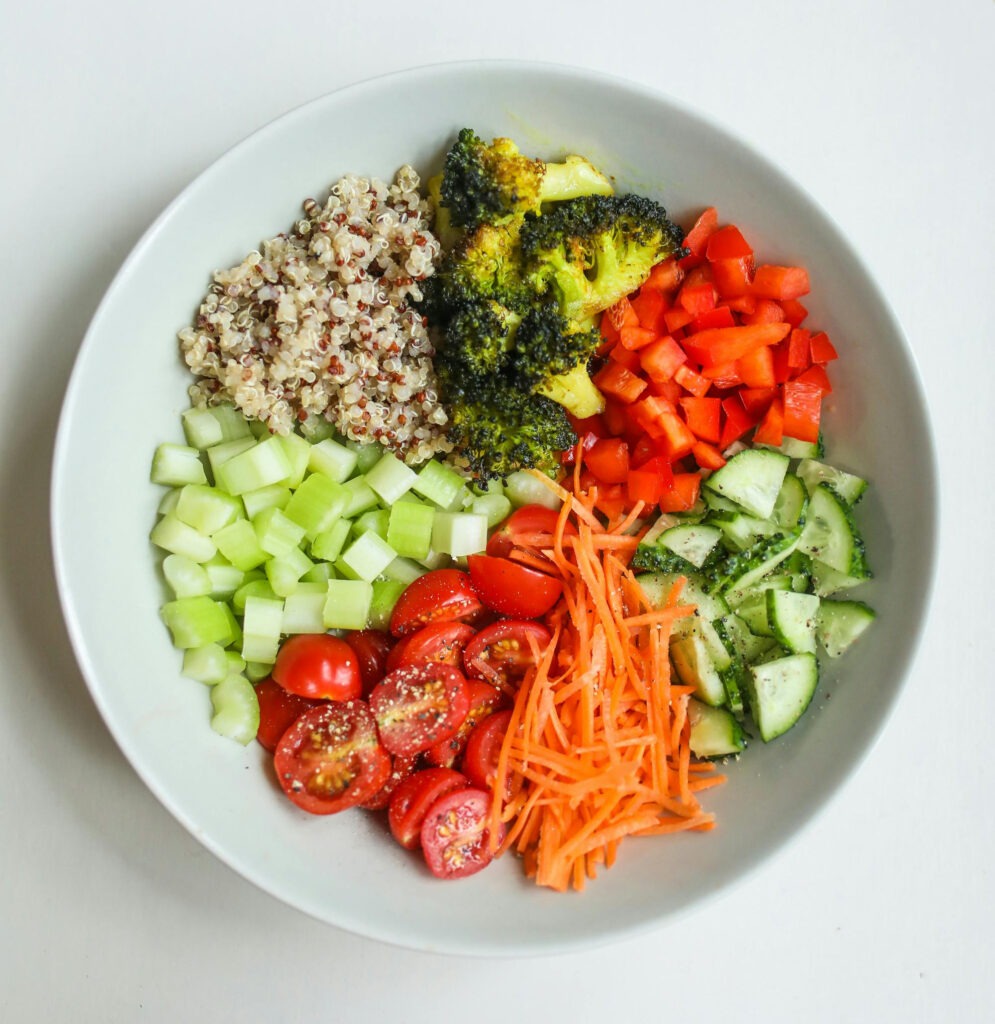
After exploring the benefits of high-protein smoothies, let's turn our attention to the world of creative plant-based meals. In the United States, the trend towards plant-based eating has skyrocketed, and your blender is a powerful ally in this journey. Blending offers a way to pack a diverse range of nutrient-dense, plant-based foods into your diet, making meals not only delicious but also rich in essential nutrients. This method allows for easier digestion and absorption, ensuring you're getting the most out of your food.
Whether you're adhering to a vegan, vegetarian, or gluten-free diet, blended plant-based meals can cater to your needs without sacrificing flavor or texture. By incorporating a variety of fruits, vegetables, nuts, seeds, and plant-based proteins, you're not just feeding your body; you're delighting your taste buds too. The act of blending these ingredients enhances their natural flavors and textures, making your meals more enjoyable and satisfying.
Blender Maintenance Tips
Maintaining your blender through regular cleaning and inspection ensures its efficiency and longevity. When preparing food and beverages, especially for special diets, a clean and well-functioning blender is crucial. Here are a few tips to keep your blender in top shape:
- Clean Regularly: After each use, disassemble and wash the blender jar, lid, and blades with warm, soapy water. This prevents residue buildup, which can affect the taste and quality of your food and beverage creations. For deep cleaning, use a blend of water and white vinegar to tackle stubborn stains and odors.
- Inspect Seals and Gaskets: Over time, the seals and gaskets of your blender can wear out, leading to leaks and decreased performance. Check them regularly and replace as necessary. This step is vital to maintaining the integrity of your blender and ensuring that it continues to operate efficiently.
- Store Properly: Always store your blender in a dry, well-ventilated area. Moisture can damage the motor and other components, reducing the lifespan of your appliance. Following the specific maintenance instructions in your blender's manual can also help you avoid common pitfalls.
Conclusion
So, you've seen how a blender can be your ally in sticking to a special diet. From whipping up dairy-free milks and gluten-free flours to crafting nut butters and high-protein smoothies, it's a game-changer. Not to mention, it opens up a world of plant-based meals that'll keep your diet varied and exciting. Just remember to keep it well-maintained.
Embrace your blender's versatility and let it guide you to more nutritious, tailored meals that don't skimp on flavor.