Mixing It Up: Understanding Your Blender’s Speeds and Functions
Isn't it curious how your morning smoothie can set the tone for your entire day? You've likely noticed that your blender, with its array of speeds and functions, holds the secret to not just a good smoothie but a myriad of culinary creations. Whether you're exploring the gentle stir function or ramping up to liquefy, understanding the nuances can transform your kitchen experience.
Let's embark on a journey through the vortex of blender settings. By mastering these, you'll unlock a world of textures and flavors that await your command, leaving you wondering what culinary boundaries you can push next.
Understanding Blender Speeds

Navigating through blender speeds, from low to high, allows you to precisely adjust textures and explore a spectrum of culinary possibilities. With blenders like KitchenAid offering between 5 to 11 speeds, including a variable speed dial, you're equipped to dive into different tastes and textures, enriching your culinary experiments. It's not just about mixing ingredients; it's about controlling the outcome to meet your exact needs.
The key to mastering your blender's capabilities lies in understanding how to use its speed control. Starting at a lower speed and gradually increasing prevents overheating and ensures that even the most sensitive ingredients are blended smoothly. This technique is particularly crucial when dealing with heavy or sizable items, ensuring they're fully integrated without straining the blender's motor.
Each speed setting, from stirring to liquefying, is designed for specific tasks, enabling you to chop, puree, or blend with precision. By experimenting with these settings, you can fine-tune your ingredients to achieve the desired consistency, whether you're aiming for a chunky salsa or a silky smoothie. Mastering speed control transforms your blender into a versatile tool, capable of meeting a wide array of blending needs effectively.
The Power of Stir
Delving into the 'Stir' function, you'll find it's the key to effortlessly blending ingredients for a variety of recipes, from creamy milkshakes to smooth pancake batter. This function is your go-to for mixing drinks like milkshakes or cocktails, allowing you to start at a gentle, low speed and gradually increase to medium. This approach ensures that you're blending at just the right pace, not too slow that ingredients don't mix well, and not too fast that you lose control over the texture.
KitchenAid blenders, with their Soft Start technology, exemplify how smooth blending should be done. This technology, coupled with the Stir function, guarantees an even consistency whether you're working with thick foods or liquids. It's all about starting slow and adjusting as necessary, which allows for the precise mixing of ingredients without overworking them.
Moreover, the Stir function shines when you're aiming for a smooth blend without introducing too much air into the mix. It's perfect for creating that ideal texture in your smoothies, sauces, or any recipe that benefits from a gentle touch in blending. By mastering the Stir function, you're ensuring smoother, more consistent results every time, without the hassle of excessive foam or air bubbles.
Mastering Puree

To master the art of pureeing, you'll need to focus on achieving a smooth consistency and selecting the ideal ingredients. Experimenting with your blender's settings can help you understand how to transition from chunky to silky textures with ease.
Achieving Smooth Consistency
Mastering the art of pureeing requires gradually increasing your blender's speed to high, ensuring a smooth texture perfect for soups, sauces, and baby food. To achieve this, start at a slow speed, allowing precise control over the texture. As you seek a finer consistency, incrementally adjust to high speed. KitchenAid's Pro Line Series blenders excel in this, offering settings for both chunky and silky textures. Here's how different blender settings can affect your puree:
| Speed Setting | Texture Quality | Ideal Use |
|---|---|---|
| Low | Chunky | Soups |
| Medium | Smooth | Sauces |
| High | Silky Smooth | Baby Food |
| Pulse | Varied | Adjusting |
| High + Time | Ultra Smooth | Fine Purees |
Experimenting with these settings ensures you achieve your desired consistency for any recipe.
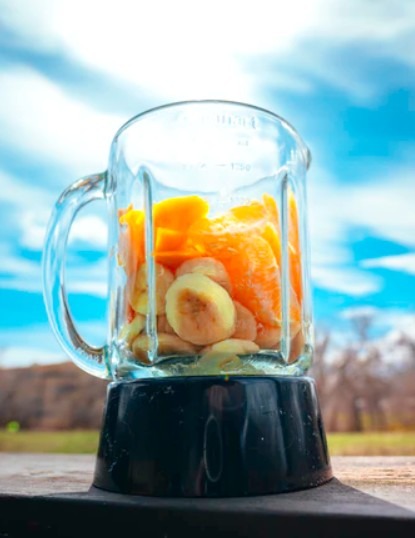
Ideal Puree Ingredients
Selecting the right ingredients is crucial for creating the perfect puree, whether you're aiming for a silky soup, a smooth sauce, or nutritious baby food. Vegetables, fruits, and cooked meats are ideal for achieving smooth textures. By gradually increasing your blender speed to high settings, you gain optimal consistency. The KitchenAid Pro Line Series Blender allows you to toggle between chunky or silky textures, offering customized results.
Utilizing high blade speed is key, especially for hot ingredients or tougher solid ingredients, ensuring everything blends efficiently. Mastering the art of puree involves experimenting with these elements—blender speed settings, control of the duration, and choosing the right solid ingredients—to craft the ideal blend for any dish.
The Art of Chopping
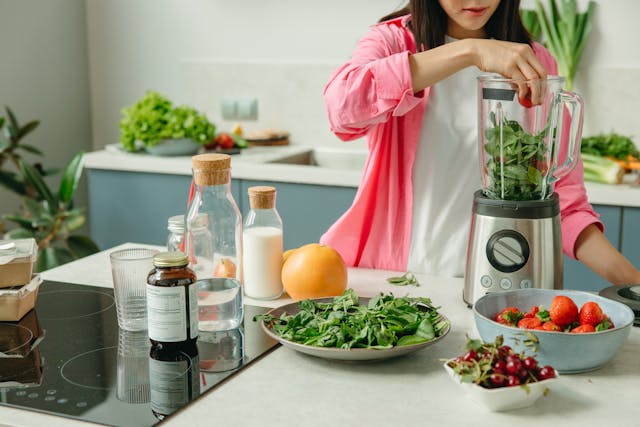
Mastering the art of chopping with your blender opens up a world of culinary possibilities. You'll learn the ideal speeds and techniques to transform ingredients into the perfect sizes for your dishes, from chunky salsas to finely chopped herbs.
Let's explore how to harness your blender's capabilities for precise, efficient chopping.
Ideal Chopping Speeds
How do you find the perfect blender speed for chopping fruits, vegetables, and hard cheeses with precision?
The key lies in mastering the art of manual operation, especially when it comes to chopping and blending. For ingredients that require a finer touch, using a medium speed setting on blenders like the KitchenAid Pro Line Series—which offers at least three adjustable speeds—can make all the difference. Adjusting the speed to suit the texture you're aiming for, such as for quiches or salsas, ensures your results are spot on.
Start slow and gradually increase the speed; this method not only provides consistent results but also prevents your blender from overheating. Don't shy away from experimenting with different speed settings to discover what works best for the ingredients you're processing.
Chopping Technique Tips
To achieve the perfect texture in your dishes, start by chopping at a low speed and gradually increase as needed. This technique is key for mastering the art of chopping, especially when you're dealing with a variety of ingredients.
For chopped fruits and vegetables, beginning at a low speed allows you to control the size and consistency, ensuring you don't end up with a puree when you wanted a chop. Hard foods, such as hard cheeses, also benefit from this method, as starting slow and then increasing the speed helps to prevent the blender from overworking and ensures an even chop.
Experimenting with your blender's manual variable speeds, like those on the KitchenAid Pro Line Series, can give you precise control for achieving the perfect chop every time.
Secrets of Liquefy
Unlock the full potential of your blender's Liquefy mode to effortlessly transform solid ingredients into smooth, velvety concoctions. When you switch to Liquefy mode, the blade speed ramps up to its highest, making it perfect for blending fruits and vegetables into the finest textures. This is your secret weapon for creating everything from silky soups to creamy smoothies and fresh juices. The key lies in the blade speed, which is specifically tuned for breaking down dense or tough ingredients, ensuring you get professional-grade results every time.
By leveraging the Liquefy setting, you're not just blending; you're ensuring each ingredient is thoroughly combined, leaving no chunk behind. This function is ideal for achieving that smooth puree or liquid consistency that elevates the taste and presentation of your dishes.
| Function | Benefit |
|---|---|
| High Speed | Breaks down tough ingredients |
| Smooth Texture | Enhances taste and presentation |
| Thorough Blending | No chunks, just smoothness |
| Ideal for Fruits & Vegetables | Perfect for soups, smoothies, juices |
| Professional-Grade Results | Achieve fine purees effortlessly |
Dive into the secrets of Liquefy and transform the way you blend, ensuring every creation is as smooth as silk.
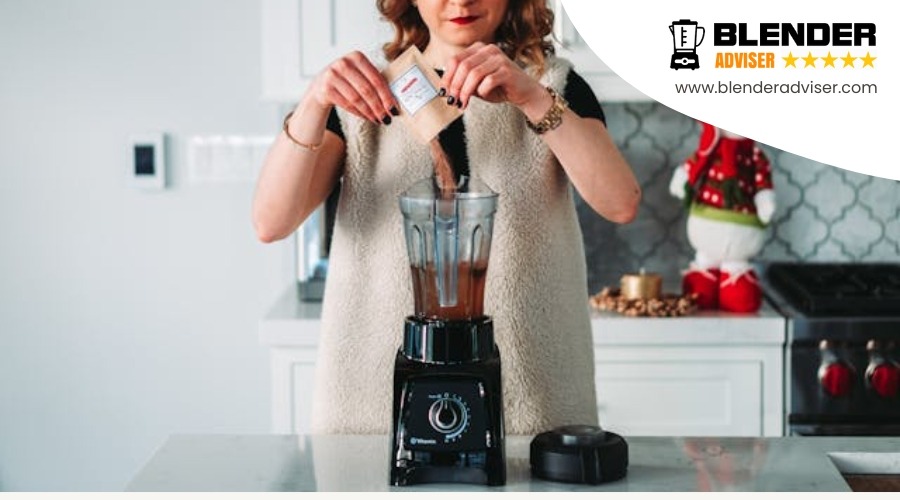
Grinding Essentials

After exploring the secrets of Liquefy, let's focus on mastering the art of grinding essentials with your blender. Grinding involves using your blender's high-speed settings to transform hard ingredients like coffee beans, spices, or nuts into fine powders. This technique is pivotal for recipes requiring a uniform texture and rich flavor, such as a meat salad for a sandwich.
Choosing the right blender for these tasks is crucial. For instance, KitchenAid blenders, with their powerful motors and durable blades, excel in turning whole spices into fine powders, ensuring your dishes have the desired consistency and taste. Different blenders offer various features, including a designated grind setting, which provides an efficient way to achieve consistent grinding results.
Utilizing the pulse function allows you more control over the grinding process, helping you reach the perfect coarseness or fineness. Experimenting with grinding durations and speeds in your blender can fine-tune the texture of your ingredients, enhancing the overall quality of your culinary creations. Remember, mastering the grinding essentials will elevate your cooking, making every meal a delightful experience.
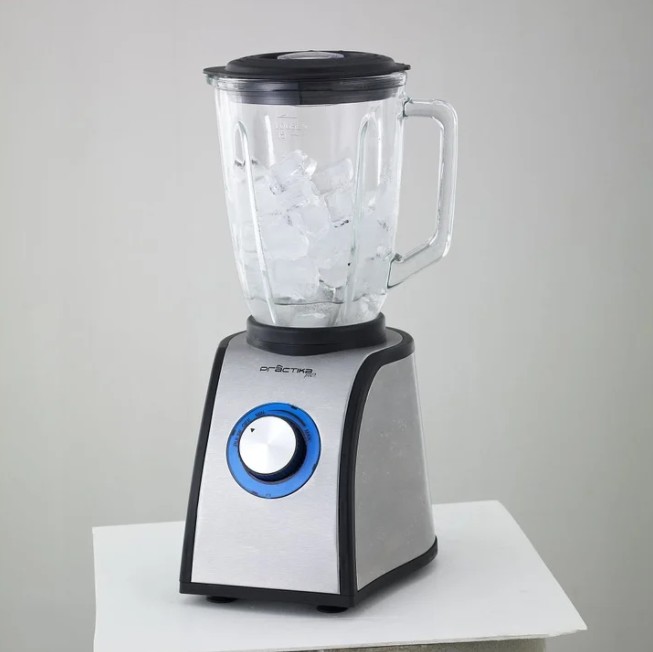
Conquering Ice Crush

Mastering the ice crush function on your blender can transform your frozen drinks and desserts, offering a smooth, consistent texture every time. The ice crush setting is specifically designed to tackle hard ice, whole fruits, or frozen fruits effectively, ensuring your smoothies, cocktails, and frozen desserts come out just right.
Using the ice crush setting correctly prevents overheating the motor and protects your blender blades from damage. It's the key to achieving that perfect consistency without putting undue stress on your machine. Here's a quick guide to make the most of this feature:
| Tip | Benefit |
|---|---|
| Gradually increase power | Ensures thorough ice crushing without overheating |
| Use for frozen ingredients | Avoids damaging blender blades |
| Essential for smoothies | Achieves consistent texture |
| Efficient ice crushing | Provides finely crushed ice for beverages |
Conclusion
Now that you've explored the world of blender speeds and functions, you're equipped to master any recipe. Whether you're stirring, pureeing, chopping, liquefying, grinding, or crushing ice, you've got the know-how to optimize your blender's capabilities. Remember, experimenting is key to finding the perfect texture and consistency for your creations. Keep your blender maintained and follow the guidelines to ensure it keeps up with your culinary adventures.
It's time to mix it up and enjoy the delicious results!