Fixing a Broken Blender Jar: A Step-by-Step Guide
When your blender jar has 'seen better days,' don't rush to replace it just yet. You've encountered a common issue that many face, but with the right guidance, you can breathe new life into your appliance. This comprehensive guide will walk you through assessing the damage, gathering the necessary tools, and executing repairs, whether it's sealing minor cracks or replacing the jar entirely. By following these steps, you'll not only extend the lifespan of your blender but also gain invaluable DIY repair skills.
Discover how a bit of know-how and elbow grease can save you money and prevent waste, setting you on a path toward more sustainable living.
Assessing the Damage
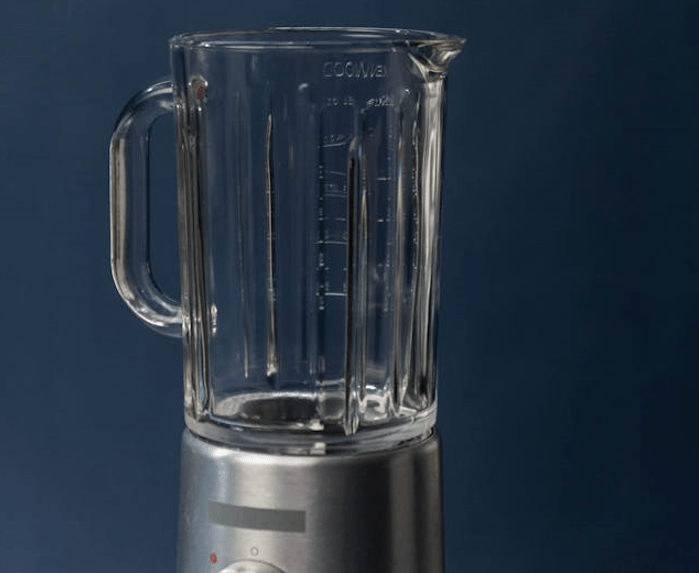
Before attempting any repairs, it's essential to carefully examine your blender jar for signs of damage, such as cracks, leaks, or issues with the blade assembly. Start by inspecting the blender jar itself. Hold it up to a light source to spot any cracks or damage that mightn't be immediately visible. Even small cracks can lead to bigger problems down the line, so don't overlook anything that seems minor.
Next, check the gasket or seal for wear. This component is crucial for preventing leaks, and if it's worn out, your blender mightn't be sealing properly. The gasket's integrity is often overlooked, but it's an easy fix that can solve many leaking issues.
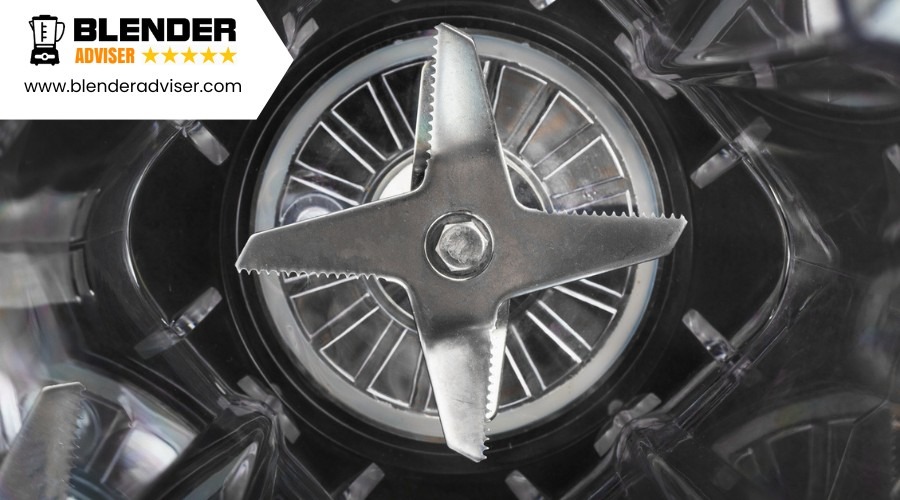
Take a close look at the blade assembly, including the bearing. Loose or damaged blades can significantly affect your blender's performance. Make sure everything is tight and in good condition. If there's any sign of wear or damage, it's likely affecting how well your blender can process ingredients.
Gathering Necessary Tools
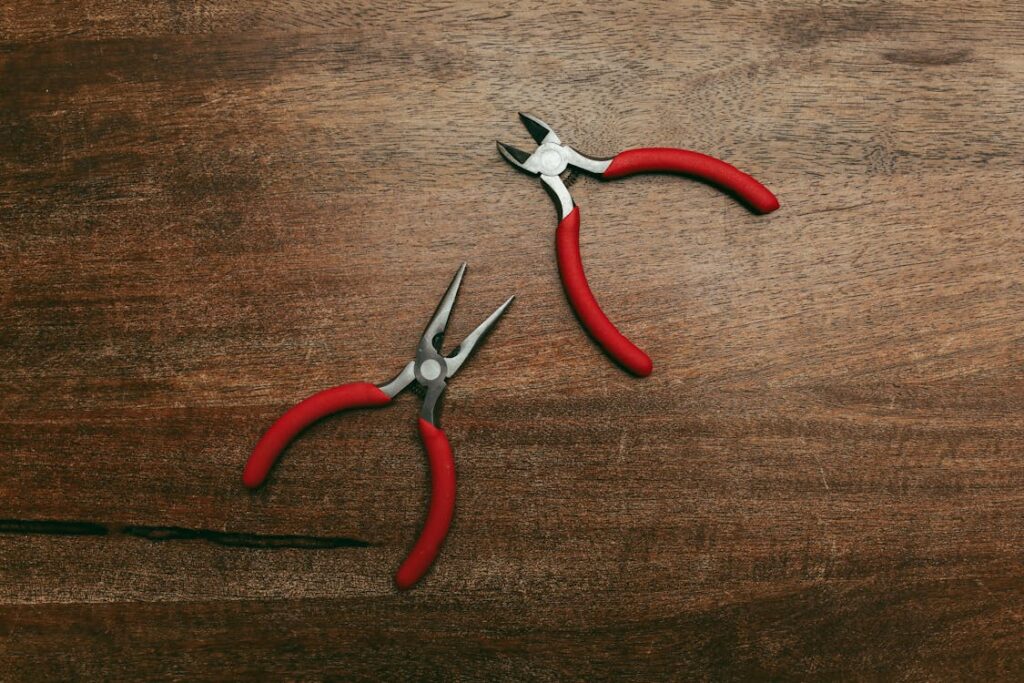
Once you've assessed the damage to your blender jar, it's time to gather the essential tools for the repair, including a soldering iron, needlenose pliers, and vice grips. These are not just random picks; each tool plays a crucial role in disassembling and repairing the jar's blade assembly. With the right tools in hand, you're setting yourself up for a successful repair job.
| Tool | Purpose | For Use On |
|---|---|---|
| Soldering Iron | To mend any broken metal parts within the assembly | Blade assembly |
| Needlenose Pliers | For gripping and manipulating small components | Small retaining nuts |
| Vice Grips | To hold components firmly in place during repair | Jar, blade assembly |
Understanding how these tools contribute to your repair process can make the task much easier. The soldering iron, for instance, is indispensable for any metal repair work on the blade assembly. Needlenose pliers and vice grips become your best friends when handling the small, often fiddly parts of the blender jar. Remember, having the right tools isn't just about making the repair possible; it's about making it easier and ensuring a long-lasting fix.
Preparing for Repair
Before you start fixing your blender jar, make sure you've got all the necessary tools and replacement parts ready. Next, you'll need to carefully assess the damage to understand exactly what needs fixing. This preparation will ensure a smoother repair process and help you avoid any surprises.
Gather Necessary Tools
To successfully repair a broken blender jar, you'll need to gather a few essential tools including a soldering iron, needlenose pliers, and vice grips. These tools are crucial for handling parts like the blade assembly and its components. The soldering iron, set at 230°C, is vital for carefully removing the seal. You'll also require a wrench and pliers to disassemble and reassemble the metal drive shaft from the plastic jar base.
Ensure you have a skateboard bearing (608-2RS), silicone sealant, and food-safe grease ready for the repair process. Remember, preparing with the right tools and materials is key to fixing your blender jar effectively. Don't forget to wear a mask and eye protection for safety while working.
Assess Damage Carefully
First, carefully inspect your blender jar for any signs of cracks, leaks, or other forms of damage to understand the repair work needed. Don't just glance over it; look closely at the blade assembly to spot any loose or worn parts that might be causing trouble. It's not uncommon for these components to wear out over time, leading to performance issues.
Also, check for any missing or deteriorated seals which could be the culprits behind leaks during use. Keep an eye out for rust, corrosion, or unusual wear and tear that might indicate more serious problems.
Lastly, evaluate the jar's stability and alignment on the blender base. Proper alignment is crucial for effective blending and can prevent further damage.
Sealing Minor Cracks
Have you noticed minor cracks in your blender jar? Don't fret; you can easily fix this issue at home with the right approach.
Before jumping into sealing those cracks, it's important to assess the damage carefully. Once you've determined the crack is minor and not affecting the blade inside the jar or the assembly socket, you're ready to proceed with the sealing process.
Here's how:
- Clean and Dry: Ensure the cracked area is clean and dry. Any residue or moisture can hinder the sealant's ability to form a secure bond.
- Sealant Application: Apply a thin layer of food-safe epoxy or silicone sealant over the crack. These materials are designed to be safe for contact with food and provide a durable seal.
- Smoothing: Smooth out the applied sealant with a small tool or your finger (wearing gloves) to ensure it covers the cracked area completely and forms a tight seal.
- Curing and Testing: Allow the sealant to cure fully according to the manufacturer's instructions. Once cured, perform leak testing by filling the jar with water to ensure the seal is tight and secure.
Replacing the Jar
Now, if you're facing issues that can't be resolved with a simple fix, it's time to consider replacing the jar. You'll want to make sure you pick a jar that matches your blender's make and model for a seamless fit. We'll also walk you through the installation process, ensuring you're blending smoothly again in no time.
Selecting the Right Jar
Selecting a compatible jar that matches your blender model, such as Blendtec or Vitamix, is crucial for ensuring optimal performance and durability. When you're in the market for a new blender jar, keep these factors in mind:
- Compatibility: Ensure the jar fits your specific blender model, whether it's a Blendtec, Vitamix, JTC Omni, or Waring 3.5 hp.
- Quality: Opt for a high-quality jar that can withstand the power of your blender, enhancing durability.
- Efficiency: Consider a jar with a replacement blade, especially for Blendtec models, to boost blending efficiency.
- Warranty: Check the warranty coverage to understand your options for repair or replacement.
Utilize available video guides on repairing or replacing your blender jar to streamline the process.
Installation Process Overview
To replace a broken blender jar, you'll first need to ensure your appliance is unplugged and all attachments are removed. Next, carefully detach the broken jar from the blender base by twisting it counterclockwise, avoiding contact with the blade and motor.
Once removed, take your new jar, which ideally is made of durable plastic to withstand the torque of the motor. Align the new jar's drive studs with the corresponding slots on the base. Gently twist it clockwise until it locks into place, ensuring the jar is perfectly seated on the base.
This might require a little pressure, but avoid using excessive force that could damage the drive studs or the shaft.
Testing and Maintenance
For optimal performance and longevity of your blender jar, regular testing and maintenance are crucial. Keeping your blender in top shape isn't just about fixing it when it breaks; it's about preventing those breakdowns in the first place. Here's how you can ensure smooth operation and extend the life of your blender jar:
- Jar Testing for Leaks: Fill the jar with soapy water, run the blender, and watch for leaks. This simple test can reveal issues with the seal or the bottom metal cover that you mightn't notice otherwise.
- Blade Assembly Inspection: Check the blade assembly regularly for signs of wear and tear. Dull blades or loose fittings can affect the blender's performance and even pose a safety risk.
- Thorough Cleaning: After each use, clean the blender jar thoroughly to prevent residue buildup. This not only maintains hygiene but also ensures that old food doesn't cause operational problems.
- Seal and Metal Cover Check: Make sure the seal and metal cover are securely in place. A loose seal or cover can lead to leaks during operation, which could damage your blender or create a mess.
Regular maintenance can prevent most issues, keeping your blender running smoothly for years to come.
Conclusion
You've navigated through assessing the damage, gathering your tools, and executing repairs or replacements on your broken blender jar. With these steps, you've not only fixed the issue at hand but also learned valuable maintenance tips to prevent future problems.
Always remember to test your blender after any repairs to ensure it's working as expected. Keep up with regular maintenance, and you'll extend your blender's lifespan, saving time and money in the long run. Great job on restoring your blender's functionality!