Can You Make Ice Cream in Blender?
In the realm of culinary experiments, transforming your blender into an ice cream maker might seem like a bit of culinary alchemy. You've likely heard whispers or seen quick tutorials online, but you might wonder if it's truly possible to achieve that creamy, dreamy texture without a traditional ice cream machine.
The answer is yes; with a few simple ingredients and a powerful blender, you're well on your way to homemade ice cream bliss. However, the real magic lies in the technique and the secrets to getting that perfect consistency.
Stick around, and let's explore how to turn your blender into the most unexpected ice cream maker.
The Basics of Blender Ice Cream
Making ice cream in a blender is a straightforward process that lets you whip up homemade ice cream without an ice cream maker. This method isn't only quick and simple but also versatile, allowing you to create a wide range of flavors. Whether you're in the mood for classic vanilla, rich chocolate, or a refreshing fruit-based treat, your blender is your ticket to delicious homemade ice cream.
By using ingredients like heavy cream or opting for dairy-free alternatives such as almond milk, you can achieve a creamy and delightful texture that rivals store-bought varieties. The key to smooth and consistent ice cream lies in blending the ingredients thoroughly until they're perfectly smooth.
Once you've blended your base to perfection, you have the option to personalize your ice cream. Adding mix-ins like cookie crumbles, chocolate chips, or swirls of fudge can take your homemade ice cream to the next level. Freezing the blended mixture in a container is the final step before you can dive into your custom-flavored treat. Making ice cream in a blender isn't just easy; it's a fun way to explore a variety of flavors and create your perfect scoop.
Easy Blender Ice Cream Recipe
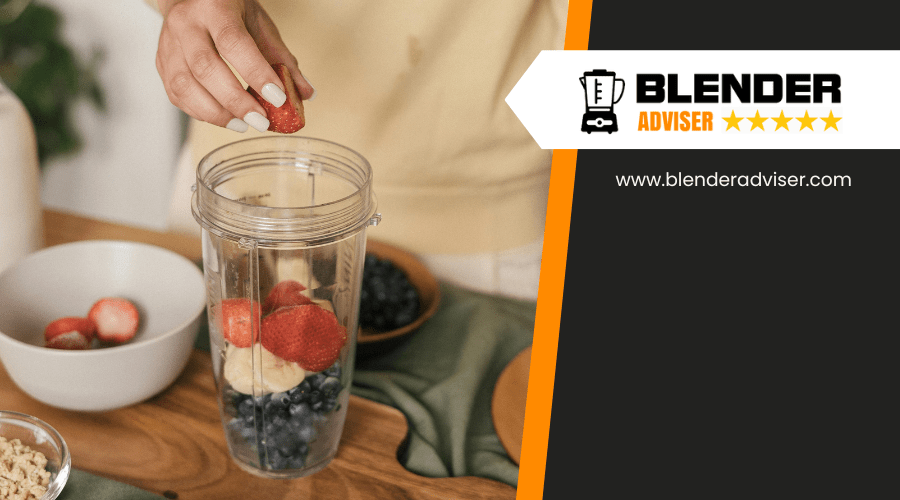
After exploring the basics of making ice cream with a blender, let's get into an easy recipe that'll have you enjoying homemade ice cream in no time. You'll need heavy cream and sweetened condensed milk as your base. These ingredients, combined in your blender, create a rich and creamy texture that's simply divine. Add a splash of vanilla for that classic flavor everyone loves. Once blended, freeze the mixture to achieve that perfect ice cream consistency. Customization is key; feel free to mix in your favorite toppings like chocolate chips or fruit for a personal touch.
Here's a quick rundown of what you'll need:
- Heavy Cream: The backbone of your blender ice cream, giving it that luxurious creaminess.
- Sweetened Condensed Milk: Adds sweetness and smooth texture without needing additional sugar.
- Vanilla Extract: A dash of vanilla elevates the flavor, making your homemade ice cream irresistible.
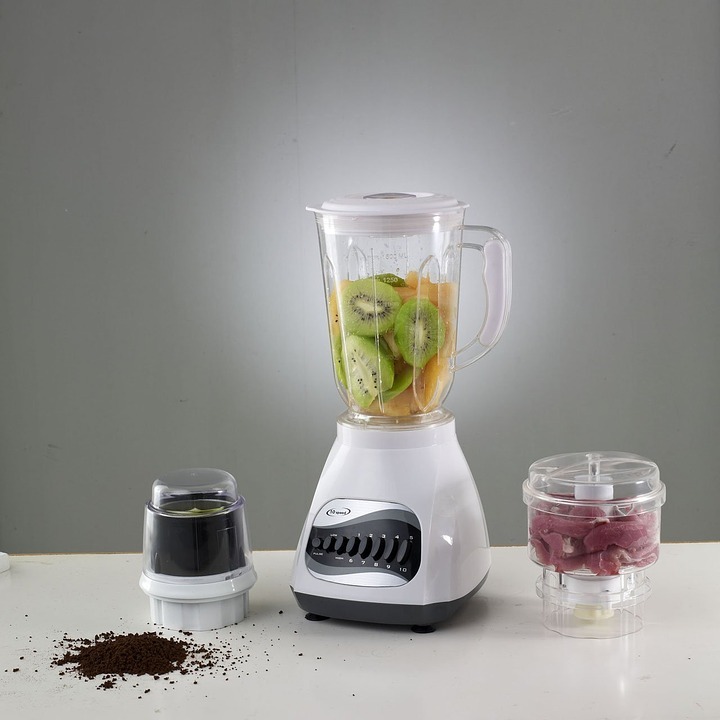
- Blender: Your tool to effortlessly combine all the ingredients.
- Your Favorite Toppings: Customize your ice cream with toppings like cookie crumbles or fresh berries for an emotional delight.
Enjoying blender ice cream is about savoring the simplicity and joy of making something delicious and personalized, right from your kitchen.
Pros and Cons
Now, let's look at the pros and cons of making ice cream in a blender. You'll love the quick preparation time, but you might notice some texture differences compared to traditional methods. Also, be mindful that frequent use could cause wear and tear on your blender.
Quick Preparation Time
You'll appreciate how swiftly and efficiently a blender turns your ingredients into creamy ice cream, offering a quick and convenient dessert solution. Imagine using a simple Vanilla Ice Cream recipe where BLENDER ICE magic happens. By choosing sweetened condensed milk instead of traditional sugar, you instantly create a smoother ice cream base. This shortcut not only simplifies the process but also helps to make creamy, dreamy ice cream within minutes.
Feel the joy of instant gratification as your blender whirs to life, transforming ingredients into frozen delight. Savor the simplicity of minimal cleanup and preparation. Relish in the pride of homemade ice cream without the wait.
Experience the excitement of experimenting with flavors on the fly. Enjoy the convenience of a sweet treat anytime, perfect for impromptu dessert cravings.
Texture Variability Issues
While blender ice cream offers a quick and easy route to homemade treats, it's worth noting that the texture may not always match that of traditionally churned ice cream. The rapid blending in a blender can result in a slightly different texture compared to the slow churn consistency achieved with an ice cream machine.
However, using a blender with a slower start setting can help you avoid over-blending and maintain a smoother texture. Additionally, consider using a custard base or freezing the ice cream base before blending for a smoother and creamier texture.
While blender ice cream may not always achieve the exact smooth texture of machine-churned ice cream, with a few tweaks, you can still enjoy delicious, homemade ice cream.
Equipment Wear and Tear
Considering the texture variability issues mentioned, it's also important to weigh the pros and cons of equipment wear and tear when making ice cream in a blender.
- Continuous blending of thick ice cream bases can strain your blender's motor, leading to potential breakdowns that tug at your heart (and wallet).
- Faster wear and tear on the blades might've you facing the inconvenience of replacements sooner than expected.
Using a high-powered blender could be a silver lining, mitigating these issues and keeping your ice cream dreams alive.
- Sharp blades can handle the task but remember, they demand your care and occasional maintenance, adding a bit to your to-do list.
- Regular cleaning and maintenance become your secret weapons in preventing premature wear and tear, ensuring your blender remains your loyal kitchen companion.
Tips for Creamy Results
For creamy ice cream straight from your blender, start by using a model with a slow start setting to prevent over-blending. This initial step is crucial to achieving that silky, creamy texture everyone craves in their blender ice cream.
As you make your recipe, consider introducing a custard base for an even richer consistency. This addition can be a game-changer in the texture department, ensuring your ice cream is as luxurious as possible.
To further ensure a smoother and creamier result, don't forget to pre-freeze your ice cream base. This step helps the mixture blend more evenly, avoiding any icy bits for a uniform creamy texture throughout. If your recipe calls for tougher mix-ins like nuts or cookies, opt for a blender with ice-crushing capabilities to seamlessly incorporate these elements without sacrificing the smoothness of your ice cream.
Lastly, don't be afraid to experiment with dairy-free options. Ingredients like bananas, avocados, or coconut cream can produce incredibly creamy vegan ice cream in the blender. These alternatives not only offer a delicious texture but also cater to those looking for dairy-free treats.
Vegan Ice Cream Variations
Exploring vegan ice cream variations, you'll find that choosing the right plant-based milks, flavorings, and sweeteners is crucial. Whether you're a fan of vanilla, strawberry, or something more exotic like pistachio, the base of cashew milk offers a creamy texture that's perfect for beginners.
Choosing Plant-Based Milks
When making vegan ice cream, choosing the right plant-based milk is crucial for achieving the perfect texture and flavor. Almond, coconut, and oat milk are popular choices, each bringing its unique qualities to your dessert. Cashew milk, in particular, provides a creamy base ideal for flavors like vanilla. But don't stop there; experimenting with these milks can lead to unique flavors that'll surprise and delight.
- Feel the smoothness of oat milk blend into a creamy delight.
- Savor the tropical hint coconut milk adds to every scoop.
- Experience the lightness almond milk brings to your vegan treat.
- Enjoy the richness cashew milk offers, making every bite luxurious.
- Revel in creating unique flavors that defy expectations, turning simple ingredients into gourmet experiences.
Flavoring and Sweeteners
Diving into the world of vegan ice cream, you'll find that choosing the right flavorings and sweeteners can transform simple ingredients into decadent desserts. With options ranging from classic vanilla to exotic pistachio, there's a flavor for every palate.
And, when you're making vegan ice cream in a blender, you're not just limited to fruit-based sweeteners. Experimenting with various vegan sweeteners allows you to cater to your nutritional needs while still indulging in a creamy, dairy-free treat.
Starting with a cashew-based vanilla ice cream is perfect for beginners, offering a rich, smooth base that's ideal for adding your favorite flavors. Remember, the key to exceptional vegan ice cream lies in your creativity and the quality of your blender.
Mixing in Toppings
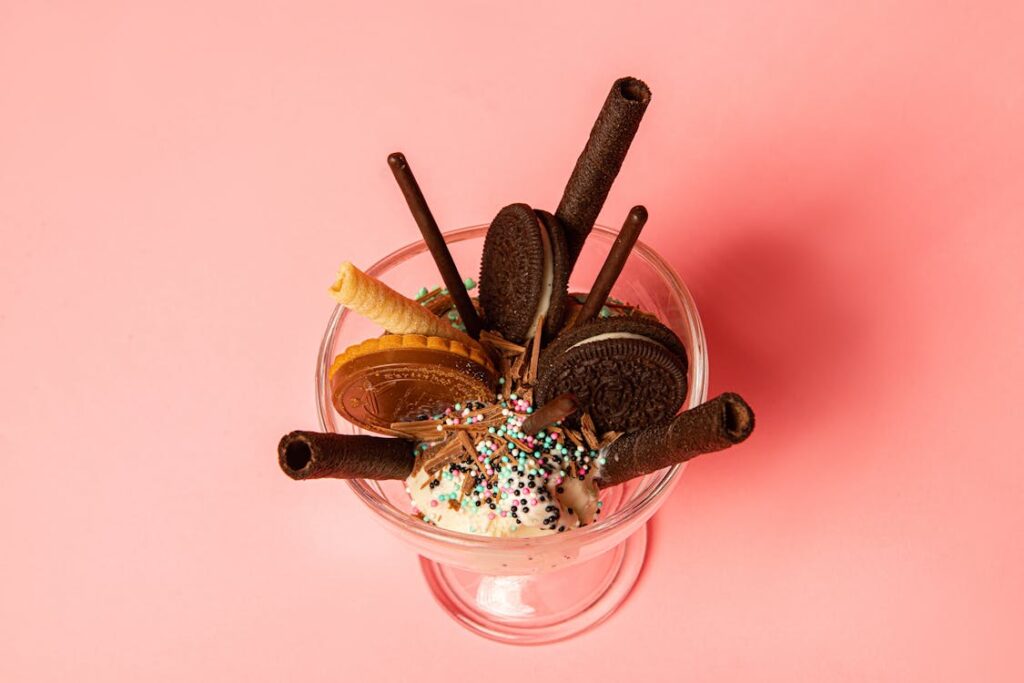
Once you've blended your ice cream base, it's time to stir in toppings for an extra layer of flavor and texture. After transforming milk into a creamy delight, the real fun begins. By incorporating various toppings, you can customize your blender ice cream to suit any craving. Whether you decide to blend them in for a uniform distribution or gently fold them in for distinct bursts of flavor, the choice to swirl, mix, or layer is yours. This step not only personalizes your dessert but elevates it from simple to sublime.
- Cookie Crumbles - Feel the joy as every spoonful reveals bits of your favorite cookies, blending nostalgia with each bite.
- Fudge Pieces - Indulge in the rich, gooey texture, adding a luxurious depth that'll have you closing your eyes in bliss.
- Fresh Fruit - Experience the burst of natural sweetness and a hint of tartness, lightening every mouthful.
- Nuts & Chocolate Chips - Revel in the crunchy contrast to the smooth ice cream, a combination that's both surprising and satisfying.
- Sauces Swirl - Get lost in the mesmerizing patterns and the explosion of flavors, making each scoop an adventure.
Experiment with these toppings to create a dessert that's uniquely yours, turning an ordinary day into an extraordinary treat.
Serving Suggestions
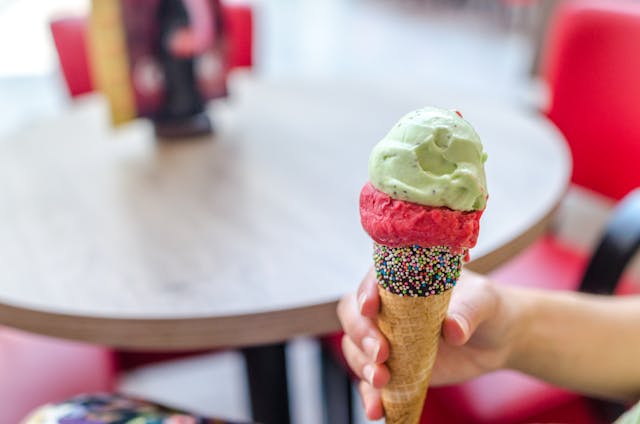
After adding your favorite toppings to personalize your blender ice cream, it's time to explore various serving options that'll enhance your dessert experience. One simple yet delightful way to enjoy your homemade ice cream is by serving it in chilled bowls or cones. This not only keeps your treat refreshingly cold but also adds an element of nostalgia to your dessert indulgence.
Don't hesitate to get creative with toppings. Sprinkles, chocolate shavings, or fresh fruit can add a burst of color and texture, making every bite more exciting. For an extra touch of elegance, garnish your blender ice cream with whipped cream, a drizzle of caramel sauce, or a handful of nuts. These additions not only improve the presentation but also introduce new flavors and textures.
For a more decadent treat, consider building a sundae. Layer your homemade ice cream with sauces, fruits, and crunchy toppings for a dessert that's as fun to assemble as it's to eat. Alternatively, sandwich your blender ice cream between two cookies for an irresistible ice cream sandwich that's sure to impress. These serving suggestions are just the beginning—feel free to experiment and find what makes your homemade ice cream truly special.
Conclusion
Absolutely, you can whip up delicious ice cream in your blender! This method is super easy and lets you play with various flavors and ingredients. Remember, for creamy results, freeze your base ingredients and blend until smooth. Don't forget you can also make vegan versions by substituting dairy with plant-based alternatives.
Mix in your favorite toppings for that extra crunch or swirl. Serve it up in bowls or cones and enjoy a homemade treat any time you crave it!