12 Ways to Use Your Blender You Didn’t Think Of
Have you fully explored your blender's potential beyond making smoothies and shakes? It's also excellent for preparing homemade mayonnaise, ensuring a perfect emulsion every time. Additionally, you can use it to make light and airy batters for pancakes and waffles quickly and easily. Consider using your blender to produce your own grain-free flours or to make healthy nut butters from scratch. As you delve into these non-traditional uses, you will unlock new culinary possibilities and enhance your meal preparation. Interested in learning about more innovative ways to use your blender?
Here are some practical ideas to improve your cooking techniques.
Whipping Up Homemade Mayonnaise
Creating homemade mayonnaise using a blender is both efficient and straightforward. This method not only saves time but also gives you complete control over the quality and taste of the ingredients, which is especially advantageous for those with dietary restrictions. By selecting your own oil and using fresh eggs, you can ensure your mayonnaise is tailored to your preferences and needs.
To start, gather your ingredients: oil, eggs, and any additional flavors like paprika or a hint of truffle oil. Using a blender, combine these elements, which allows for a quicker and less labor-intensive process than manual whisking. The blender works rapidly to achieve a smooth, emulsified texture, essential for ideal mayonnaise consistency.
This approach not only yields a fresher, more flavorful condiment than store-bought options but also permits customization. Experiment with various ingredients to enhance the taste according to your liking. The blender will integrate these seamlessly, ensuring every batch of mayonnaise is consistent and delicious.
Crafting Banana Nice Cream
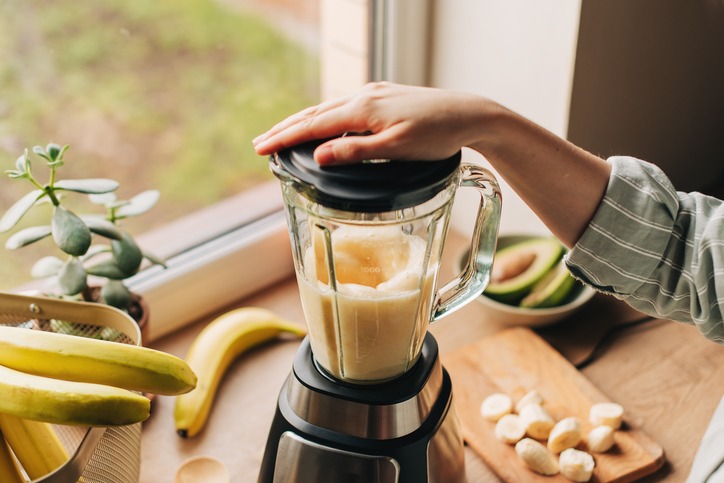
To make banana nice cream, a healthy alternative to traditional ice cream, follow these straightforward steps:
- Prepare Your Bananas: Slice ripe bananas and place them in the freezer until they are completely frozen. Use bananas that are very ripe to naturally sweeten your nice cream without the need for additional sugars.
- Blend Until Smooth: Insert the frozen banana slices into your blender. Pulse the blender until the bananas reach a creamy consistency similar to soft-serve ice cream. Occasionally stop to scrape the sides to ensure an even texture.
- Customize Your Flavor: Introduce your preferred mix-ins to personalize the flavor of your nice cream. Options include cocoa powder for a chocolate flavor, a spoonful of nut butter for added richness, or some fresh berries for a burst of fruitiness.
- Add Toppings: Finish your banana nice cream with a variety of toppings to enhance both texture and taste. Consider nuts, granola, or chocolate chips as topping choices.
Serve your homemade banana nice cream as a refreshing and healthy dessert option whenever you desire a sweet yet nutritious treat.
Blending Smooth Lemonade
Begin by adding fresh lemons, water, and sugar to your blender. This efficient method eliminates the need for manual squeezing and allows you to precisely adjust the sweetness and tartness of your lemonade. After blending these essential ingredients, ensure to strain the mixture to remove seeds and pulp, achieving a smooth lemonade.
Enhance your lemonade by incorporating different flavors. For a refreshing twist, add a handful of mint leaves. If you prefer a sweet, fruity taste, blend in some strawberries. A dash of lime can also enhance the traditional lemon flavor. Experiment to discover the flavors that best suit your palate.
Creating Grain-Free Flours
After perfecting homemade lemonade, you might want to use your blender to make your own grain-free flours, ideal for specific diets such as gluten-free or paleo. Crafting your own grain-free flour ensures your meals meet your dietary requirements while being enjoyable.
Here are steps to begin experimenting with your own flour blends:
- Choose Your Base: Opt for non-grain bases such as almonds, coconut, or oats, which serve as the primary component of your flour.
- Blend to Desired Texture: Achieve the texture you prefer by pulsing for a coarser grind or blending until fine. This step is crucial for the success of grain-free baking.
- Experiment with Mixes: Try combining different ingredients like quinoa or buckwheat to discover unique flavors and textures.
- Use Immediately or Store: Use the flour right away for optimal freshness, or store it in an airtight container to preserve its quality.
Following these guidelines will help you produce grain-free flours that enhance your cooking and baking, tailored to your dietary needs.
Mixing Nut and Seed Butters
To create your own nut and seed butters, utilize your blender, an ideal tool for this task. It efficiently processes almonds, cashews, peanuts, and various seeds into smooth butter quickly, offering both cost savings and freshness compared to pre-made options without preservatives.
To tailor homemade nut and seed butters to your preferences, you can add ingredients like honey for sweetness or salt for flavor balance. Start by roasting your chosen nuts or seeds, then place them in the blender. Blend until you achieve the desired consistency. If the butter is too thick, incorporate a small amount of oil to refine the texture.
Preparing your nut and seed butters with a blender not only ensures a fresher product but also allows you to control the ingredients, from the type of nuts to the quality of the oil. This method is healthier and often superior to commercial alternatives. Use your blender to effortlessly make nutritious and delicious butters at home.
Preparing Cold Soups Like Gazpacho
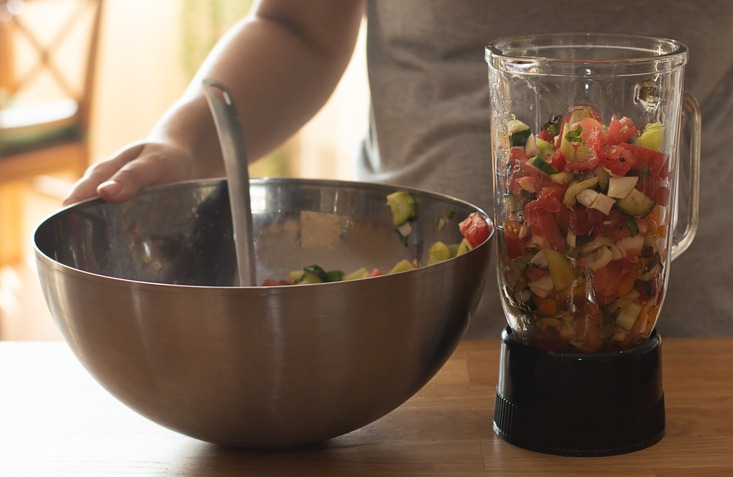
Your blender is not only great for making nut and seed butters but also excellent for preparing cold soups like gazpacho. Originating from Spain, gazpacho is a refreshing cold soup that's simple to make using a blender.
Follow these steps to create a tasty gazpacho:
- Collect Ingredients: Begin with essential items such as ripe tomatoes, cucumbers, bell peppers, onions, and garlic. Include herbs like basil or parsley to enhance the flavor.
- Blend Ingredients: Put all the ingredients into your blender. For a smooth gazpacho, blend until the mixture is creamy. For a soup with more texture, pulse the blender to leave some larger pieces.
- Personalize Your Soup: Here, you can be creative. Add avocado for a creamy texture or corn for a crunchy sweetness. Season with salt, pepper, or a dash of vinegar to taste.
- Refrigerate and Serve: Gazpacho is best served cold. Refrigerate for several hours to allow the flavors to integrate fully.
Serve this chilled soup as a light meal or a refreshing starter during the hot summer months.
Making Fluffy Pancakes and Waffles
To make fluffy pancakes and waffles, use a blender to mix the batter. This technique ensures a smooth and even texture crucial for creating ideal breakfast dishes. The blending process also introduces air, resulting in lighter pancakes and waffles.
For added flavor and nutrition, consider blending bananas, oats, or nuts into the batter. These ingredients enhance taste and improve texture, while also evenly distributing any grains or seeds throughout the batter. Using a blender simplifies the cooking process as well. The smooth batter can be poured directly from the blender to the griddle or waffle iron, minimizing mess and ensuring uniformity in your pancakes or waffles.
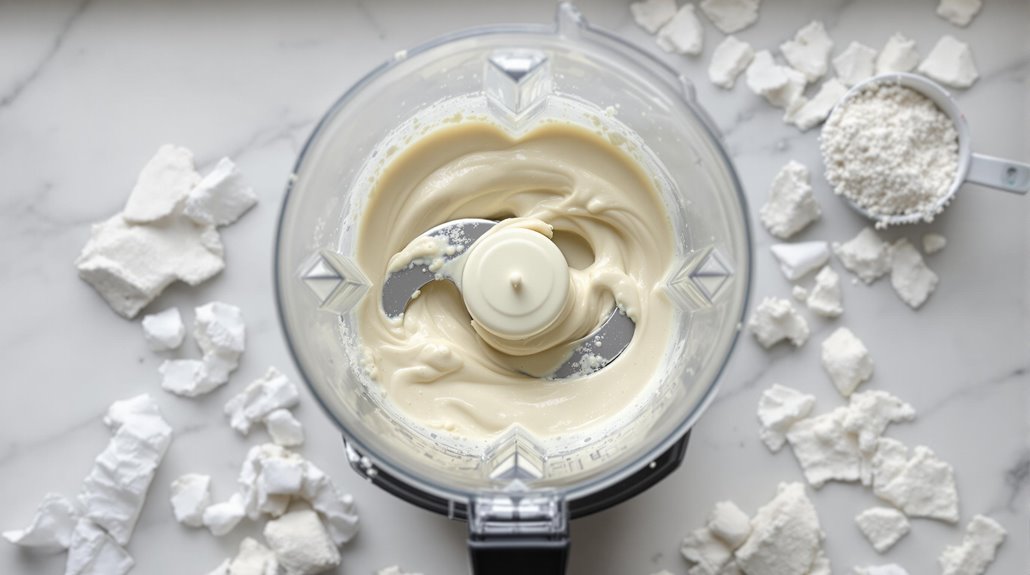
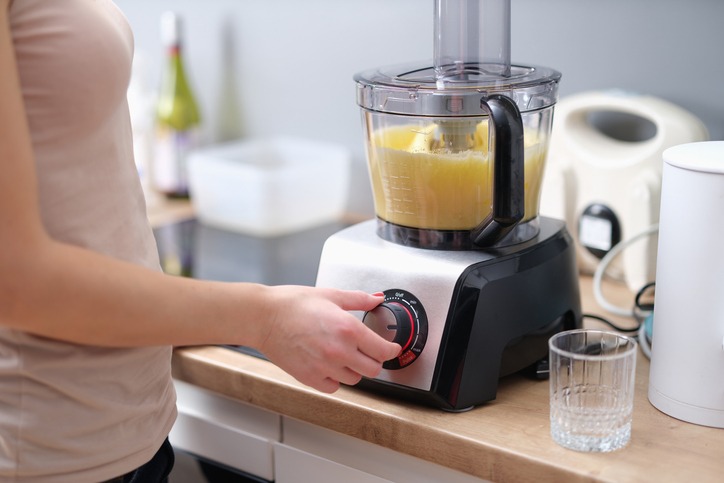
Whipping Cream Effortlessly
Enhance your desserts by using a blender to whip cream, achieving light, fluffy peaks quickly. This method is a significant advantage for making homemade whipped cream, as it reduces arm strain compared to manual whisking. You also have the option to personalize your whipped cream with various flavors.
Follow these steps to effectively use your blender for whipping cream:
- Chill Your Tools: Before beginning, place the blender jar and cream in the refrigerator. Using cold tools is crucial for optimal texture.
- Pour and Blend: Pour the cold cream into the blender, secure the lid, and start blending at a low speed, gradually increasing to high. Keep a close eye on the process; it typically takes under a minute.
- Flavor It Up: Enhance your whipped cream by adding flavors such as vanilla, cinnamon, or your preferred liqueurs while blending.
- Check Consistency: Stop blending once soft peaks form. Be cautious not to over-blend, as this can lead to butter.
Using your blender for whipped cream not only saves time but also allows for flavor experimentation. Choose this method for quick, customizable homemade whipped cream to complement cakes, pies, or even your morning coffee. Avoid store-bought options and opt for this straightforward, efficient technique in your kitchen.