Can You Blend Cream to Make Butter?
Yes, you can easily make butter by blending heavy cream in a standard blender or food processor. The vigorous blending causes the cream's fat globules to break down and combine, eventually separating into solid butter and liquid buttermilk. You'll need heavy cream with at least 36% fat content, and the process takes about 5-7 minutes of blending. With proper rinsing and storage, your homemade butter can last for weeks. Uncover how to create perfectly smooth, flavorful butter with a few simple steps.
Understanding the Science of Blender Butter
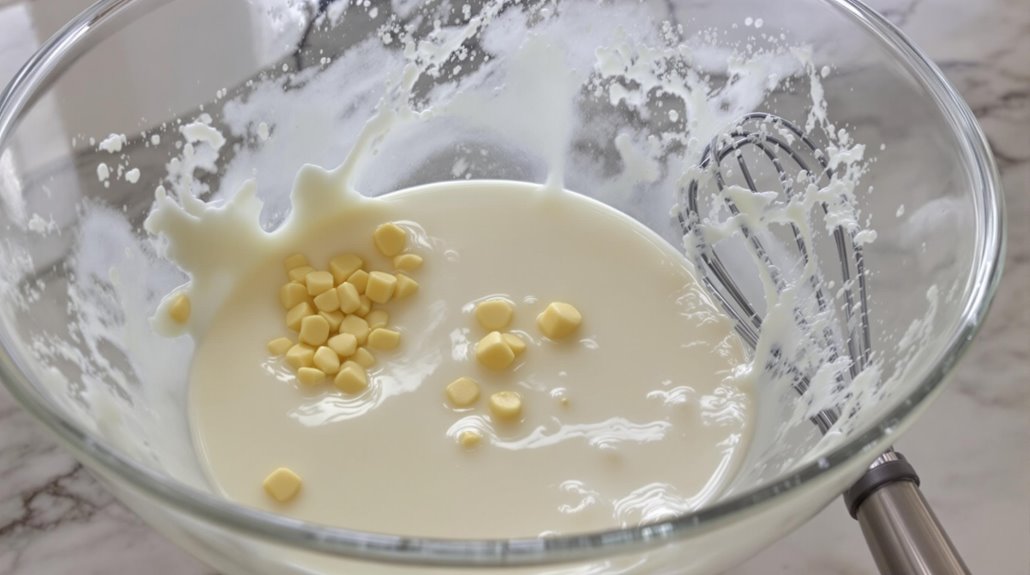
When cream is blended vigorously, fat globules break down and combine with each other while separating from the liquid (buttermilk). This process happens when you blend on high speed, causing the heavy whipping cream's fat content to undergo a physical alteration.
The cream separates as the fat molecules clump together, forming solid butter.
You'll need cream with at least 36% fat to successfully make homemade butter in a blender. As you blend, the fat particles collide and stick together, creating a solid mass that's distinct from the buttermilk.
The resulting butter can be used as is or converted into compound butter by adding herbs, spices, or other flavorings. The butter made through this process has the same characteristics as traditionally churned butter.
Using a heavy-duty blender is ideal for making butter as it can handle long-duration blending without overheating.
Essential Ingredients and Equipment
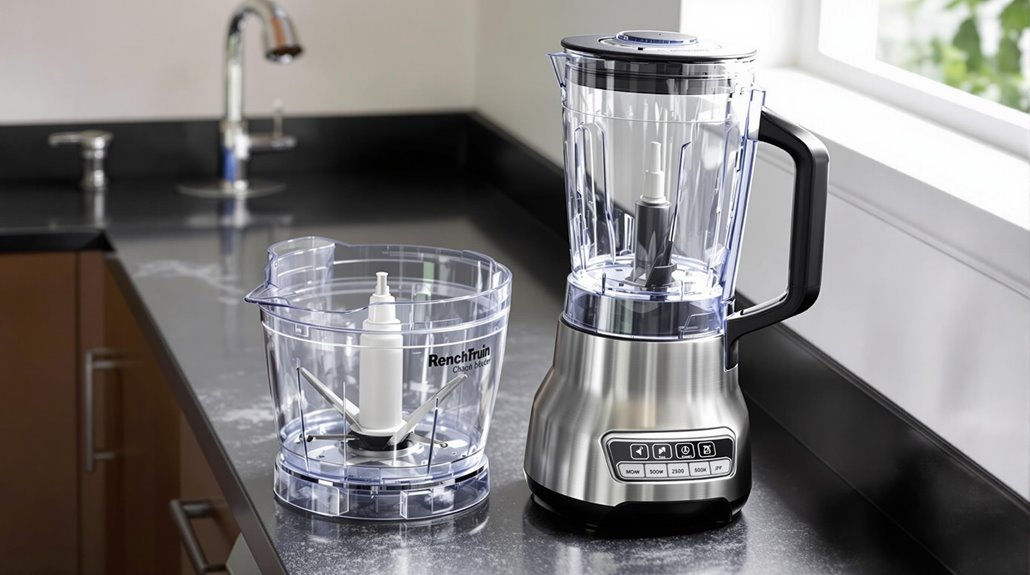
Making butter in your blender starts with just two basic items: high-quality heavy cream and a reliable blending device. You'll need cream with at least 36% fat content to successfully convert it into homemade butter. A high-powered blender or food processor is essential for this task.
While making butter, you can add salt to taste, though it's completely optional. You'll also need a container to collect the buttermilk that separates during the blending process. Keep some cold water on hand for the final step - you'll use it to rinse the butter and remove any remaining buttermilk. This simple process requires minimal ingredients and equipment, making it easy to create fresh, homemade butter whenever you want.
Similar to heavy whipping cream, your homemade butter will have a rich and decadent taste that's superior to store-bought alternatives.
Step-by-Step Blending Process
To convert cream into butter, you'll start by pouring room-temperature heavy cream into your blender, filling it only halfway to allow space for expansion. Pour about one pint of heavy cream into your blender and secure the lid tightly.
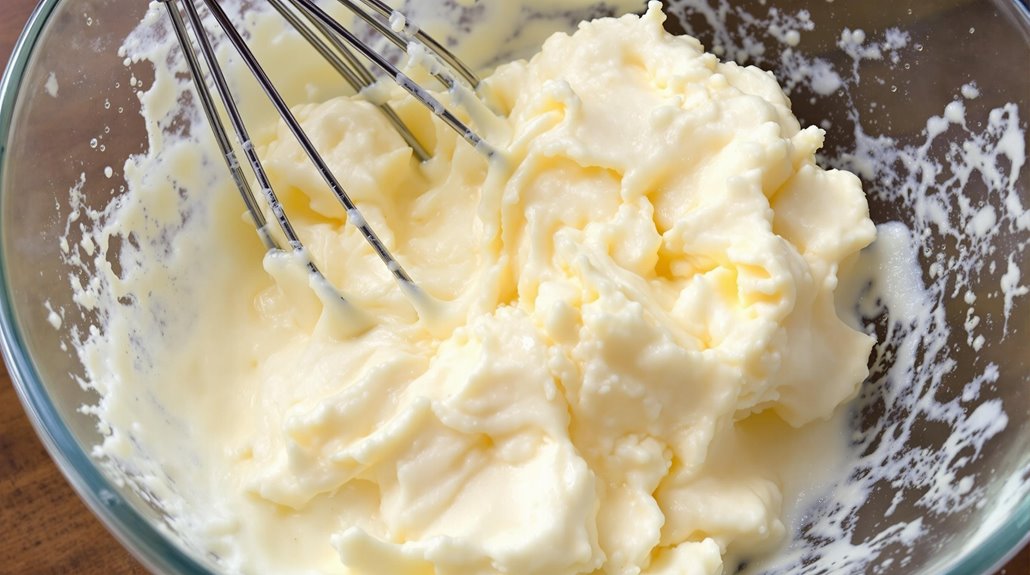
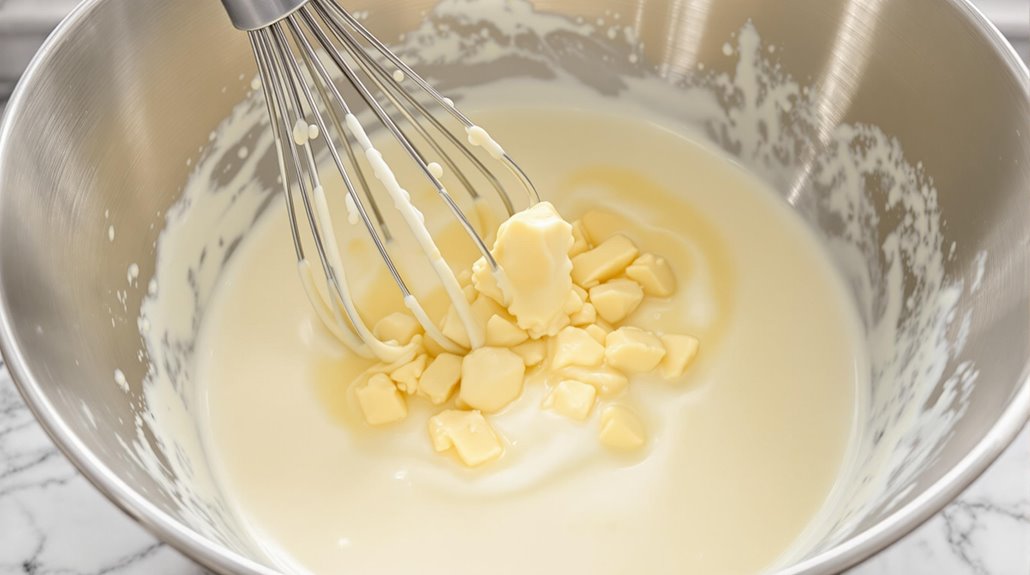
Blend on high speed for 5-7 minutes, stopping occasionally to scrap down the sides. You'll notice the cream convert from liquid to whipped cream, then to a grainy texture, and finally separate into butter and buttermilk.
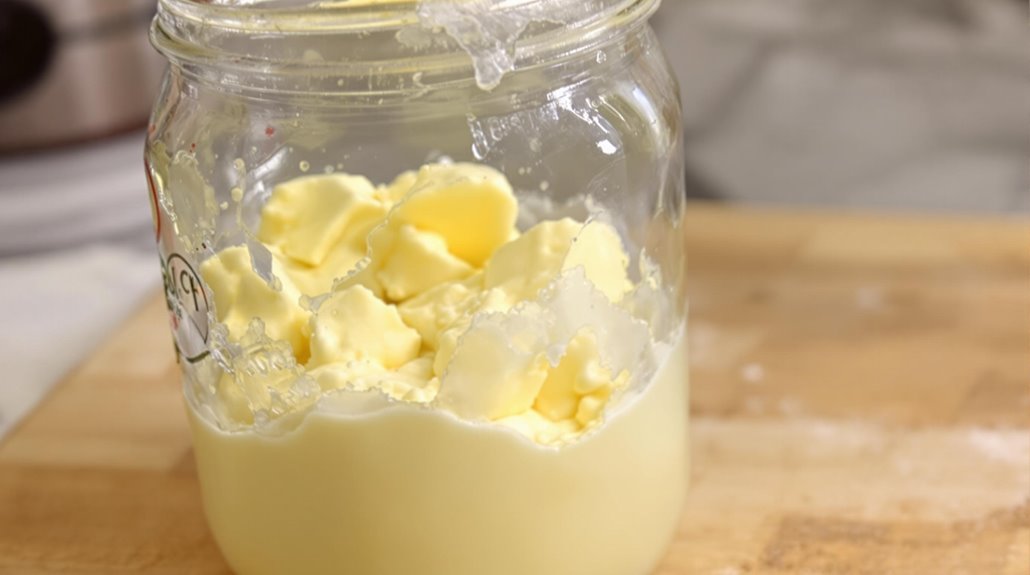
Once separated, strain the buttermilk and save it for other recipes. Rinse the butter under cold water, kneading it gently to remove any remaining buttermilk. Continue rinsing until the water runs clear. Pat the butter dry with paper towels and store it in an airtight container.
Similar to making smooth vegetable soups, blenders are reliable tools for converting cream into butter through their powerful mixing action.
Tips for Perfect Homemade Butter
Success with homemade butter depends on a few essential factors you'll want to keep in mind. When making homemade butter from scratch, use heavy cream with at least 35% fat to make the best results possible. Let the cream sit at room temperature before you begin, as this helps butter and buttermilk separate more efficiently.
While you can use a stand mixer, a blender works perfectly for this task. After blending, rinse your butter with ice cold water to remove any remaining buttermilk, which helps extend its shelf life. You can wrap your finished butter in parchment paper before refrigerating it. Remember to add salt to taste if you'd like salted butter. With proper storage in the refrigerator, your homemade butter will stay fresh for up to three weeks.
Storing and Preserving Your Blended Butter
Properly storing your freshly blended butter is crucial for maintaining its quality and extending its shelf life. After making butter from whipped cream and straining through a cheesecloth to pour the buttermilk into a separate container, you'll need to decide how to store your fresh homemade creation.
You can keep your butter at room temperature for up to a week in an airtight container, but be aware it'll have a shorter shelf life than store-bought versions. If you'd like your butter to last longer, refrigeration is your best bet - properly rinsed butter will last 2-3 weeks when chilled.
For maximum preservation, try freezing your homemade butter for up to three months. While freezing might slightly alter the texture, it's an effective way to preserve your butter for an extended period.
Creative Ways to Season Your Butter
Once you've perfected making butter in your blender, you can convert it into exciting compound butters by adding various seasonings and ingredients. Whether you've used a food processor, hand mixer, or separated your buttermilk from heavy cream, your homemade butter serves as the perfect base for creative flavoring.
Try these delicious combinations to heighten your butter:
- Mix in fresh herbs like rosemary and thyme for an aromatic spread perfect for bread
- Add spices like garlic powder and smoked paprika for a savory kick
- Incorporate sweet ingredients like honey and cinnamon for a breakfast-worthy treat
- Blend in citrus zest from lemons or oranges for a bright, invigorating twist
Experiment with different combinations to create your signature compound butter. The possibilities are endless, and you'll never want to go back to plain butter again.
Troubleshooting Common Issues
While creating flavored butter can be exciting, you might encounter some challenges during the blending process. If your cream starts mixing but you can't find any butter forming after 3 minutes, don't worry - just keep blending. The separation time can vary depending on your mixer and cream temperature.
If you're still having trouble after 5-7 minutes, try placing your large mixing bowl in the refrigerator, as warm environments can affect butter formation. Once separated, drain as much buttermilk as possible. If the water runs cloudy during rinsing, continue until it's clear.
Remember that homemade butter can vary considerably based on your cream brand and preparation method. While making your own butter is fun, you might need to add more salt or adjust ingredients when baking, as it's less consistent than store-bought varieties. Store in plastic wrap when finished.
Using Your Homemade Butter in Recipes
Homemade butter opens up countless possibilities in your kitchen, from enhancing baked goods to elevating everyday dishes. While it may differ slightly from store-bought butter, you'll find that your freshly made butter works wonderfully in most recipes.
Use it as a rich spread on warm toast, muffins, or dinner rolls. Create compound butters by mixing in herbs, spices, or other seasonings. Incorporate it into baked goods, though you might need to adjust recipes slightly due to its higher fat content. Use it in sauces, marinades, or as a finishing touch on cooked vegetables.
When baking with homemade butter, start by testing small amounts in your favorite recipes. You may need to make minor adjustments to achieve the desired texture, especially in delicate pastries where the butter's consistency plays a fundamental role.