How to Make Paper Mache Paste: A Simple Blender Recipe for Crafts
To make paper mache paste, blend 1 part all-purpose flour with 2 parts water until you achieve a smooth, pancake-like batter consistency. Add a tablespoon of salt to prevent mold growth, and consider a splash of lemon juice or vinegar as a preservative. Mix for 1-2 minutes using a blender or hand mixer until completely smooth. Store your paste in a covered container for up to 5 days in the refrigerator. There's much more to creating the perfect paste that'll make your crafts truly stand out.
Safety Precautions and Allergies
While paper mache is generally safe to work with, you should be aware of potential allergic reactions to the flour-based paste. If you have sensitive skin or wheat allergies, you'll need to take extra precautions when mixing and handling the flour and water mixture. It's best to wear rubber gloves to protect your hands during the entire process.
Though allergic reactions to paper mache paste aren't common, the combination of white flour and white glue can trigger skin sensitivities in some people. If you know you're sensitive to these materials, you might want to test a small amount of the mixture on your skin before starting your project. Pay attention to any signs of irritation, and if you experience discomfort, stop using the paste immediately and wash the affected area with water. When using a blender to mix your paste, always follow proper cleaning practices to prevent any cross-contamination with food preparation.
Required Tools and Ingredients
To create paper mache paste, you'll need just a few basic kitchen items and ingredients that are likely already in your pantry. For mixing the paste, gather a medium-sized bowl and a whisk or sturdy spoon. The two main ingredients are all-purpose flour and water, which you'll combine to achieve a consistency similar to thin pancake batter.
Before mixing ingredients, make sure to clean your blender thoroughly by running warm water and dish soap through it for 30 seconds. While the basic recipe only requires flour and water, you can add a few tablespoons of salt to help prevent mold growth in your finished projects. Some crafters also like to include a sprinkle of cinnamon for a pleasant scent.
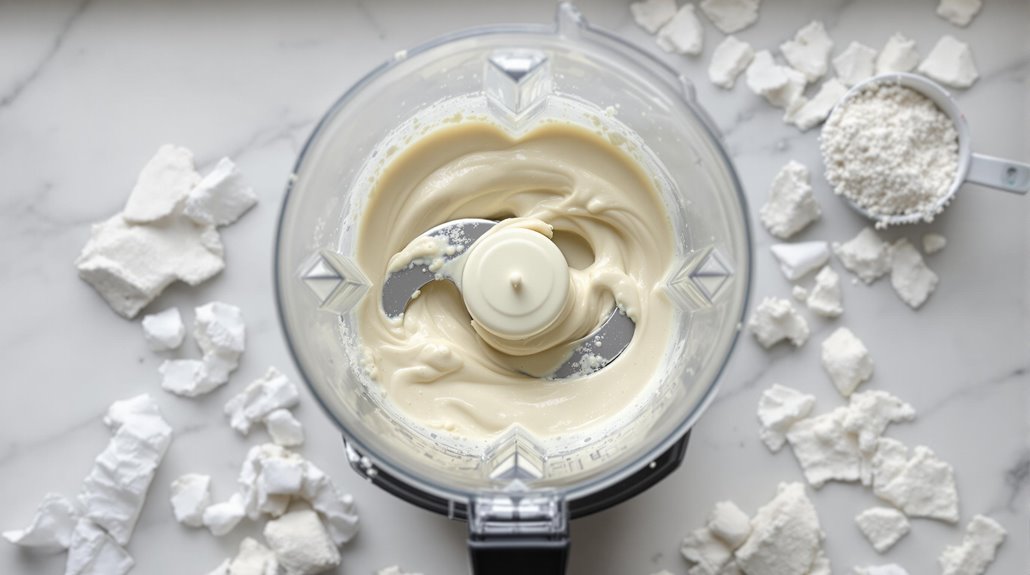
As you mix your paper mache paste, you'll want to adjust the ratio of flour to water until you reach the perfect consistency. If it's too thick, add more water; if too thin, incorporate additional flour.
Basic Flour and Water Recipe
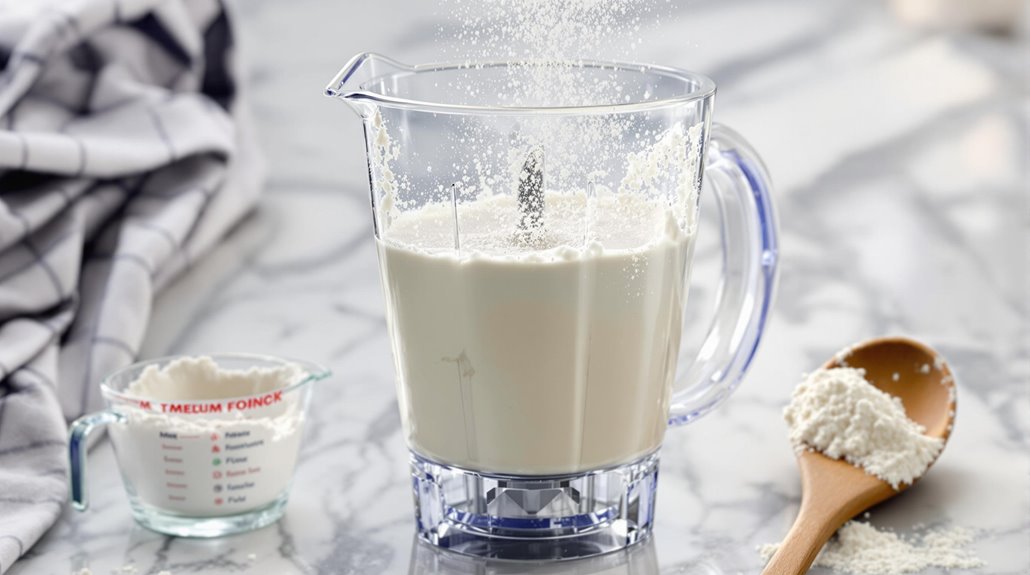
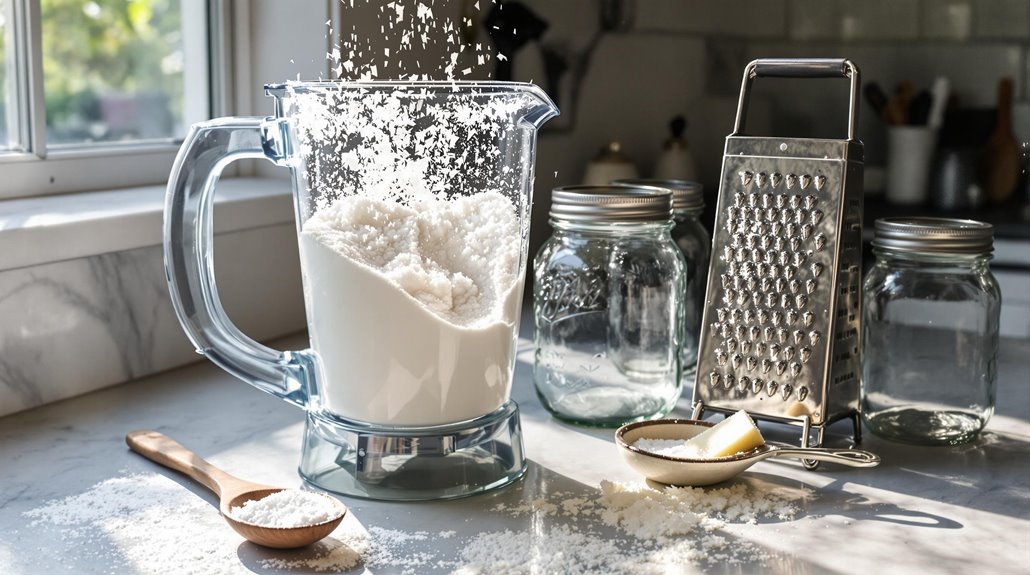
Now that you've gathered your supplies, making the classic flour and water paste is straightforward. Mix 1 part flour with 2 parts water to create your paper mache recipe, aiming for a consistency similar to pancake batter. You'll want to stir the mixture thoroughly until it's smooth and free of lumps.
For the best results, use a whisk or hand-held blender to combine your ingredients. If the mixture's too thick, add more water; if it's too thin, incorporate additional flour until you reach the desired texture. Don't forget to add a few tablespoons of salt to prevent mold, especially in humid conditions. You can use your paste right away or store it in a covered container in the refrigerator for several days when you're ready to start your project. Using your blender's Soft Start technology will help achieve the smoothest consistency without introducing excess air into your paper mache paste.
Blending Methods for Smooth Consistency
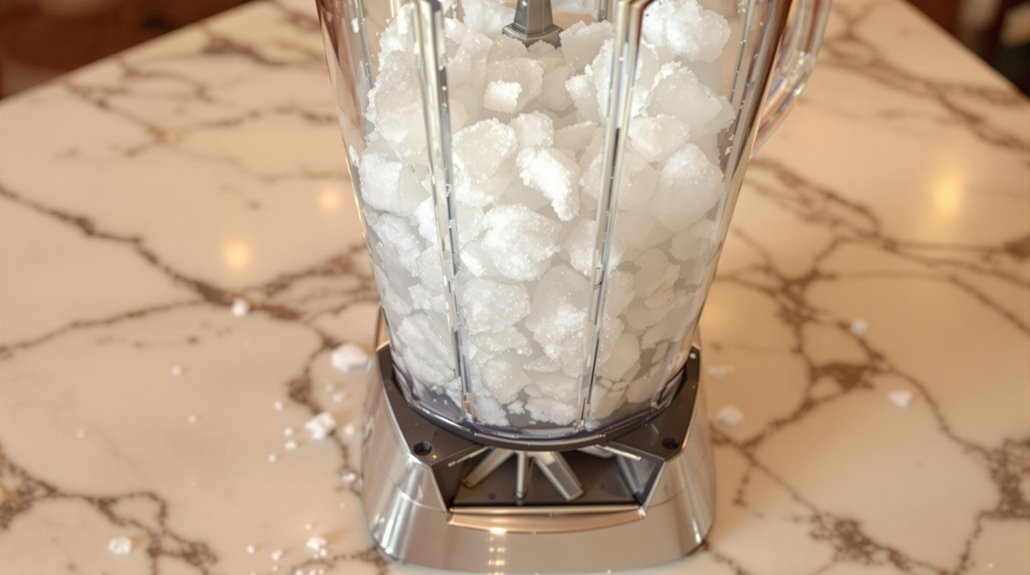
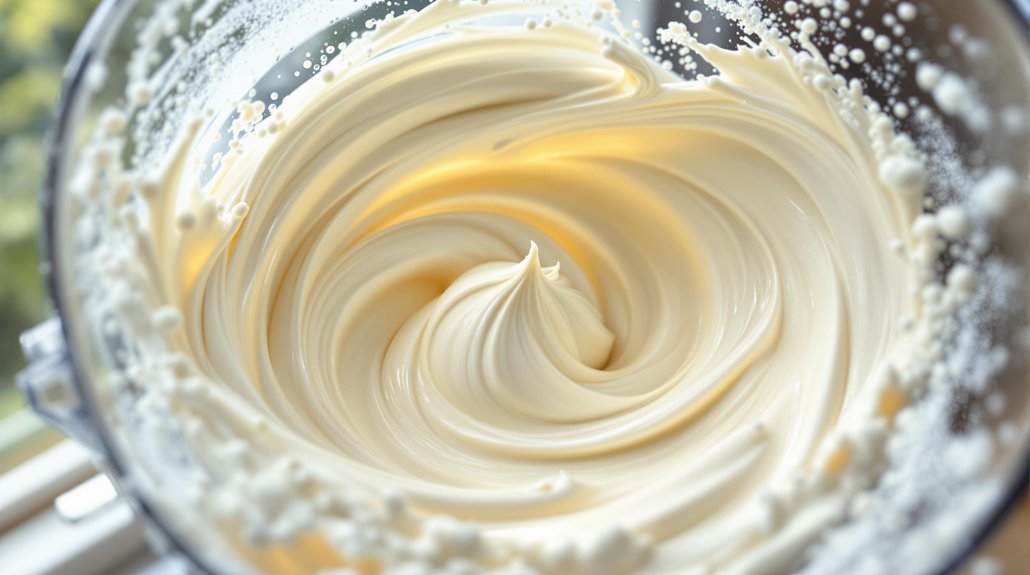
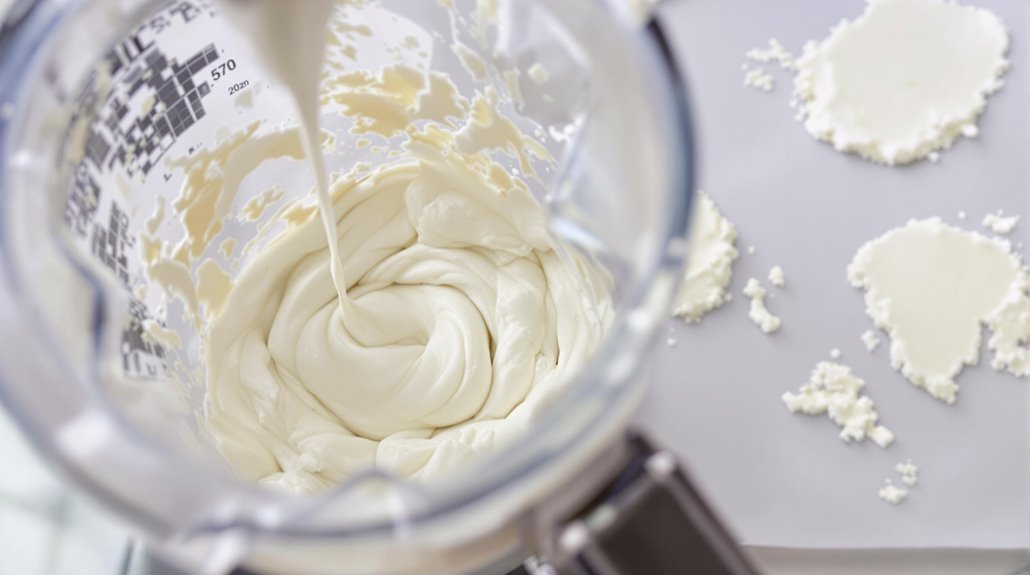
Since achieving a smooth consistency is crucial for professional-looking results, using the right blending method can make all the difference in your paper mache paste. You'll want to add your flour and water mixture to a blender or use a hand-held blender for ideal results. While you can use a whisk, it often leaves behind unwanted flour lumps that can affect your final project.
Blend the mixture for 1-2 minutes to create a creamy, pancake-like batter consistency. The blending process incorporates air into the paste, making it lighter and easier to spread. If your mixture is too thick, add boiling water gradually. If it's too thin, incorporate more flour as needed. This method guarantees a perfectly smooth, professional-grade paste that's free from any unmixed flour particles.
Adding Preservatives and Anti-Mold Agents

Protection against mold and decay is essential when making paper mache paste, especially for projects that you'll want to keep long-term. You can help prevent spoilage by adding a few tablespoons of salt to your glue mixture, which works particularly well in humid conditions. For your last layer of air dry clay, consider incorporating methylcellulose or white glue as preservatives to extend the paste's shelf life.
To combat unpleasant odors while fighting mold, sprinkle some cinnamon into your mixture. If you need to add more water to thin the paste, consider adding boric acid as an effective anti-mold agent. When you're not using your paste, store it in a covered container in the refrigerator to keep it fresh between crafting sessions.
Storage Tips and Shelf Life
Proper storage of your paper mache paste plays a key role in maintaining its usability and extending its life. You can keep your paste fresh in the refrigerator for up to 5 days by storing it in a covered container.
To extend the shelf life up to a week, add a few drops of lemon juice or white vinegar to your mixture of paper and glue.
For long-term storage, freeze your paste in an airtight container, where it'll stay good for up to 6 months. If you notice your paste becoming too thick during storage, simply add a few tablespoons of cup water and mix well to restore its consistency.
Always check for signs of spoilage - if you spot any mold or discoloration, it's time to discard the paste and make a fresh batch.
Project Ideas and Applications
Paper mache's versatility makes it an ideal medium for countless creative projects. You'll find it's easy to Make everything from festive pinatas filled with candy to educational globes painted to show Earth's features. By layering white paper strips and paste, you can craft decorative bowls that are perfect for storing small items and trinkets.
Want to create an exciting science project? Design a paper mache volcano that erupts with a mixture of vinegar and food coloring for a dramatic display. These easy to make projects are especially fun for children and can help develop their artistic skills. Whether you're planning a party, teaching geography, or just looking for a creative way to spend an afternoon, paper mache offers endless possibilities for crafters of all skill levels.
Gluten-Free Alternative Recipes
Anyone seeking gluten-free alternatives for paper mache paste has several reliable options. You'll find that Elmers Glue-All mixed with water creates a strong, no-cook method that's perfect for basic projects. For more durable pieces, Titebond III wood glue delivers exceptional strength, making it ideal for masks and sculptures that need to withstand handling.
- Mix Elmers Glue-All with water for a quick, safe paste that won't trigger gluten sensitivities
- Use Titebond III for extra-strong, long-lasting creations
- Apply acrylic gel for crystal-clear results that won't yellow over time
- Layer gel medium with tissue paper for a protective finish
If you're working with delicate pieces, consider using acrylic gel or gel medium, as they dry clear and create a protective barrier that prevents your creation from deteriorating.
Troubleshooting Common Issues
When creating paper mache projects, you'll likely encounter several common challenges that can affect your final results. If your mixture is too wet when you apply paper, your project may fall apart or develop mold. Let it dry for at least 12 hours between layers, guaranteeing proper air circulation and rotating your piece regularly.
If you notice signs of rot, make a new batch and add a pinch of salt or a few drops of essential oil to prevent mold growth. Temperature changes can warp your balloon-based structures, so keep your drying area at a consistent temperature.
When working with complex shapes or adding features to your base structure, make certain each layer is completely dry before building upon it. This prevents internal moisture from becoming trapped and compromising your project's integrity.