How to Make DIY Lip Balm at Home: Beeswax & Coconut Oil Recipe
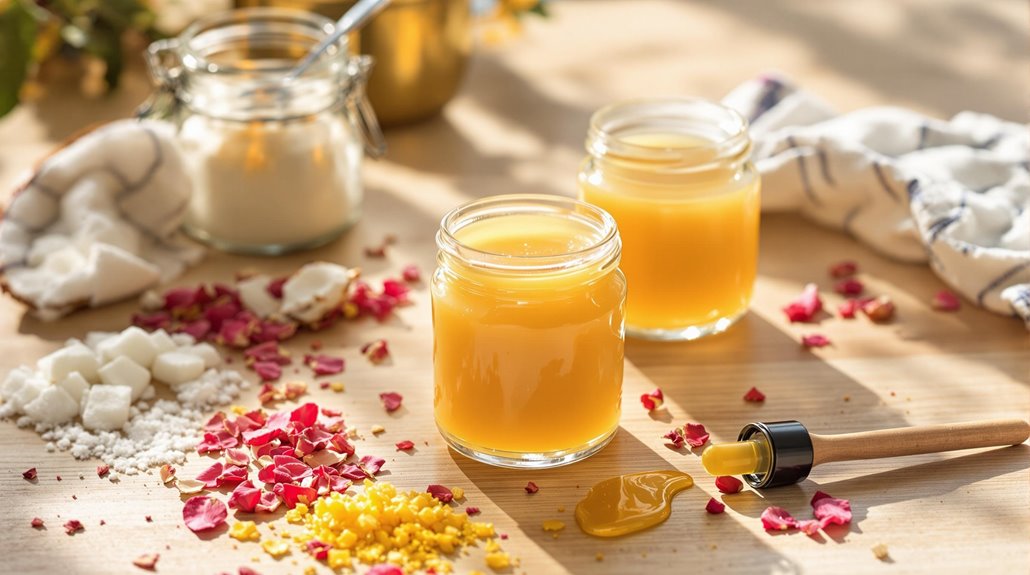
You can create natural lip balm at home using a simple combination of beeswax pellets and coconut oil melted in a double boiler. Add essential oils like peppermint or lavender for fragrance and therapeutic benefits, then carefully pour the mixture into small containers using a funnel. Let your lip balm set at room temperature before capping. For the perfect texture, maintain a 1:1 ratio of beeswax to coconut oil. The world of customization and natural ingredients opens up endless possibilities.
Benefits of Making Your Own Natural Lip Balm
While commercial lip products line store shelves, making your own natural lip balm offers enticing advantages for both your health and wallet. You'll have complete control over the ingredients, ensuring your lips receive only pure, nourishing elements like beeswax and coconut oil without harmful chemicals commonly found in store-bought versions.
Creating your own lip balm lets you save money compared to purchasing high-end brands, while still enjoying premium ingredients that deeply moisturize and protect your lips. You can enhance your balm with essential oils to create custom scents and therapeutic benefits customized to your preferences. Plus, when you make extra batches, you'll have perfect handmade gifts that friends and family will love for their natural ingredients and eco-friendly appeal.
Similar to making homemade body butters, crafting your own lip balm allows you to avoid preservatives while creating a personalized moisturizing experience.
Essential Ingredients and Equipment Needed
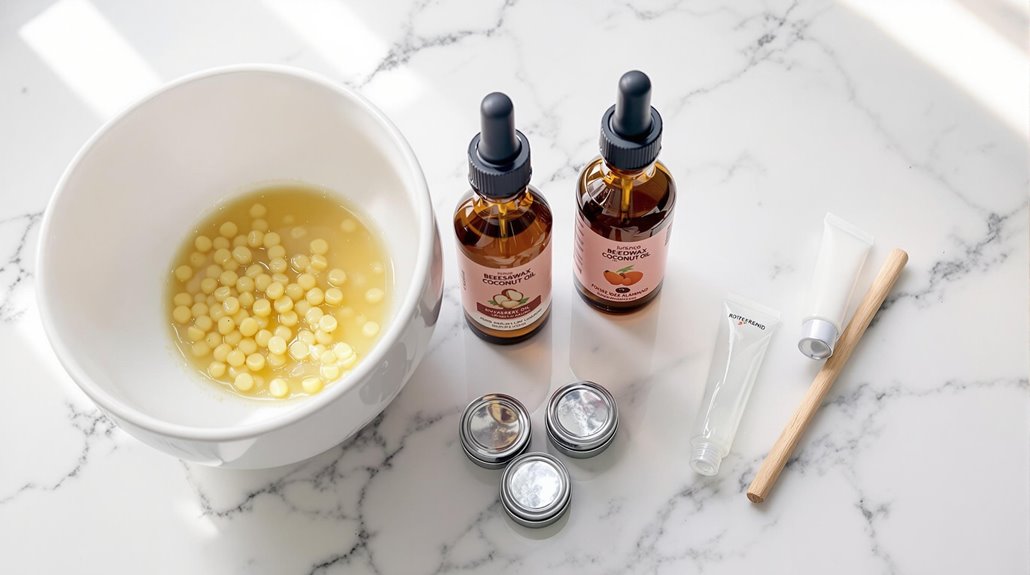
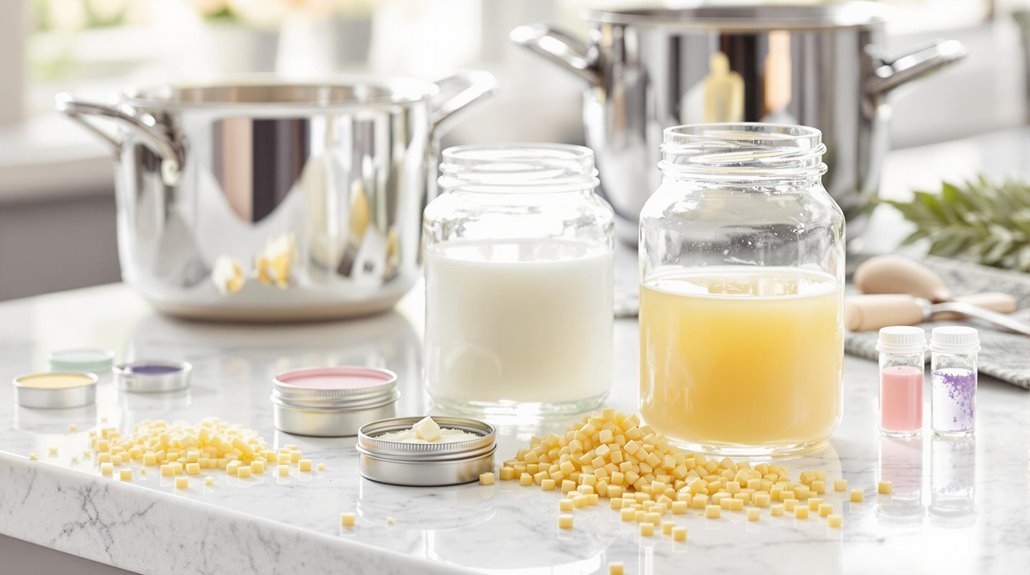
To begin your natural lip balm-making expedition, you'll need just a few key ingredients and basic tools. Your main ingredients consist of beeswax, which provides structure and firmness, and coconut oil, which delivers deep moisturization for soft, supple lips. If you'd like to add fragrance, consider incorporating peppermint essential oil for a stimulating touch.
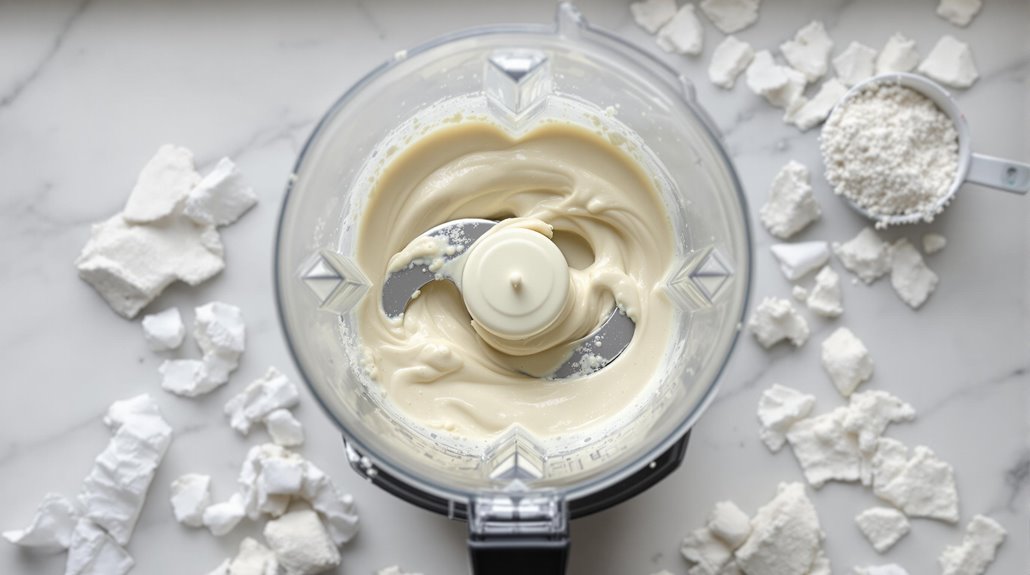
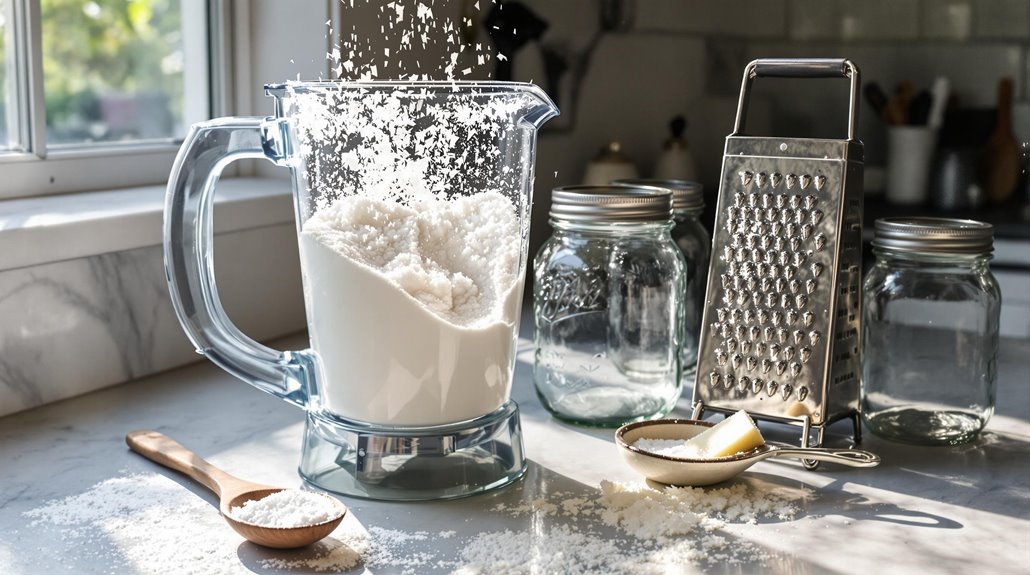
For equipment, gather a double boiler or microwave-safe container to melt your ingredients safely. You'll also need containers to store your finished lip balm - these can be new tubes, repurposed containers, or small jars. Don't forget a small funnel, which will help you transfer the melted mixture into your containers without spills. A high-quality stainless steel blender can help thoroughly mix your ingredients for a smoother consistency. With these simple ingredients and tools ready, you're set to create your own natural lip care product.
Understanding Different Carrier Oils
Although beeswax forms the foundation of your lip balm, carrier oils play an essential role in determining its therapeutic properties and texture. Coconut oil stands out as a deeply moisturizing ingredient that helps keep your lips soft and supple.
You'll find sweet almond oil particularly beneficial due to its lightweight nature and quick absorption, making it perfect for balancing the thickness of beeswax.
Don't forget to add vitamin E oil to your mixture, as it serves two important purposes: it acts as a natural preservative to extend your lip balm's shelf life and provides antioxidant benefits for your lips. When combined with tea tree oil's natural antiseptic properties, these carrier oils create a powerful blend that not only moisturizes but also helps heal chapped or cracked lips. For optimal blending of these nourishing oils, using a compact personal blender can help achieve the smoothest consistency in your homemade lip balm.
Selecting the Right Beeswax Type
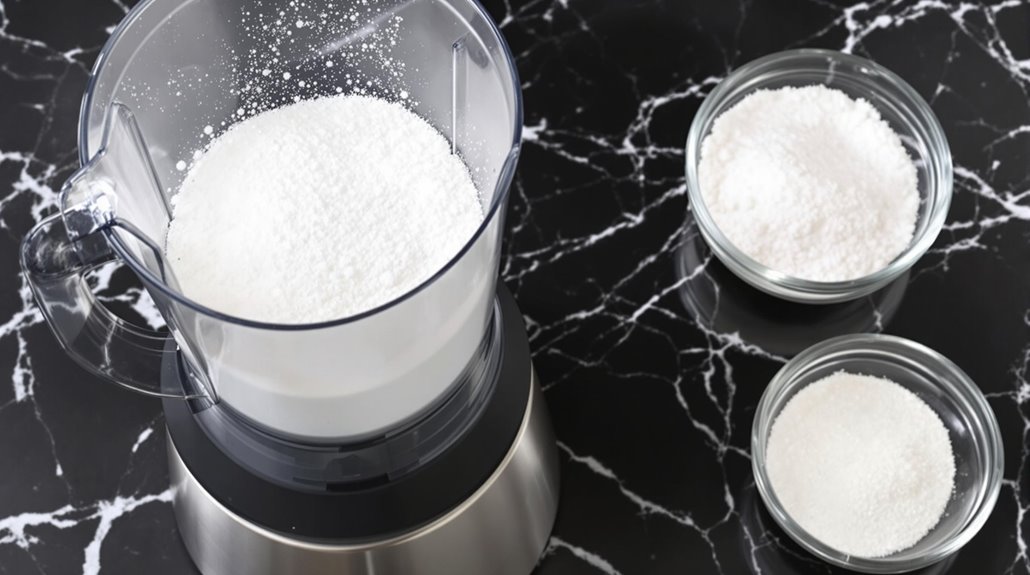
Choosing the right type of beeswax can make or break your DIY lip balm project. If you're just starting out, you'll want to opt for beeswax pellets since they melt faster and more evenly than block forms. They're particularly convenient for beginners as they don't require any pre-processing.
If you're working with block beeswax, you'll need to grate or chop it into smaller pieces before melting. Yellow beeswax is your best bet for traditional lip balms, as it's the most readily available and works well with most recipes. While white beeswax is also an option, it'll give your lip balm a lighter, more translucent appearance. Whichever type you choose, make sure it's pure and unprocessed for the best results in your homemade lip balm.
Step-by-Step Melting Process
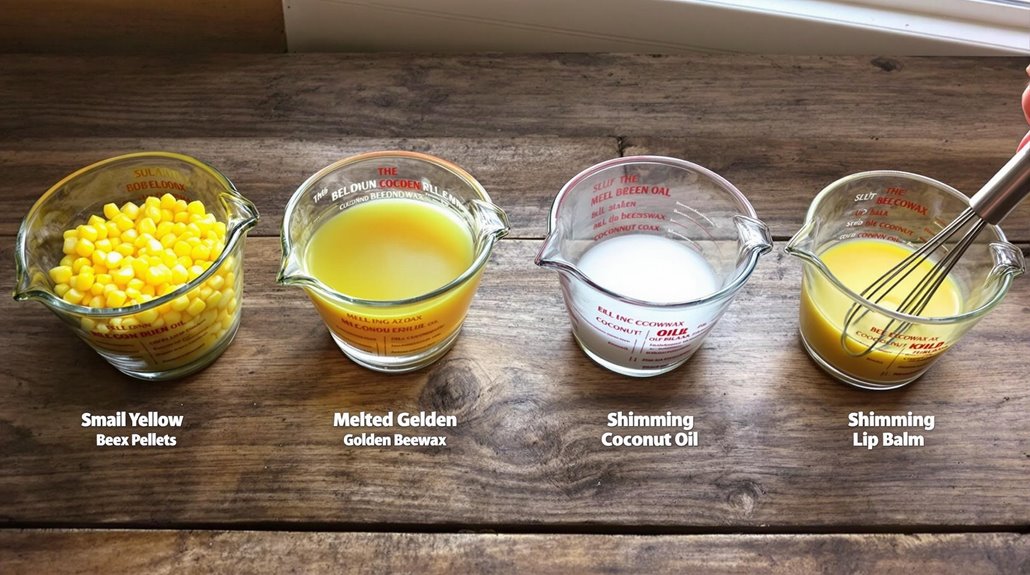
Once you've selected your preferred beeswax type, it's time to begin the melting process. Fill a medium-sized pot with boiling water and place a heat-safe glass bowl on top to create a double boiler. This method prevents direct heat from damaging your ingredients.
Add your measured beeswax pellets or chunks to the glass bowl first, as they'll take the longest to melt. Keep the water at a gentle simmer, not a rolling boil. Once the beeswax starts melting, add your coconut oil and stir gently with a metal spoon. You'll notice the coconut and beeswax combining into a clear, golden liquid. Continue heating until all ingredients have completely melted and blended, which typically takes 5-7 minutes. Don't rush this process, as proper melting guarantees a smooth final product.
Adding Essential Oils for Fragrance
The addition of essential oils alters your homemade lip balm from a basic moisturizer into a fragrant, therapeutic treat. You'll want to carefully select your preferred scent from popular options like peppermint, lavender, lemon, or eucalyptus to personalize your balm. Peppermint oil offers an invigorating sensation, while lavender provides calming properties.
To achieve the perfect fragrance level, start with 10 drops of your chosen essential oil per batch. You can adjust up to 20 drops if you prefer a stronger scent, but don't overdo it. Remember that these oils aren't just for fragrance - they often come with additional therapeutic benefits that'll enhance your lip balm's effectiveness. Once you've selected your essential oil, you're ready to add it to your melted mixture.
Pouring and Setting Techniques
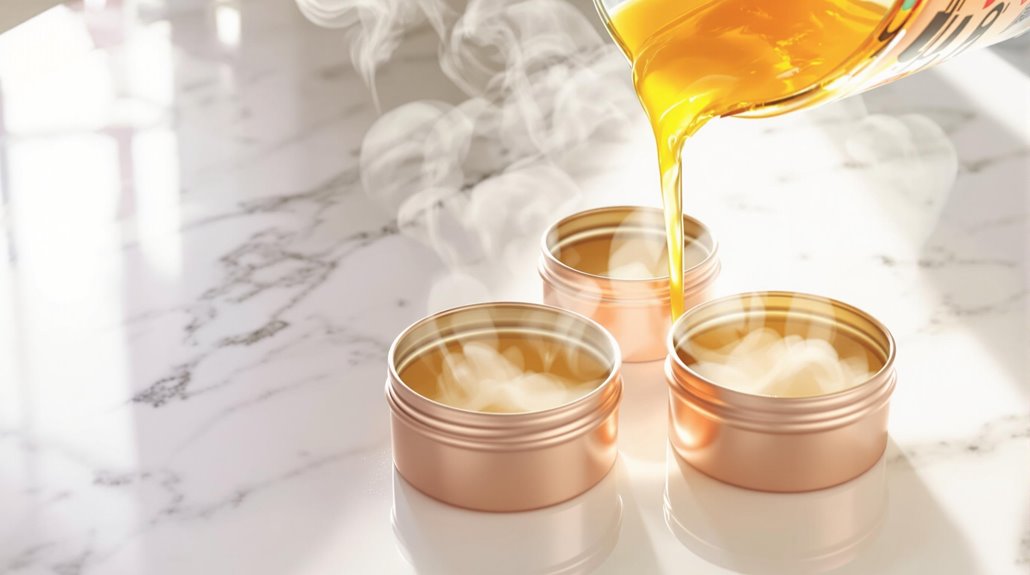
After your lip balm mixture reaches the perfect consistency, proper pouring techniques become essential for achieving professional-looking results. Use a small funnel or pipette to carefully transfer the mixture into your lip balm tubes - this makes the process easy and mess-free.
Place your containers on a flat, cool surface and let them set completely before capping. While natural cooling takes 1-2 hours, you can speed up the process by placing the containers in your refrigerator for 10-15 minutes. This quick-chill method is particularly helpful when you're desirous to try your homemade remedy for chapped lips.
Once the balm has fully hardened, guarantee you seal the containers tightly to maintain freshness. Proper sealing prevents the lip balm from drying out, keeping it smooth and effective for longer periods.
Storage Tips and Shelf Life
Proper storage determines whether your newly created lip balms remain fresh and effective throughout their lifespan. To maximize your lip balm recipe's shelf life of 1-2 years, store your products in airtight containers like lip balm tubes or small tins with secure lids. Keep them in a cool, dry place away from direct sunlight and heat.
For even longer preservation, especially if you've used Essential oils in your formula, you can store your lip balm in the refrigerator. This helps prevent melting and slows down oxidation, which can affect the quality of your homemade product.
Don't forget to regularly check your lip balm for any changes in color, texture, or scent. If you notice any alterations, it's time to make a fresh batch.
Customizing Your Lip Balm Recipe
Creating personalized lip balm recipes opens up endless possibilities for crafting your perfect beauty product. You can adjust your Beeswax Lip Balm formula by experimenting with different ratios of beeswax to coconut oil, making it firmer or softer to match your preferences. For enhanced moisturizing benefits, try incorporating nourishing ingredients like shea butter or honey.
To create unique variations, you'll find that essential oils offer countless scent combinations - from calming lavender to invigorating peppermint. If you're looking to add color, natural mineral powders or dried herbs can create subtle tints. Don't hesitate to swap out coconut oil for other carrier oils like jojoba or avocado oil, each bringing their own unique properties and consistency to your lip balm. These simple modifications will help you develop a personalized formula that's perfect for your needs.
Troubleshooting Common Issues
While making your own lip balm can be rewarding, you may encounter some challenges along the way. If your balm turns out too hard, simply adjust your recipe by adding more coconut oil in relation to the beeswax.
When melting your ingredients, be careful not to overheat them, as this can make your final lip product too soft and melty.
- Watch your essential oil measurements carefully - even a few extra drops of peppermint essential oil can make your balm too thin
- Allow your mixture to cool gradually at room temperature to prevent a grainy texture
- Store your finished lip balm in a cool, dry place to maintain its consistency and prevent spoilage
Related posts