Homemade Soap Made Easy: Blend Lye & Oils for the Perfect Bar
Making your own soap starts with carefully mixing lye and oils using proper safety gear and precise measurements. You'll need a digital scale, heat-proof containers, and an immersion blender to combine ingredients until they reach trace consistency. Choose quality oils like olive, coconut, and palm, then add natural colorants and essential oils for customization. Let your bars cure for 30 days to achieve the perfect hardness. There's much more to uncover about this rewarding craft.
Essential Safety Precautions for Soap Making
When making homemade soap, safety must be your top priority due to the caustic nature of lye. You'll need to protect yourself by wearing proper protective gear, including goggles, gloves, and long sleeves before handling any materials.
When mixing lye water, choose a well-ventilated area and work near your sink to contain potential spills. You'll want to add the lye slowly to your water - never the reverse - to prevent dangerous splashing that could cause serious burns. Don't forget to cover your work surface with newspaper to catch any accidental drips.
After you've finished making your soap, you'll need to wash all your equipment thoroughly while still wearing your gloves. These safety measures aren't optional - they're essential steps that'll protect you throughout the soap-making process. Always wear rubber slippers when handling lye solutions to reduce the risk of electric shock from any accidental spills.
Required Tools and Equipment
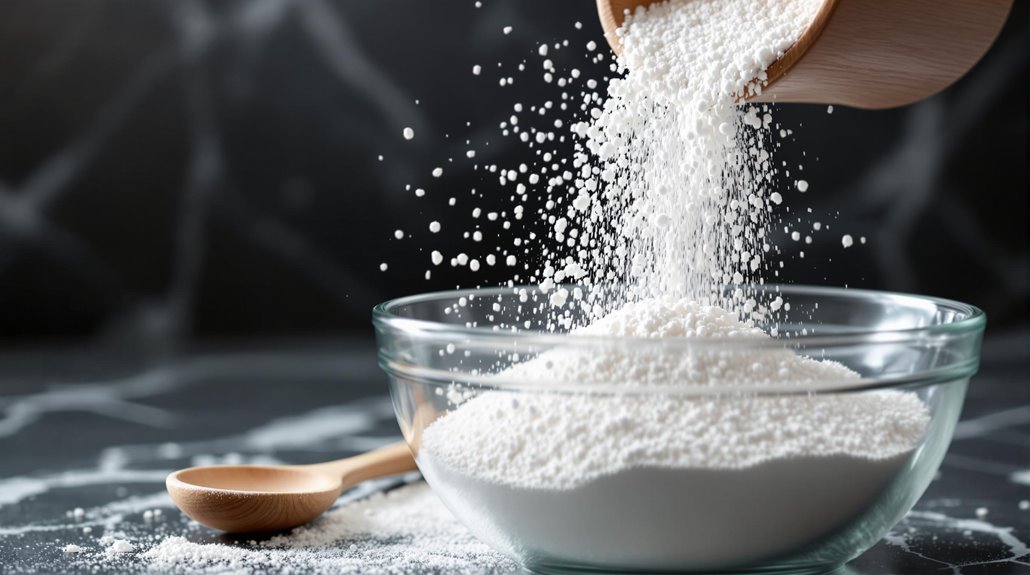
Before diving into soap making, you'll need several essential tools to guarantee success. A precise digital scale is vital for measuring your ingredients accurately, ensuring your recipe turns out perfectly every time.
You'll also need heat-proof containers made of stainless steel or Pyrex for safely mixing your lye solution and oils.
An immersion blender is indispensable for combining your ingredients efficiently and reaching trace faster than hand stirring. For shaping your soap, choose either silicone or wooden soap molds based on your preference and project needs.
Don't forget your protective gear - you'll need chemical-resistant gloves, safety goggles, and an apron to shield yourself when working with lye. Having these tools ready before you begin will make your soap-making process safer and more enjoyable.
When using your immersion blender, remember to avoid hot liquids until they've properly cooled to prevent potential burns and equipment damage.
Understanding Lye and Oil Ratios
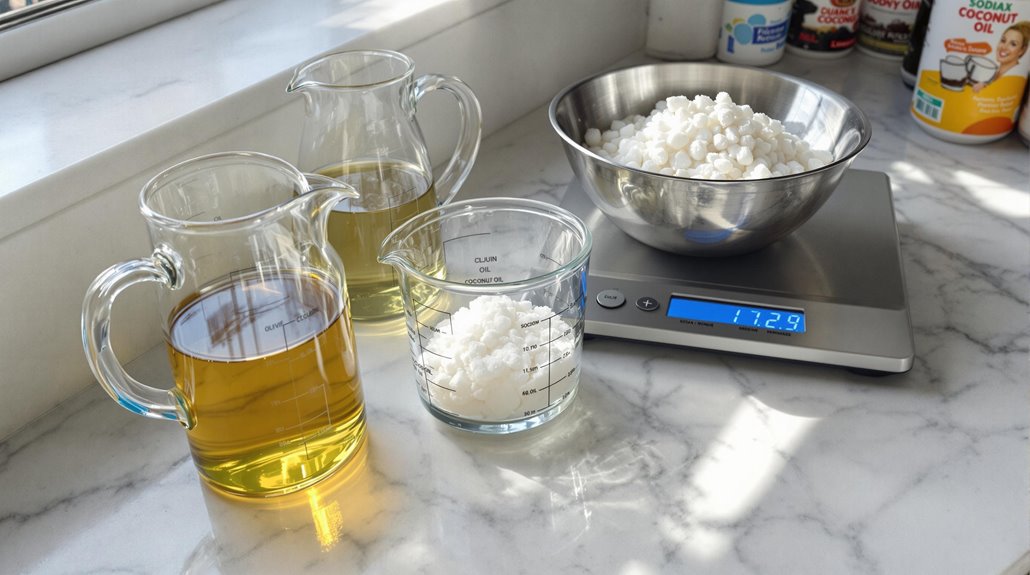
Three key elements define successful soap making: lye, oils, and their precise ratio to each other. When you're mixing these ingredients, you'll need to understand the saponification value of each oil to determine the correct lye amount. Getting this wrong can ruin your soap - too much lye creates harsh bars, while too little leaves unsaponified oils.
For a well-balanced bar, you'll want to follow standard oil ratios: 5-15% coconut oil and 20-80% olive oil, with optional additional oils up to 20%. The soap making process demands precise measurement of each ingredient. You can't guess or estimate these amounts - proper saponification depends on exact calculations. Understanding these ratios isn't just about creating successful soap; it's about making safe, effective bars that won't damage your skin. Using a blender with multiple speed settings helps achieve the perfect consistency when mixing your lye and oil solutions.
Step-by-Step Cold Process Method
The cold process method kicks off with two crucial steps: preparing your lye solution and measuring your oils. You'll need to carefully recalculate the amount of water and oils needed based on your specific cold process soap recipe.
Common oils include palm oil and castor oil, which provide different properties to your final product.
Once you've mixed your lye solution with your oils, use a stick blender to combine them until reaching medium trace. At this stage, you can add essential oils or natural additives to customize your soap.
Pour the soap batter into a mold lined with parchment paper, and let it rest for 48-72 hours. After removing it from the mold, cut it into bars and cure them for at least 30 days.
Remember to wear protective gear throughout the entire process.
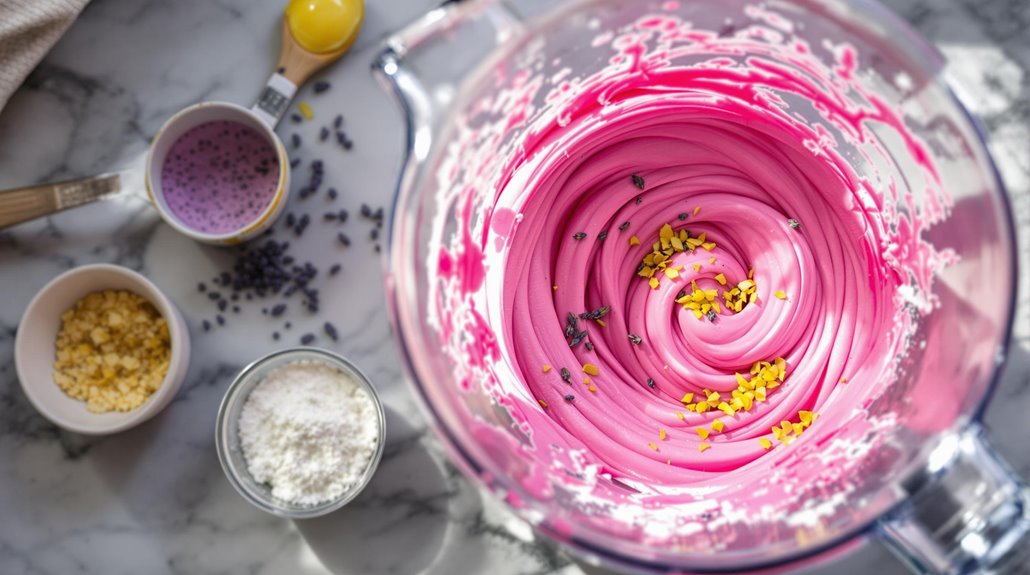
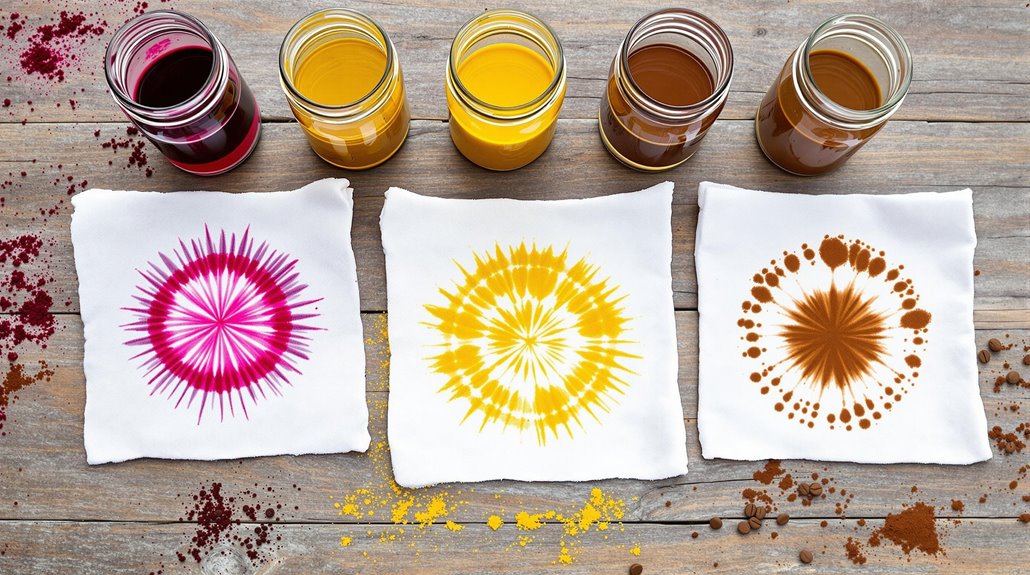
Natural Colorants and Essential Oils
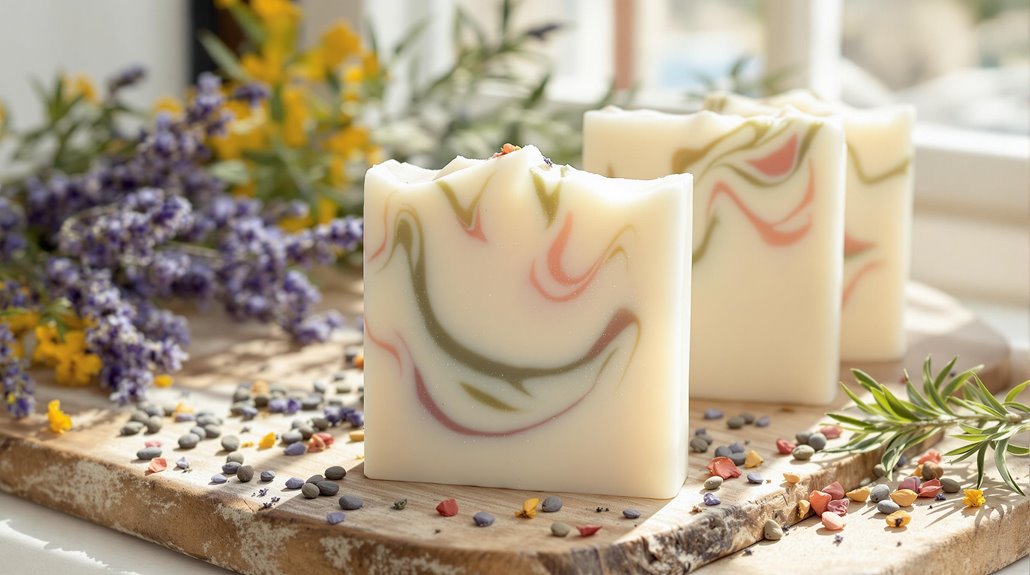
Creating lively, naturally-colored soaps adds both beauty and beneficial properties to your handmade bars. When making soap, you'll find that spirulina and chlorella powders create stunning green hues when mixed into warm oils.
For fragrance, combine orange, siberian fir needle, and clove bud essential oils carefully, using eocalc.com to calculate safe ratios. Unlike fragrance oils used in melt and pour soap, these natural essential oils offer therapeutic benefits.
- Mix natural colorants into your oils before adding lye
- Use clove bud essential oil sparingly to prevent skin irritation
- Add decorative elements like star anise and dried orange slices
- Source quality additives from reliable suppliers like Soma Sundries
While rose petals and ylang ylang are popular choices, this winter-inspired blend creates an enchanting forest scent that pairs beautifully with virgin coconut oil in your natural soap making expedition.
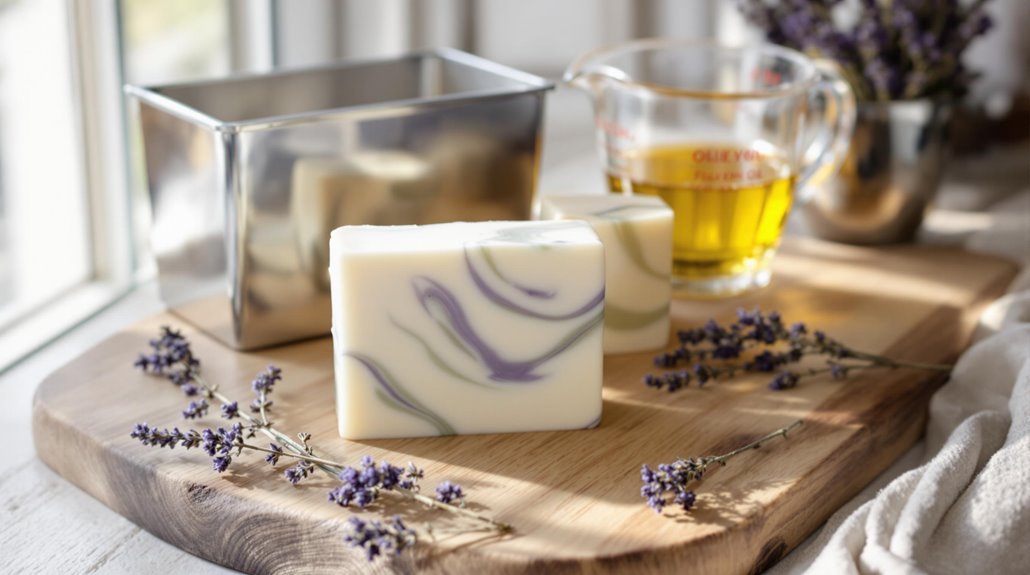
Molding and Curing Your Soap
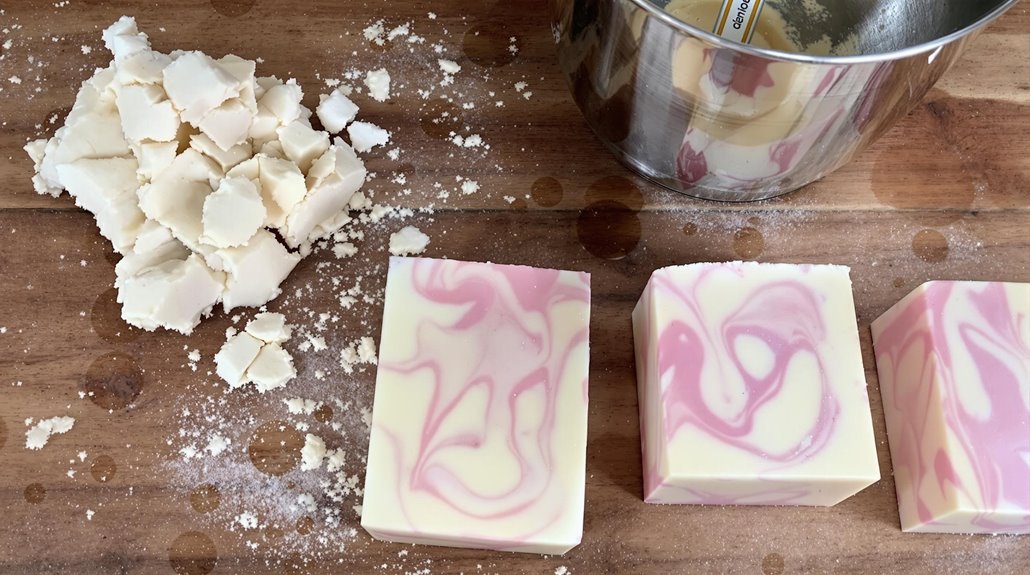
Successful soap making requires proper molding and curing techniques to achieve the perfect bar. After pouring your soap batter, whether it's made with certain oils or goats milk, you'll need to let it sit undisturbed for 48-72 hours while the saponification process completes in low heat.
Once you make soap and remove it from the mold, cut it into individual bars and place them on a drying rack or brown paper sack. For safe usage and to guarantee you'll have a hard bar with plenty of lather, you'll need to cure the soap for at least 30 days in a dry area. During the curing process, remember to turn your soap bars occasionally, allowing all sides to be exposed to air.
Don't worry if they feel sticky initially - they'll harden nicely over the curing period.
Troubleshooting Common Soap Making Issues
Making soap can present several challenges, even for experienced crafters. You'll need to monitor temperature carefully to prevent your soap from becoming crumbly or developing cracks. If you notice air pockets or separation, it's likely due to insufficient emulsification - just blend longer to fix this issue. Remember that proper cooling helps minimize glycerin rivers, those translucent streaks that appear in your bars.
Mushy soap needs 4-6 weeks to properly harden. Overheating leads to structural problems. Proper emulsification prevents air pockets. Remove soda ash with alcohol mist.
Don't worry if you see a white, powdery coating (soda ash) on your soap's surface - it's harmless and easily fixed with a light alcohol spray.
- Monitor curing time: Mushy soap needs 4-6 weeks to properly harden
- Check temperature: Overheating leads to structural problems
- Watch for separation: Proper emulsification prevents air pockets
- Address surface issues: Remove soda ash with alcohol mist
Related posts