DIY Shampoo Bars: How to Blend Soap, Oils & Shea Butter for a Natural Hair Wash

You can create your own natural shampoo bars by carefully blending olive oil, coconut oil, shea butter, and essential oils with a lye solution. You'll need precise measurements, safety gear, and proper mixing equipment to combine these ingredients until they reach a pudding-like consistency. After pouring into molds, the bars need 4-6 weeks to cure properly. This DIY method gives you complete control over ingredients while eliminating plastic waste - and there's much more to uncover about customizing your perfect formula.
Benefits of Making Your Own Shampoo Bars
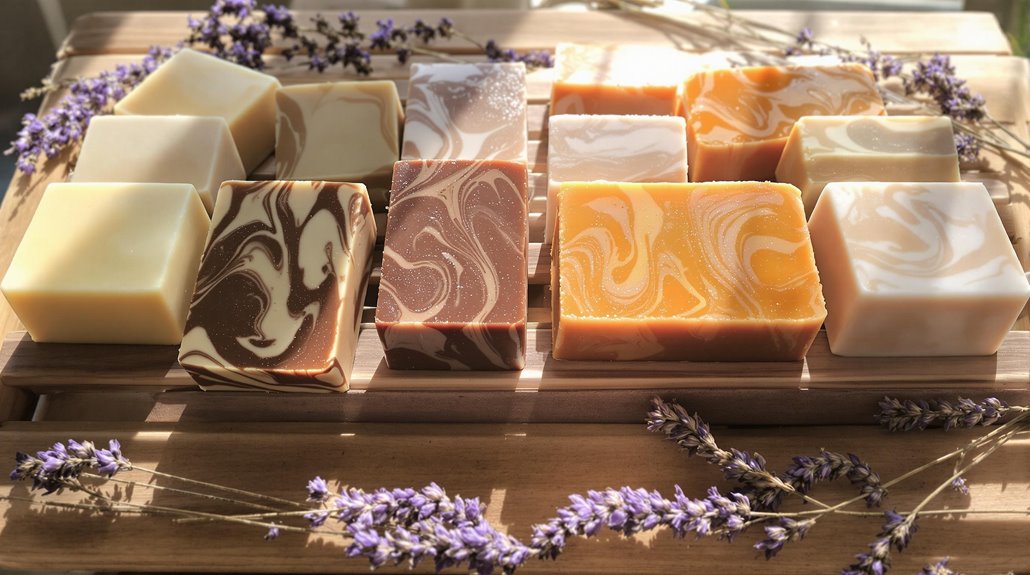
Making your own shampoo bars offers numerous advantages over store-bought liquid shampoos. When you create a homemade shampoo bar, you're in control of every natural ingredient that goes into it. You can select specific oils for hair based on your unique hair type, from moisturizing coconut oil to nourishing shea butter. High-powered blending ensures all ingredients are thoroughly mixed for optimal absorption into hair and scalp.
These bars are completely customizable, allowing you to blend essential oils that benefit both your hair and skin. You'll avoid harsh chemicals found in commercial products while tapping into the moisturizing properties of natural ingredients. Plus, shampoo bars are more environmentally friendly, eliminating plastic packaging waste.
They're also travel-friendly, compact, and longer-lasting than liquid alternatives. By crafting your own bars, you'll save money while ensuring your hair receives the precise care it needs.
Essential Ingredients and Equipment
Creating homemade shampoo bars requires two distinct categories of supplies: essential ingredients and specialized equipment.
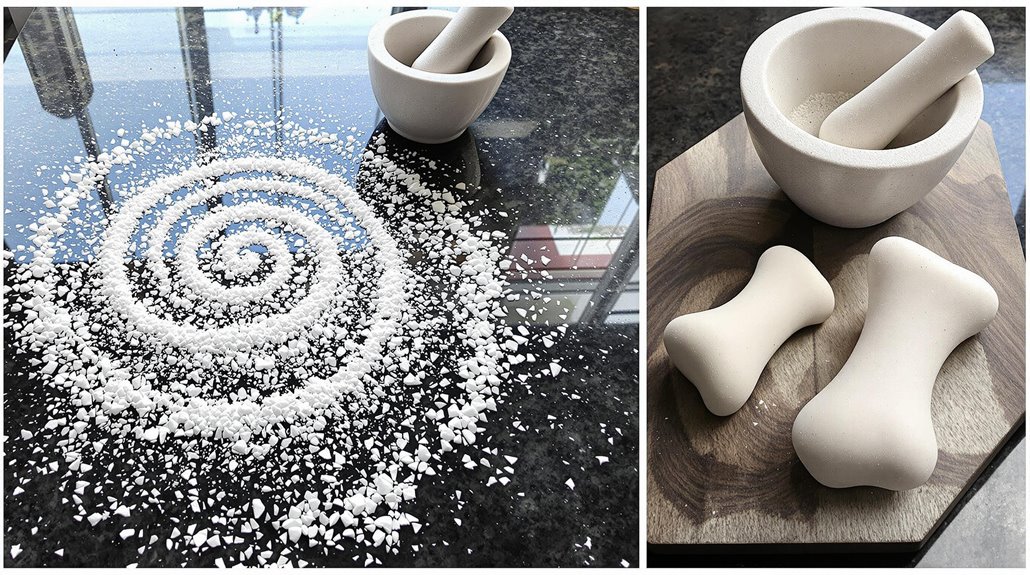
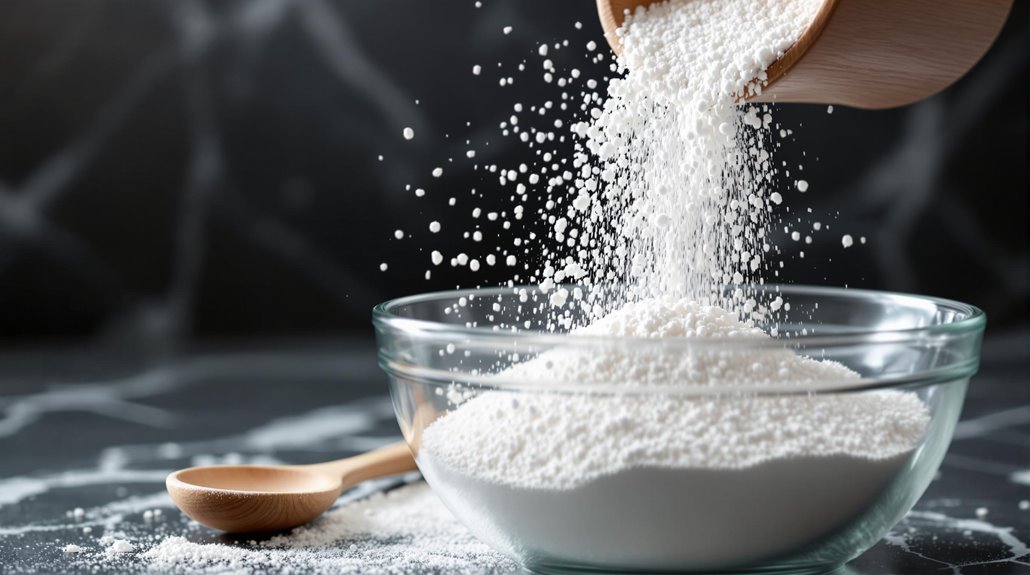
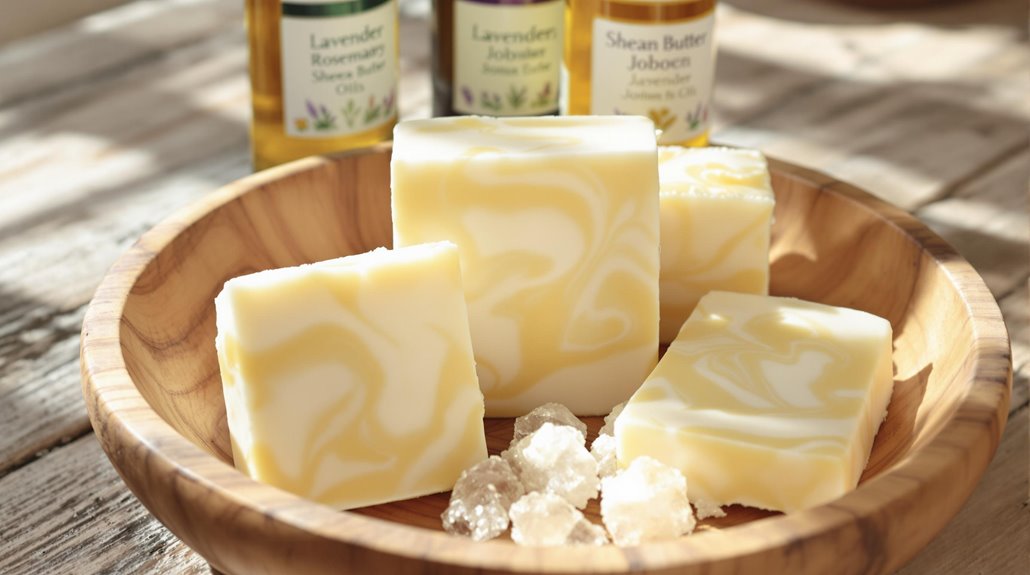
For ingredients, you'll need extra virgin olive oil, coconut oil, shea butter, castor oil, and essential oils like lavender and rosemary. You'll also require lye (sodium hydroxide), water, and fullers earth clay to nourish your hair shaft. Use a soap calculator to determine the precise lye-to-water ratio for your recipe.
Your equipment list should include a mg-accurate scale, kitchen scale, heat-resistant container, plastic cup, and soap mold. Don't forget safety gear: rubber gloves, protective goggles, and work clothes. You'll also need mixing spoons, a food thermometer, rubber spatula, hand blender, newspaper, and kitchen roll for a clean, safe soap-making process. A quality blender with stainless steel blades will ensure proper mixing of oils and ingredients for the most consistent results.
Step-by-Step Mixing Instructions
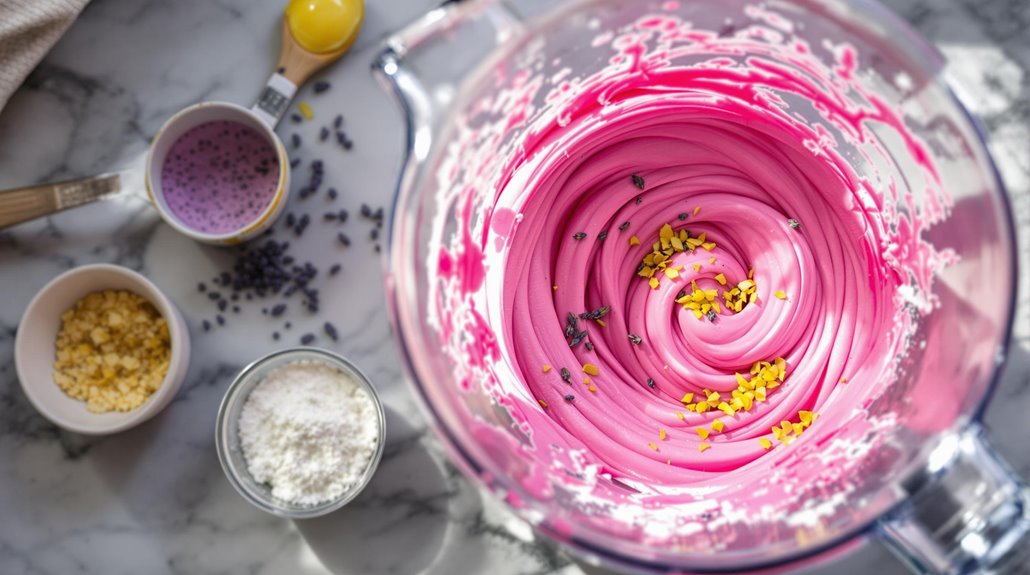
The precise mixing sequence for shampoo bars begins with two essential steps: preparing your lye solution and melting your oils. First, carefully add lye (sodium hydroxide) to cold water in a well-ventilated area while wearing protective gear. Meanwhile, gently melt and pour your chosen oils, including olive oil, into a separate container.
Once both mixtures reach the proper temperature, slowly pour the lye solution into your melted oils. You'll need to stir consistently until reaching a pudding-like consistency. Now's the time to add your favorite ingredients like Rosemary essential oil or natural additives. When the mixture thickens, pour it into your molds.
Unlike quick melt and pour shampoo methods, these DIY shampoo bars require 4-6 weeks to cure properly. During this time, the saponification process will create hard, long-lasting bars. Consider adding shea butter to your recipe for deep moisturization without harsh chemicals.
Natural Additives for Different Hair Types
Since different hair types require specific nourishment, choosing the right natural additives for your shampoo bars can greatly impact their effectiveness.
For oily hair, blend nettle oil with coconut and olive oils, then enhance your bar with juniper berry, lemon, and cedarwood essential oils. If you're dealing with dry hair, you'll want to incorporate a rich mixture of castor oil, shea butter, and cocoa butter, complemented by soothing essential oils like lavender and sandalwood. Those with fine or thinning hair will benefit from a combination of shea butter, cocoa butter, coconut, and olive oils to add volume and strength.
These natural ingredients work together to address your specific hair concerns while providing gentle cleansing and nourishment, making your DIY shampoo bars both effective and customized to your needs.
Curing and Storage Guidelines
Making your shampoo bars last hinges on proper curing and storage techniques. After you slice your solid shampoo from the mold, you'll need to let it cure for 4-6 weeks. During this essential period, the saponification process completes while excess moisture evaporates, resulting in a harder, longer-lasting bar.
Don't rush to use your bars before they're fully cured - an uncured bar sits too soft in your hands and won't perform effectively.
Once your shampoo bars have reached their ideal hardness, store them in a cool, dry place away from direct sunlight and humidity. Keep them wrapped or in a soap dish between uses to prevent them from drying out or deteriorating. These simple storage practices will help maintain your bars' quality and extend their lifespan.
How to Use Your Handmade Shampoo Bar
Now that your shampoo bars have cured properly, it's time to become adept in their use for the best results. Your DIY shampoo bar requires a slightly different approach than traditional liquid shampoo, but you'll quickly perfect the technique.
Wet hair thoroughly under running water to prepare for the bar. Rub the bar directly from roots to tips, ensuring even coverage. Work up a thick, rich lather by massaging with your hands, adding water as needed.
Use a light vinegar rinse after washing to balance pH and enhance shine. Be patient during the adjustment period, as your hair may need weeks or months to acclimatize.
Customizing Recipes With Essential Oils
Essential oils offer endless possibilities for personalizing your shampoo bars while adding therapeutic benefits for your hair and scalp. You can target specific hair concerns by incorporating oils like rosemary for growth stimulation or lavender for scalp soothing.
For oily hair, try tea tree, peppermint, or eucalyptus to clarify and balance, while ylang ylang and sandalwood work wonders for dry, frizzy hair.
Create unique scent combinations by blending complementary essential oils - try lemon with cedar wood or experiment with your own signature mix. Remember to keep the concentration between 1-2% of your total recipe to prevent skin irritation. Before using your customized shampoo bar, always perform a patch test to verify you won't experience any adverse reactions to the essential oils you've chosen.
Related posts