DIY Clay & Sculpting Dough: Blend Cornstarch & Baking Soda for the Perfect Texture
You can make perfect DIY clay by blending cornstarch and baking soda to achieve an ideal sculpting texture. If your mixture feels too sticky, work in more cornstarch gradually while kneading. For crumbly clay, add small amounts of water until it reaches the right consistency. Store unused clay in an airtight container to maintain workability, and allow your creations to dry slowly over 24-48 hours. Conquer these basics, and you'll discover endless creative possibilities.
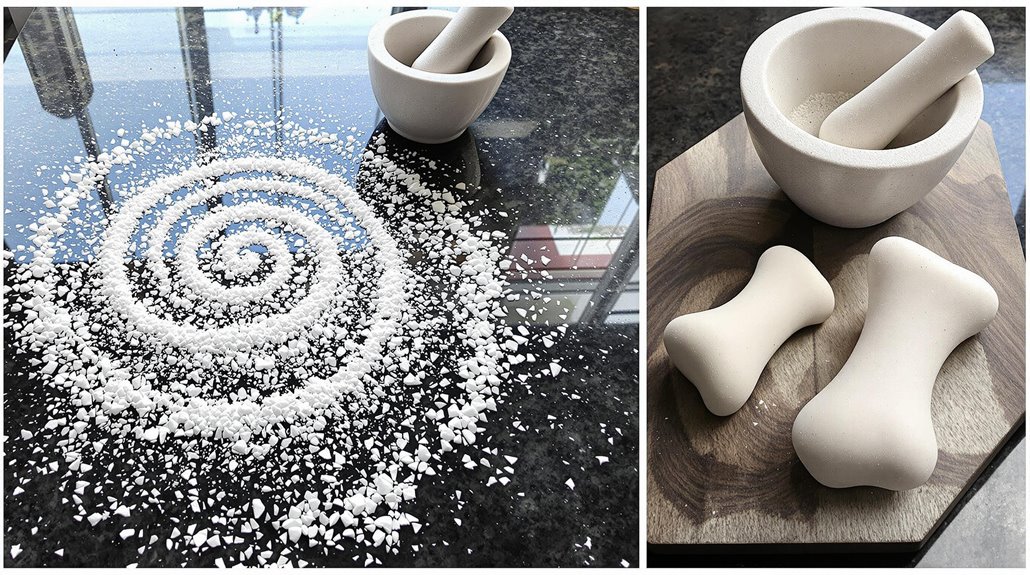
Essential Ingredients & Tools for Your DIY Clay
Getting started with DIY clay is remarkably simple, as you'll only need three basic ingredients and a few common kitchen tools. To create your homemade sculpting dough, gather baking soda, corn starch, and water as your primary ingredients. These everyday items will form the foundation of your clay mixture.
For tools, you'll want to collect a sturdy mixing bowl, a large spoon for combining ingredients, and a rolling pin to flatten your creations. While not essential, cookie cutters can add versatility to your projects. Make sure you have an airtight container ready to store any unused clay.
When working with the mixture over medium heat, you can adjust the consistency by adding more water or cornstarch as needed. Let your finished pieces dry overnight to achieve the best results. A food chopper with blades can help achieve smooth consistency when mixing your ingredients together.
Step-by-Step Mixing Process
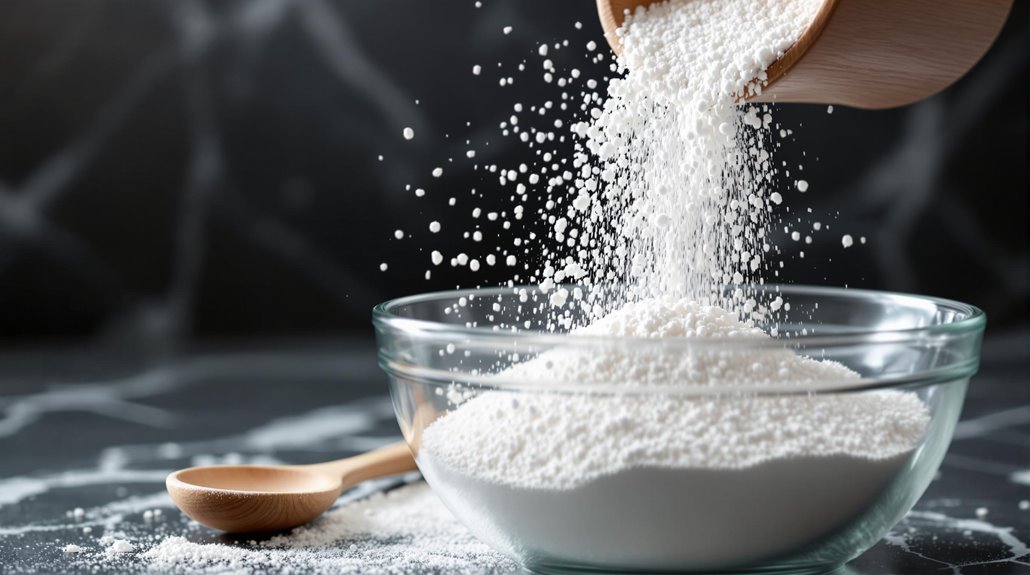
Now that you've gathered your ingredients and tools, creating your DIY clay begins with precise measurements and careful mixing. Start by combining 1 cup baking soda and half a cup cornstarch in your bowl until the dry ingredients are well blended.
While stirring continuously, slowly pour in 3/4 cup water and heat the mixture over medium heat. You'll want to maintain constant motion for 3-5 minutes until your homemade clay develops a dough-like texture. Be careful not to overcook, as this can make your creation crumbly. For thorough mixing similar to professional results, use a blender with blade technology that prevents ingredients from getting stuck along the sides.
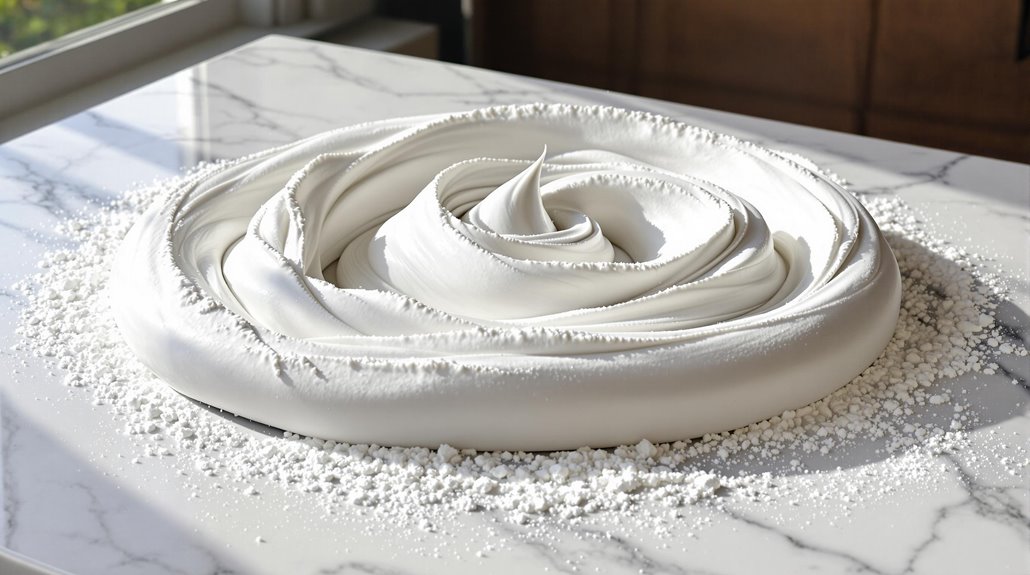
Once you've achieved the right consistency, remove it from heat and let it cool under a dish towel. Knead the mixture until it's smooth. If needed, adjust the texture by adding more water or cornstarch. Store your clay in an airtight container to maintain freshness.
Achieving the Perfect Clay Consistency
While creating homemade clay might seem straightforward, achieving the perfect consistency requires careful attention to the ratio of ingredients and cooking time. You'll need to monitor the mixture closely as you heat it, removing it from the stove once it reaches a dough-like texture to prevent crumbling.
For customized consistency, adjust your ingredients strategically. Want softer clay? Add more water. Need it firmer? Increase the cornstarch. If you're storing your clay for later use, keep it in a sealed plastic bag.
Should it become too dry, simply knead in a bit of flour to restore its malleability. For tips on perfecting your clay mixture, you can email me at our address below. Remember to place your finished sculptures on paper towels while drying to maintain their shape and prevent sticking. Using a silicone spatula can help you thoroughly mix ingredients and scrape the sides of your blender clean during preparation.
Shaping and Molding Techniques
Once your clay reaches the ideal consistency, commanding basic shaping techniques will bring your creations to life. You'll want to roll your dough on a cornstarch-dusted surface, ensuring it's not too thin to prevent breakage. Required fields are marked on your cookie cutters, helping you create precise shapes for your project.
- Pressing cookie cutters into smooth, rolled clay to form perfect circles and stars
- Using drinking glasses to create round ornaments with clean edges
- Crafting delicate leaf shapes using actual leaves as templates
- Making intricate patterns with textured rolling pins
- Forming miniature animals with simple hand-sculpting techniques
After shaping, transfer your pieces carefully to parchment paper for overnight air-drying. If you're short on time, speed up the process by baking your creations in the oven.
Air Drying Tips & Best Practices

Properly air-drying your clay creations guarantees they'll maintain their shape and durability for years to come. Start by placing your pieces on parchment paper, which prevents unwanted sticking and cracking during the drying process. Let your creations dry overnight before adding any paint or decorative elements.
If you're working with thinner pieces and need faster results, you can speed up the process by baking them at 200°F for 15-20 minutes. To address moisture absorption concerns, make sure to seal or paint your dried pieces, as this considerably reduces brittleness and extends their lifespan. During storage, place your dried clay items on paper towels, which help absorb any excess moisture that could compromise their structural integrity.
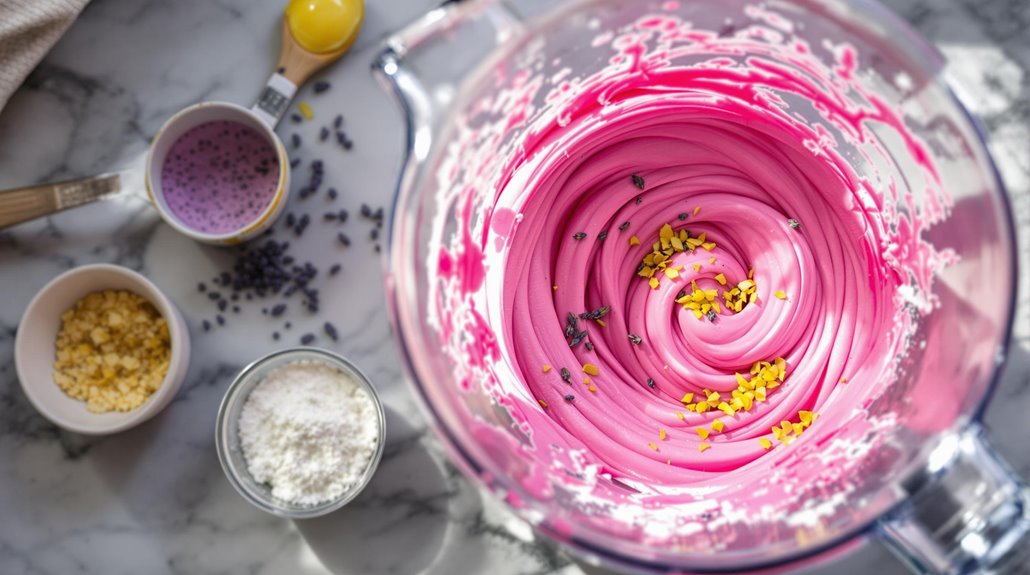
Painting and Decorating Your Clay Creations
Painting and decorating your clay creations opens up endless possibilities for personalization and artistic expression. Acrylic and craft paints offer vivid, long-lasting colors that'll bring your pieces to life. You can enhance your work by incorporating layering techniques like sponging, dry-brushing, and stenciling for added depth and texture.
- A delicate flower pot with metallic gold accents and sponged texture
- A set of jewelry pieces featuring gradient color effects
- Nature-inspired figurines with dry-brushed details
- Abstract sculptures with stenciled patterns
- Mini garden ornaments with glitter-enhanced designs
Remember to let each paint layer dry completely before adding the next. For a professional finish, seal your painted creations with clear acrylic, shellac, or varnish to protect your artwork and prevent chipping. This final step will give your pieces a beautiful glossy sheen while preserving your designs.
Storage and Preservation Methods
After your clay creations are painted and sealed, storing them correctly will help maintain their quality and appearance. While you can keep unused clay in an airtight container, you'll need to monitor its consistency since long-term storage concerns include potential hardening over time.
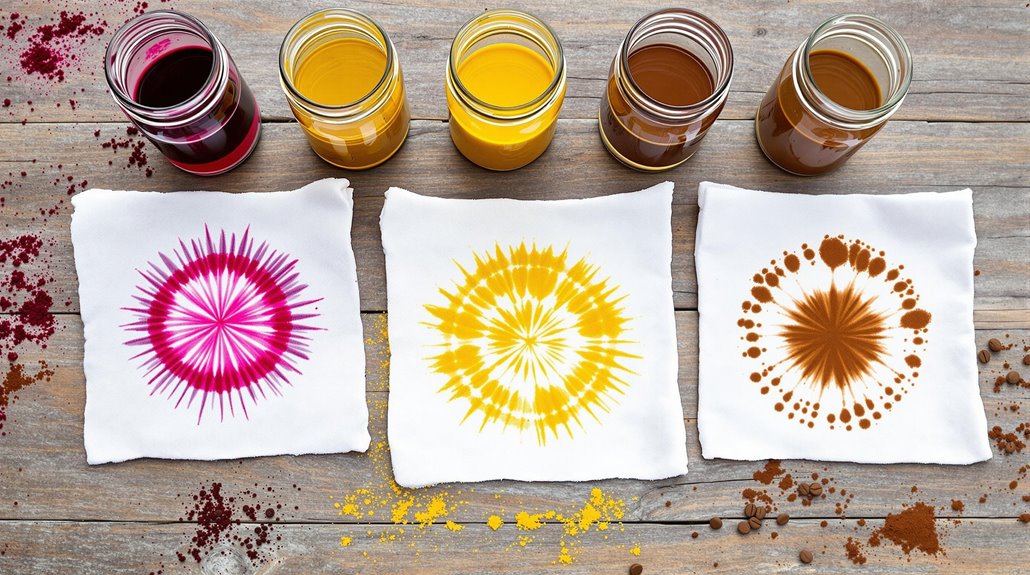
To preserve your clay's malleability, wrap it tightly in plastic before placing it in the container. If you notice the clay becoming too soft or runny, simply knead in additional flour or cornstarch until you achieve the desired texture. For added variety, you can incorporate spices like pumpkin pie mix to create unique color variations before storage. Though the clay's long-term pliability in sealed containers isn't guaranteed, proper storage techniques will help extend its usable life and maintain its workable consistency.
Creative Project Ideas and Applications
Despite its gravity-influenced nature, cornstarch clay offers countless creative possibilities for both beginners and experienced crafters. While sculpting limitations prevent complex 3D designs, you'll find this versatile medium perfect for flat and low-relief projects. After drying, you can paint your creations and seal them with shellac, acrylic spray, or clear nail polish to guarantee longevity.
Try these engaging projects with cornstarch clay:
- Create delicate Christmas ornaments with pressed designs and sparkling paint
- Capture precious memories with handprint impressions for lasting keepsakes
- Design textured wall art inspired by relief artists like Ghiberti
- Craft lightweight jewelry pieces with intricate patterns
- Make custom coasters and decorative bowls using proper drying supports
Troubleshooting Common Clay Issues
When working with cornstarch clay, you'll likely encounter a few common challenges that can affect your project's success. Getting the consistency right is imperative - if your clay feels too sticky, simply work in more cornstarch, and if it's crumbly, gradually add water while kneading until it reaches the desired texture.
Proper curing procedures are essential for creating durable pieces. Don't rush the drying process, as this can cause unwanted cracks. Instead, let your creations dry slowly over 24-48 hours. When baking your clay, stick to recommended cooking times to prevent brittleness from overheating. To maintain your unused clay's workability, store it in an airtight container. If it hardens, don't worry - you can usually revive it by kneading in small amounts of water or cornstarch as needed.
Related posts