Blender Recipe Conversions: Cups, Ounces, Tablespoons, and Smoothie Scaling
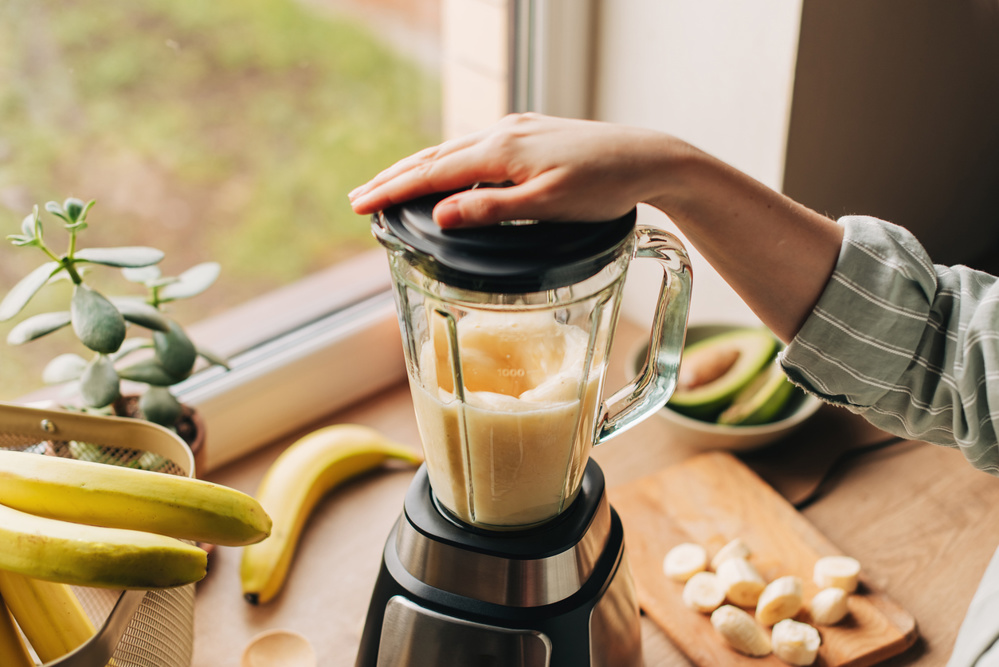
Accurate measurements can make the difference between a perfectly smooth, flavorful drink and one that's too thick, too watery, or out of balance. Whether you're blending a fruit smoothie, protein shake, frozen coffee drink, or homemade soup, understanding how cups, fluid ounces, tablespoons, and teaspoons relate to one another helps you follow recipes with confidence. It also makes it much easier to adjust serving sizes without compromising texture or taste.
Fortunately, you don't need to memorize dozens of measurements to become comfortable in the kitchen. A handful of basic conversions cover the vast majority of blender recipes you'll encounter. Once you understand those relationships—and when to use volume instead of weight—you'll be able to scale recipes, substitute measuring tools, and prepare consistent results every time.
Cup, Ounce, and Tablespoon Baselines for Blender Recipes
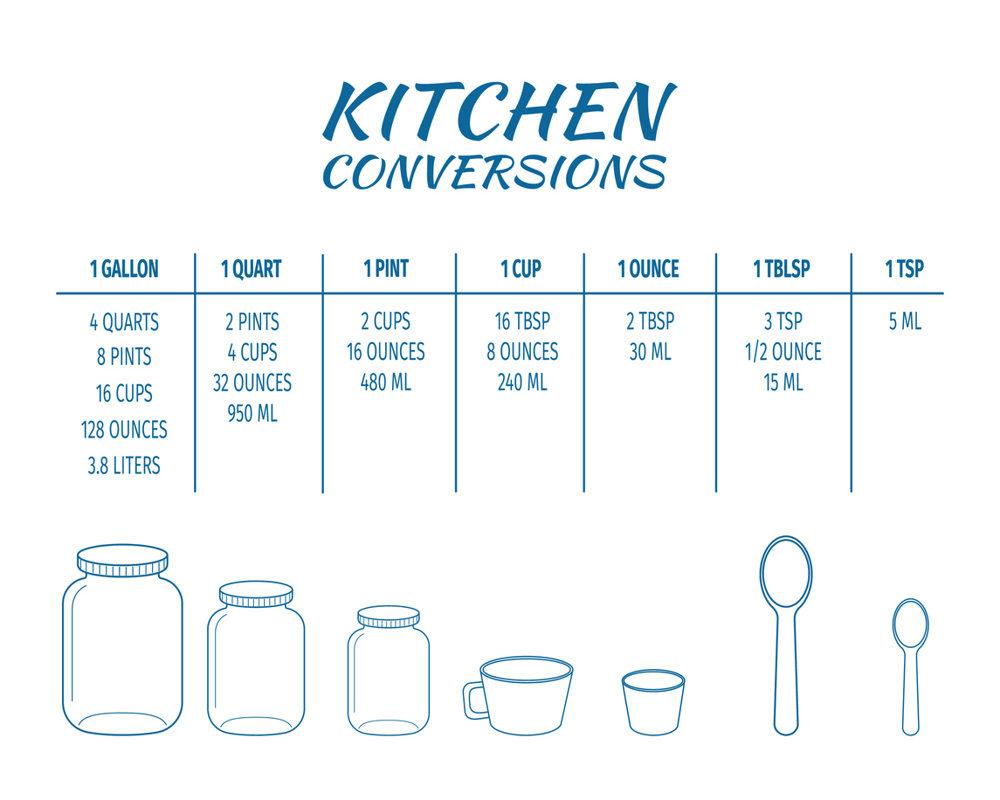
Most blender recipes rely on a few standard kitchen measurements, making it worthwhile to learn the most common conversions. The three you'll use most often are simple: 1 cup equals 8 fluid ounces, 1 tablespoon equals 3 teaspoons, and 2 tablespoons equal 1 fluid ounce. These measurements form the foundation for almost every smoothie, milkshake, or blended drink recipe.
Once these basics become familiar, the smaller fractions are much easier to remember. One-quarter cup equals 2 fluid ounces or 4 tablespoons, one-half cup equals 4 fluid ounces, and three-quarters of a cup equals 6 fluid ounces. Rather than stopping to calculate every measurement while preparing ingredients, you can quickly estimate the amounts you need using these familiar benchmarks.
These conversions are especially helpful when following recipes from different sources. Some cookbooks measure liquids in cups, while nutrition guides may use fluid ounces and online recipes often alternate between tablespoons and cups. Knowing how these measurements relate allows you to switch between them naturally, making recipes easier to follow regardless of where you find them.
Cups to Fluid Ounces: The Conversions That Matter Most
Converting cups to fluid ounces is one of the most useful kitchen skills because liquids are measured this way in many recipes. Milk, juice, almond milk, coconut water, yogurt, and other smoothie ingredients are commonly listed in cups, while measuring containers or beverage labels often display fluid ounces instead. Understanding the relationship between the two prevents unnecessary guesswork.
The most frequently used conversions are:
- 1/8 cup = 1 fluid ounce
- 1/4 cup = 2 fluid ounces
- 1/3 cup = approximately 2.7 fluid ounces
- 1/2 cup = 4 fluid ounces
- 3/4 cup = 6 fluid ounces
- 1 cup = 8 fluid ounces
Imagine you're preparing a smoothie recipe that calls for 3/4 cup of orange juice, but your measuring cup only displays ounces. Knowing that 3/4 cup equals 6 fluid ounces allows you to continue without searching for another measuring tool. Likewise, if a protein shake requires 1/2 cup of milk, you can confidently pour 4 fluid ounces and achieve the same result. Small shortcuts like these make everyday blending faster and more convenient.
Tablespoons, Teaspoons, and Small Ingredient Amounts
Large ingredients usually determine the size of your smoothie, but smaller measurements often have the biggest impact on flavor. Ingredients such as honey, maple syrup, peanut butter, vanilla extract, chia seeds, cocoa powder, and protein powder are commonly measured in tablespoons or teaspoons because even small changes can noticeably affect the finished drink.
The most important relationship to remember is that 1 tablespoon equals 3 teaspoons, while 2 tablespoons equal 1 fluid ounce. These conversions become especially useful when adjusting recipes. If you double a smoothie that originally contains one tablespoon of honey, you'll need two tablespoons. If you reduce a recipe by half, one tablespoon becomes one and a half teaspoons instead of simply guessing the amount.
Precision matters most with concentrated ingredients. Too much vanilla extract can overpower a smoothie, while too little sweetener may leave fruit tasting flat. Measuring spoons take only a few extra seconds to use, but they help ensure each batch delivers the same flavor and texture every time. As you become more comfortable with these smaller measurements, scaling recipes up or down becomes much easier without sacrificing consistency.
Liquid vs. Dry: Why the Same Cup Isn't Always Equal
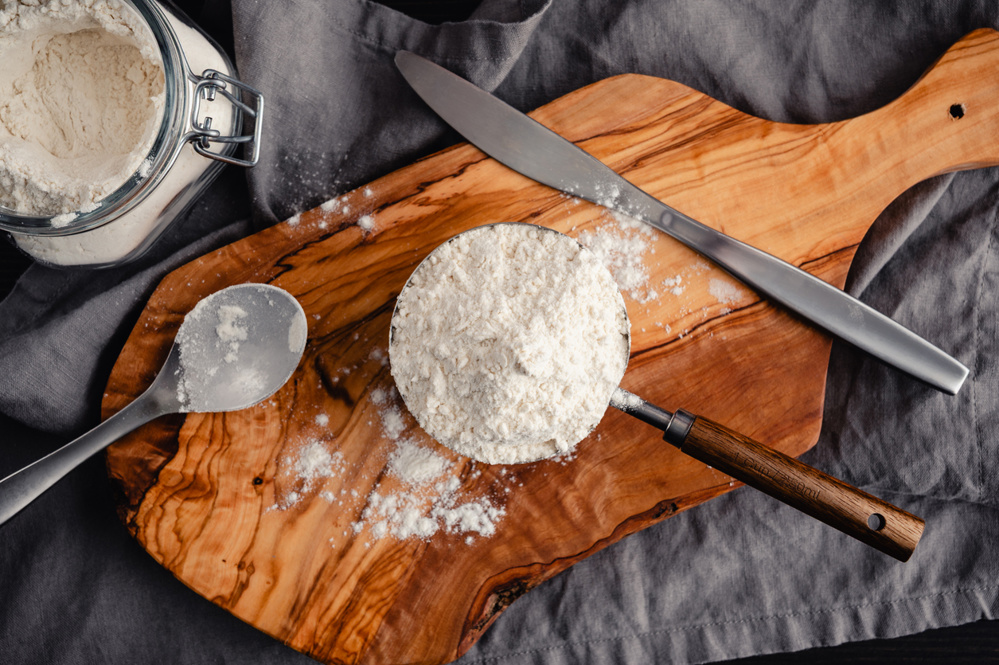
Although measuring cups use the same volume markings for both liquids and dry ingredients, they don't always produce the same practical results. A cup of milk always measures 8 fluid ounces by volume, but a cup of rolled oats, cocoa powder, or protein powder weighs something entirely different. That's because dry ingredients vary in density, meaning two ingredients can occupy the same space while weighing very different amounts.
Packing also affects accuracy. Brown sugar, for example, is usually packed firmly into a measuring cup, while flour is typically spooned in lightly and leveled off. Protein powders may settle during storage, and finely ground ingredients compress more easily than coarse ones. Following the measuring method recommended in a recipe helps avoid unexpected differences in texture and flavor.
For most everyday smoothie recipes, measuring cups provide more than enough accuracy. However, recipes containing larger amounts of oats, nut flours, protein powders, or specialty baking ingredients benefit from extra precision. Understanding the difference between measuring by volume and measuring by weight makes it much easier to follow recipes successfully, especially as you begin experimenting with your own ingredient combinations.
Common Blender Measurement Mistakes
Even when you know the correct conversions, small measuring mistakes can change the texture, flavor, and consistency of a smoothie. One of the most common errors is estimating ingredient amounts instead of measuring them. Adding "about a cup" of liquid or an extra spoonful of protein powder may not seem significant, but those small differences quickly add up, especially when you're following a recipe for the first time.
Another frequent mistake is adding too much liquid at the beginning. While it's easy to thin out a thick smoothie by pouring in more milk or juice, it's much harder to fix a drink that's already become watery. A better approach is to start with slightly less liquid than the recipe suggests, blend the ingredients, and gradually add more until you reach your preferred consistency. This method gives you greater control over the finished result.
Blender capacity is another detail that's often overlooked. Doubling a recipe without checking the size of your blender jar can lead to spills, uneven blending, or unnecessary strain on the motor. Frozen fruit also takes up more space than many people expect. If you're making larger batches, blend in stages or prepare multiple smaller servings instead of overfilling the container.
Side-by-Side Conversion Cheat Sheet for Blender Recipes
Keeping a simple conversion guide nearby makes everyday blending faster and reduces the need to stop and calculate measurements. Whether you're preparing a breakfast smoothie, protein shake, frozen coffee drink, or homemade soup, these quick references make recipe adjustments much easier. Many home cooks even keep a printed conversion chart inside a kitchen cabinet for quick access.
Here are the conversions you'll use most often:
- 1 cup = 8 fluid ounces = 16 tablespoons
- 3/4 cup = 6 fluid ounces = 12 tablespoons
- 1/2 cup = 4 fluid ounces = 8 tablespoons
- 1/3 cup = approximately 2.7 fluid ounces = 5⅓ tablespoons
- 1/4 cup = 2 fluid ounces = 4 tablespoons
- 1 tablespoon = 1/2 fluid ounce = 3 teaspoons
- 1 teaspoon = 1/6 fluid ounce
Although these measurements are helpful, they're only part of a successful recipe. Liquids, frozen fruit, yogurt, oats, and protein powders all contribute differently to texture. Using the conversion chart together with careful ingredient selection allows you to make consistent smoothies without constantly reaching for a calculator.
How to Scale a Smoothie Recipe for Any Serving Size
Scaling recipes becomes much easier once you understand the basic conversion relationships. The simplest method is to divide the number of servings you want by the number of servings the original recipe makes. The answer becomes your scaling factor, which you apply to every ingredient in the recipe. If you need extra help with adjusting serving sizes, keeping a reliable conversion reference nearby can make the process even easier while ensuring your measurements stay accurate.
For example, imagine a smoothie recipe makes two servings but you want four. Your scaling factor is two, so every ingredient doubles. One cup of almond milk becomes two cups, one banana becomes two bananas, and one tablespoon of peanut butter becomes two tablespoons. If you're preparing a single serving from that same recipe, simply divide each ingredient by two instead.
After multiplying the ingredients, convert any awkward measurements into practical kitchen amounts. One and one-half cups may be easier to measure as one cup plus one-half cup, while three tablespoons can remain exactly as written instead of converting to fluid ounces. Thinking about convenience while measuring helps keep preparation simple without affecting the final result. Always leave a little extra space in the blender jar, especially when blending frozen ingredients that expand during processing.
How to Scale a Smoothie Recipe for Any Serving Size
Consistent smoothies depend on more than accurate measurements. The order in which ingredients are added to the blender also affects the final texture. Most blender manufacturers recommend adding liquids first, followed by soft ingredients like yogurt and fresh fruit, then leafy greens, and finally frozen fruit or ice. This order helps the blades move freely and creates a smoother blend with less strain on the motor.
Ingredient temperature is another important factor. Frozen fruit naturally thickens a smoothie, while fresh fruit produces a lighter consistency. If you substitute fresh fruit for frozen, you may need to reduce the liquid slightly or add a handful of ice. Likewise, ingredients such as bananas, oats, chia seeds, and nut butters absorb liquid over time, so smoothies often become thicker if they sit for several minutes before serving.
Finally, don't be afraid to make small adjustments after blending. Taste the smoothie before pouring it into a glass. If it's too thick, add a splash of milk or water. If it's too thin, blend in more frozen fruit, yogurt, or ice. Making gradual changes instead of large ones helps you fine-tune both flavor and texture without throwing the recipe out of balance. Over time, these small adjustments become second nature and make creating your own recipes much easier.
Conclusion
Understanding basic kitchen conversions makes blender recipes easier to prepare, adapt, and enjoy. Knowing how cups, fluid ounces, tablespoons, and teaspoons relate to one another allows you to follow recipes accurately. Combined with an understanding of the differences between liquid and dry ingredients, these simple conversions remove much of the guesswork from everyday blending.
Equally important is learning how to apply those measurements in real situations. Avoiding common measuring mistakes, using grams when greater precision is needed, and paying attention to ingredient order and texture all contribute to better results. Whether you're making a quick breakfast smoothie, or preparing protein shakes for the week, mastering these fundamentals will help you create consistently delicious blends with confidence.
Related posts