The Best Way to Clean Your Blender – Quick & Effective DIY Method
You can clean your blender in just 30 seconds without disassembling it. Simply fill the container halfway with hot water, add a drop of dish soap, and blend on high for 10 seconds. Rinse thoroughly with clean water, and you're done. For stubborn residue, create a paste with baking soda and warm water, let it sit for 15 minutes, then scrub. This quick method is just the start of maintaining your blender's peak performance.
Why Traditional Blender Cleaning Is a Hassle
While blenders are incredibly useful kitchen tools, the traditional cleaning process can make you think twice before using one. When you clean your blender the conventional way, you'll need to disassemble multiple parts, carefully handle sharp blender blades, and thoroughly scrub away stubborn food residue. This time-consuming cleaning method often discourages you from using your blender for messier recipes.
The standard wash cycle typically involves taking apart the pitcher, removing the blade assembly, and cleaning each component separately. Not only is this process inconvenient, but it also puts your hands at risk when dealing with the sharp blades. It's no wonder many people avoid using their blenders for tasks that could make cleanup particularly challenging. Using a bottle brush with bristles can help reach difficult spots during manual cleaning, but it's still a time-consuming process.
Fortunately, there's a better way to clean a blender that takes just 30 seconds.
Essential Supplies for Quick Blender Cleaning
Say goodbye to complicated blender cleaning routines - you only need three simple items to alter your cleanup process. The essentials for this quick method are hot water, a few drops of dish soap, and optionally, vinegar or lemon juice for stubborn residue.
You'll want to keep these supplies near your blender's base for easy access. Fill your blender pitcher with hot water - this serves as the primary cleaning agent when combined with dish soap. The temperature of the water matters, as it helps break down food particles more effectively.
If you're dealing with tough buildup or want to restore shine to your container, add a splash of vinegar or lemon juice. That's all you need - no special cleaners, scrub brushes, or complex tools required for spotless results. For particularly strong odors, try using fresh lemon pieces blended with water to naturally deodorize your blender jar.
Step-by-Step 30-Second Cleaning Method
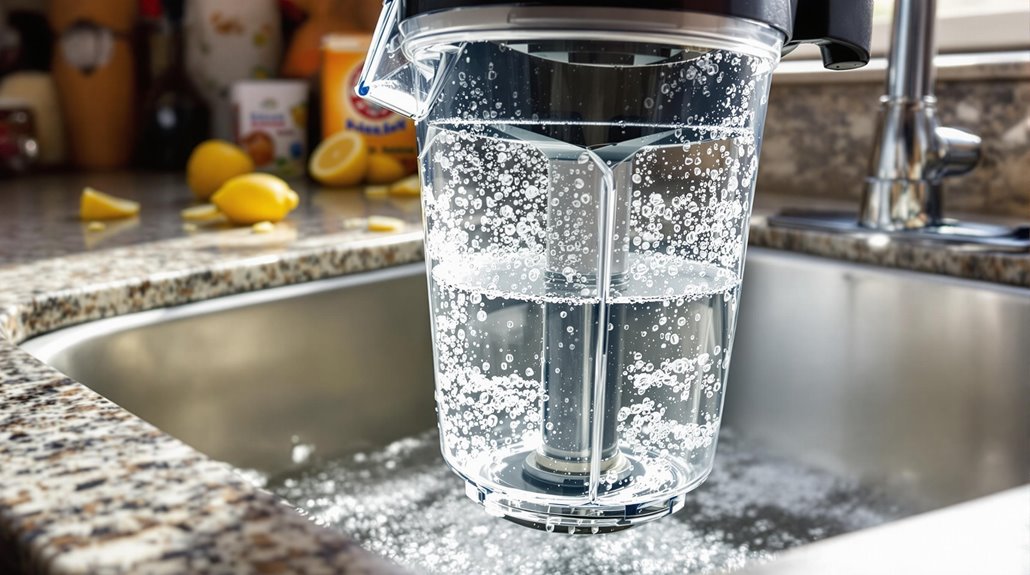
When your blending is complete, you can clean your device in just 30 seconds with this effortless method. Fill the blender about halfway with hot water and add a single drop of dish soap. Run the blender on high for approximately 10 seconds, letting the soapy water dissolve stuck-on food and residue.
This quick and easy technique helps you avoid disassembling the blender and keeps your hands safely away from the sharp blades. After blending the soapy solution, give your blender a thorough rinse with clean water. It's much faster and convenient than traditional hand washing, making cleanup a breeze.
While you'll still need occasional deep cleaning, this 30-second method is perfect for regular maintenance between uses. Store the clean blender in separate components to prevent unwanted odors from developing.
Deep Cleaning Tips for Stubborn Residue
Some blender residue requires more than a quick soap-and-water rinse to remove completely. For a deep clean that tackles stubborn residue, create a paste using baking soda and warm water. Apply this mixture to problem areas, especially in those hard-to-reach nooks and crannies around the blades.
For difficult to clean spots, let the baking soda paste sit for 10-15 minutes before scrubbing. You'll need some elbow grease, but the abrasive nature of baking soda helps break down tough residue without scratching your blender's surface. After scrubbing, rinse thoroughly with warm water and dish soap. Pay special attention to the base of the blades where food particles often accumulate.
For extremely stubborn stains, repeat the process or soak the container overnight in warm, soapy water.
Best Practices for Maintaining Your Blender

Regular maintenance of your blender guarantees its longevity and ideal performance. The easiest way to clean your blender is to follow a daily three-step cleaning routine: Fill your blender with soap and water, blend for 30 seconds, then rinse thoroughly.
To properly maintain and clean the blender, perform a deep clean every 1-2 weeks using baking soda paste or vinegar for stubborn residue. When you clean the blender, use a straw brush to safely scrub under the blades without risking cuts. Don't forget to wipe down the exterior base with a warm, damp cloth, adding vinegar for greasy spots. Remember never to submerge the blender container in water, as this can cause rusting. For the best way to clean thoroughly, remove the rubber gasket during deep cleaning sessions.
Expert Tips for Handling Challenging Ingredients
Struggling with sticky ingredients in your blender? When dealing with challenging substances like peanut butter or honey, you'll find cleaning is much easier with these proven techniques.
For stubborn residue, try these expert-recommended steps:
- Add a few drops of dish soap and warm water to your blender jar immediately after use
- Place the jar back on the base and use the cleaning preset if your model has one
- For dried-on ingredients, avoid metal scrubbers and opt for a long-handled plastic sponge to protect the container
- Consider taking it apart every few uses for a thorough hand-washing, especially with thick or sticky contents