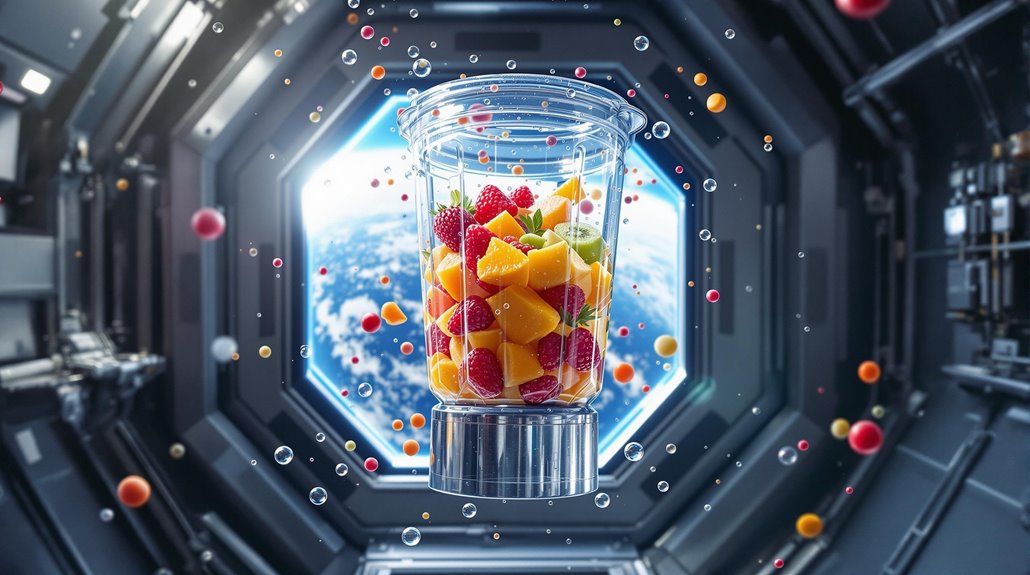
Learning About Pureeing Foods With Your Blender

Most people think that making pureed food is equal to making homemade baby food. However, there’s a lot of reasons why you want to puree food using your blender. It may be you or your loved ones had some dental work done, and they cannot eat solid foods yet, or you’re caring for an elderly that wants to have a nutritious, flavorful, chewing-free meal. Pureed food is also a great way to create a healthy summer treat or a meal prep. That is why in this article, we are going to talk about pureeing soups in a blender because even if it’s a relatively straightforward process, you still need to know what to do so you can get the best results.
The Benefits of Blending Your Own Pureed Foods
The most common puree in most households is baby food, but smoot fruit popsicles and pasta sauces were also pureed before reaching their thick and smooth consistencies. Making your own pureed food at home is a lot cheaper compared to buying them at the store. You can also control the ingredients, nutrition, taste, and consistency of the puree if you’re going to make it yourself. Not only that, but you will also be able to control the levels of sugar and salt that you will be adding to your puree.
Homemade puree is a great way to save some money because ingredients are cheap, and using your blende does not take a lot of effort. Not only that, you can further save more money if you save some space in the freezer for the puree. This is because they freeze well and you can preserve them then heat them in the microwave if you want some puree.
Probably the most significant advantage of pureeing foods in your blender is that it does not take too much effort to make. All you have to do is cook and cut up your ingredients, pop it in the blender, add some spices, blend it, and voila! You have yourself a pureed food that you can freeze and reheat any time you crave some easy-to-eat foods.
Things You Need When Making Pureed Foods in a Blender
Most basic purees only require three ingredients, and any additional ingredients that you will add will still fit into these categories:
- Liquid ingredients to help thin the consistency of the puree.
- Primary flavor ingredients
- Added fat to improve the puree's taste, texture, and appearance.
As long as you got all of these three essential ingredients groups, you will most likely end up with a delicious puree that also looks fantastic on a plate. There are endless possible combinations of ingredients that you can use when you’re making a puree. That is why do not be afraid and try to experiment with different ingredients so you can come up with your own puree combinations.
Along with the ingredients that you need to make a delicious puree, you will also need some equipment to break down and blend them into a fantastic puree.
- A blender
- Blender tamper
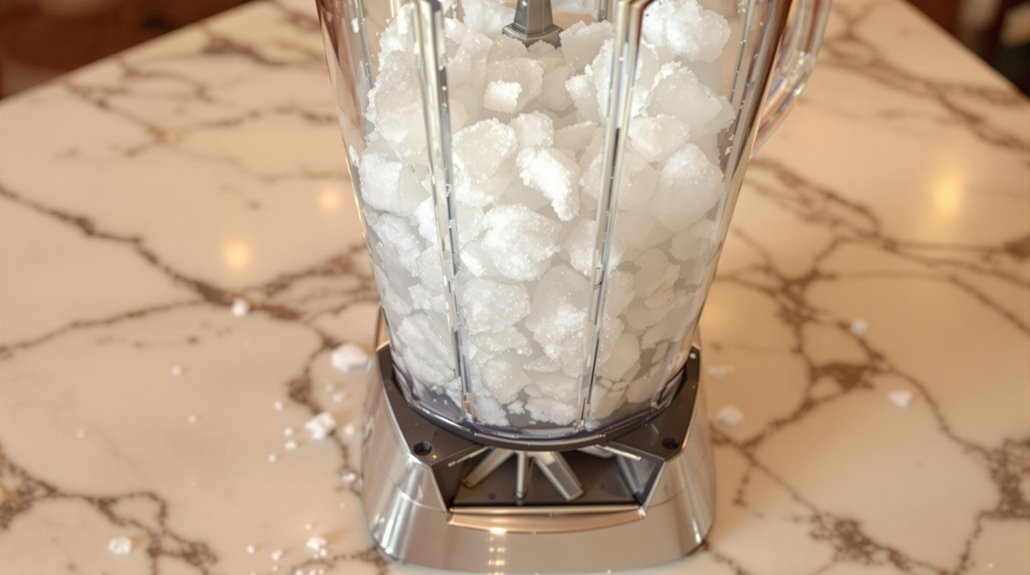
- Big bowl full of ice
- A smaller bowl that can fit inside the bowl of ice
- Large spoon or spatula
- Containers for storage if you’re planning to make a large batch
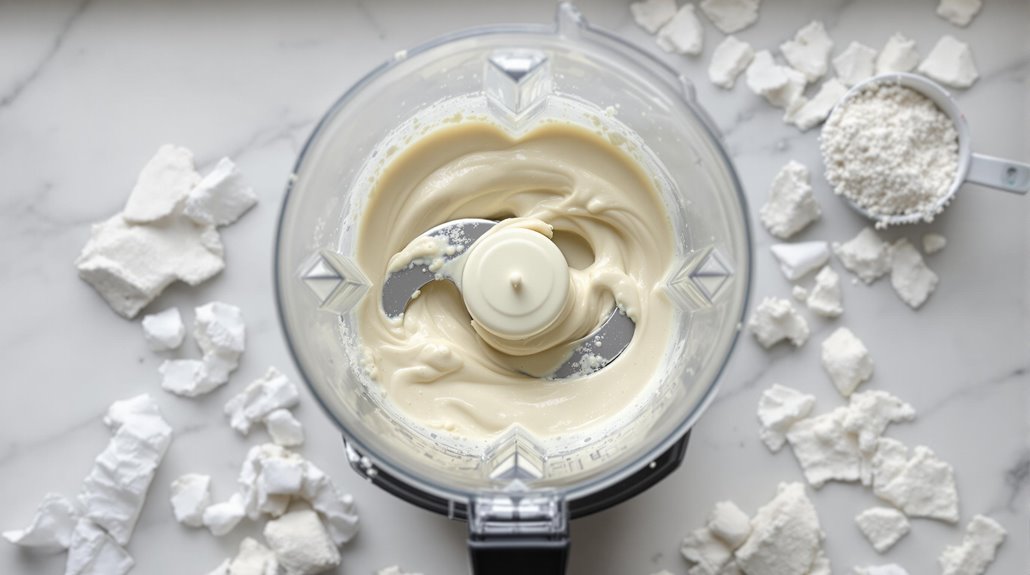
How to Make a Puree in a Blender
1. Pre-cook all your solid ingredients– Before you get pureeing, you first need to pre-cook all of the solid ingredients you’re going to use. You can cook them until they reach a soft texture, or you can overcook them slightly. The cooking method is up to you, you can boil your solid ingredients or steam them if you do not want them to lose some of their flavors. Do not forget to season your solid ingredients lightly, and don’t limit yourself to a single flavoring ingredient.
2. Add your solid ingredients to your blender – Once you cook your solid ingredients, you can put them in your blender. We suggest that you do this step while the ingredients are still warm so you can properly mix the fats that you’re going to add. However, if your blender is not heat tolerant, it’s still okay to wait for your solid ingredients to cool a little bit. But take note that heat is important, especially if you plan on using a solid fat additive such as butter, lard, or coconut oil. If you prefer cooling your ingredients before blending, it is best to use liquid fats such as canola or peanut oil.
3. Add your liquid ingredients– While you’re blending your solid ingredients, add your liquid ingredients after the solid ingredients blend down and while the blender is running. Slowly pour the liquid and gradually add some more until your reach your preferred consistency and texture.
4. Add fat –We suggest that you add the fat while your puree is still hot. You can also keep the blender on while you’re adding your chosen fat. Make sure that you have the right measurement because the puree won’t have the same texture if you add more ingredients after adding some fat. Carefully look after your puree when it reaches this stage because you want the fats to combine and mix into your puree properly. Also, make sure not to over-blend. If it looks like it’s entirely and adequately combined, you can turn off your blender.
5. Allow the puree to cool down before storing – If you’re going to serve the puree, then you can skip this part because purees are meant to be served hot. However, if you want to store your puree, it is best if you grab your large bowl with ice and put your puree into the smaller bowl that can fit into the bowl of ice. Gently press the second bowl as deep as you can into the ice to distribute the heat evenly. Stirring your puree while it’s cooling down can help you make sure that the fats stay combined as the puree cools down.