Is It OK to Put Nuts in a Blender?
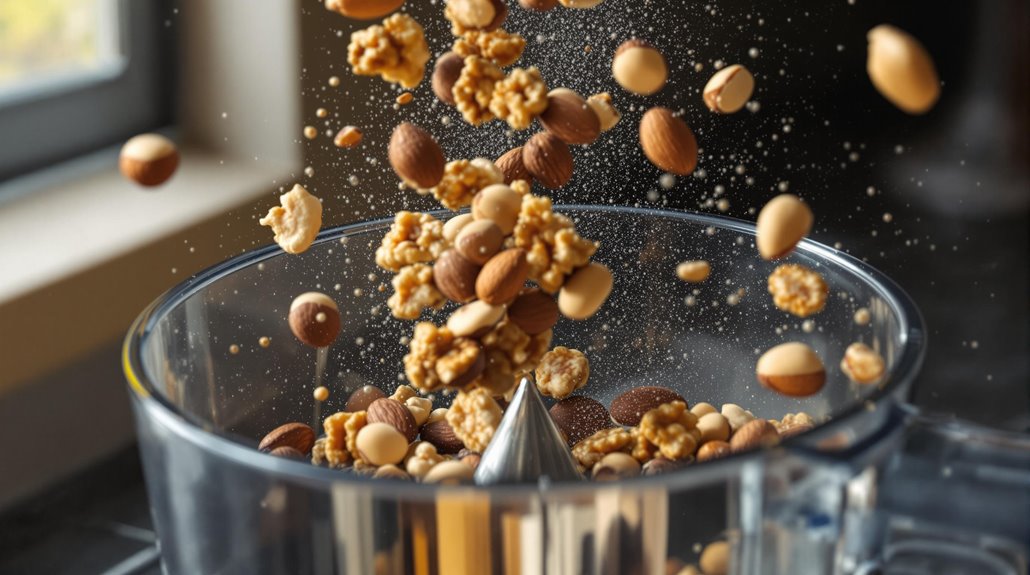
While you can put nuts in a blender, it's not your best option. Standard blender blades aren't designed for hard nuts, which can dull the blades and potentially damage your motor. You'll get better results using a food processor, coffee grinder, or dedicated nut chopper instead. If you must use your blender, work in small batches and use short pulses to protect your appliance. There's much more to know about properly processing nuts for ideal results.
Why Blenders Struggle With Nuts
Why do standard blenders often fall short when processing nuts? The design of blender blades isn't optimized for grinding nuts effectively, which can result in inconsistent textures or turn your ingredients into an unwanted paste. You'll find that nuts frequently get stuck in the blender jar, causing potential jams that can strain the motor.
Unlike a food processor, your blender lacks the precision needed to achieve specific textures when grinding nuts. The high-speed rotation of blender blades can actually work against you, dulling the blades over time and compromising their performance. If you're planning to process large quantities of nuts, you'll risk overloading your blender's motor, which can lead to poor results or even damage your appliance. For these tasks, you'll get better results using a dedicated food processor.
While some blenders feature mincer grater blades specifically designed for making nut butter, most standard blenders aren't equipped with these specialized attachments.
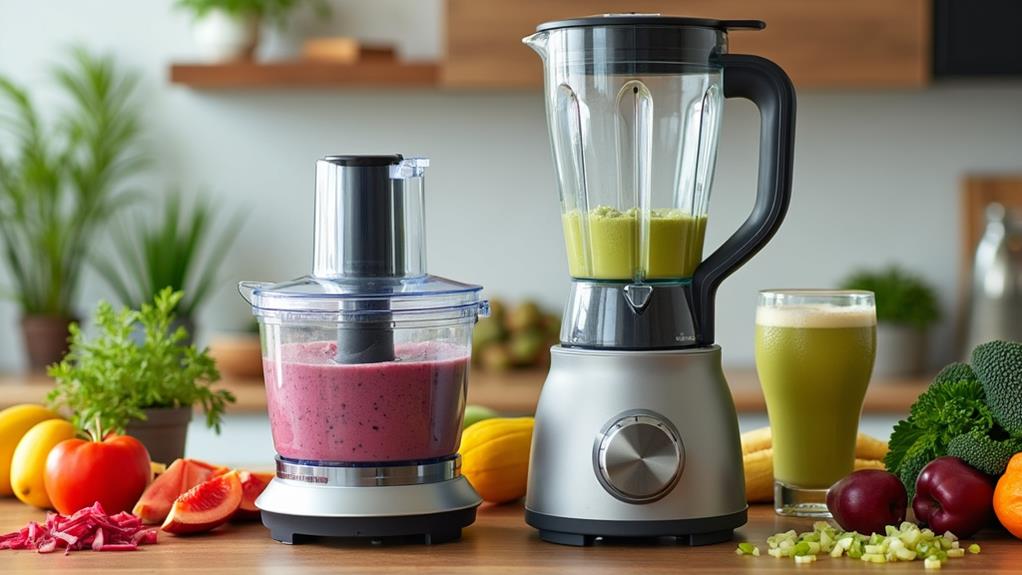
Better Tools for Processing Nuts
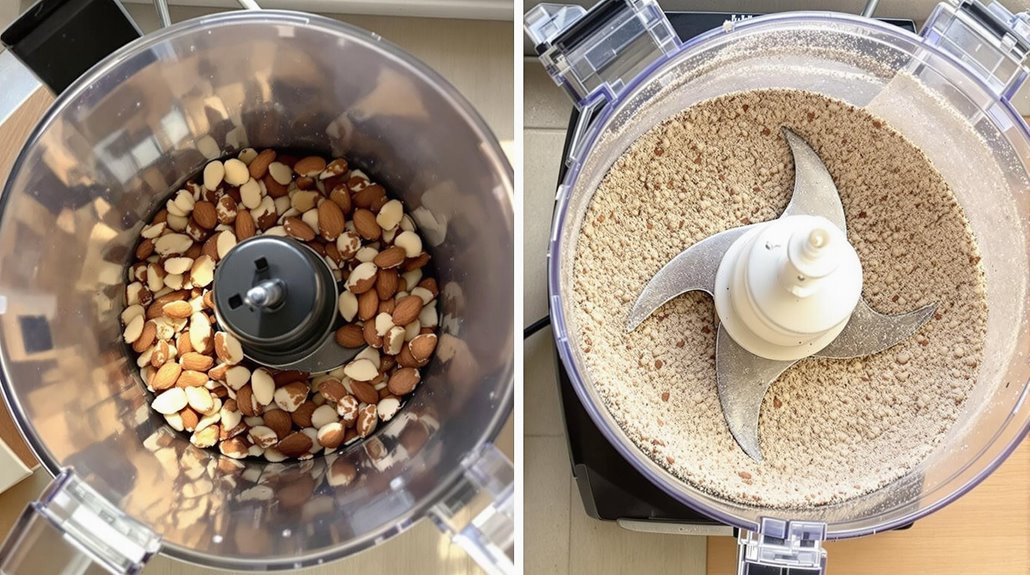
When it comes to processing nuts, several kitchen tools offer superior results compared to standard blenders. Food processors stand out as your best option, giving you precise control over the texture, whether you're making coarse chunks or fine grounds.
If you're working with smaller quantities, you'll find that a coffee grinder or dedicated nut grinder works efficiently to create fine powders without the risk of damaging your equipment. For those who don't want to invest in a full-sized appliance, an immersion blender with a chopper attachment can handle basic nut processing tasks. Even a traditional mortar and pestle proves effective for manual grinding.
While blenders might turn your nuts into nut butters too quickly, these alternative tools let you achieve the exact consistency you need for your recipes. A mini food chopper offers efficient handling of small batches while providing precise texture control through its pulse function.
The Risk of Damaging Your Blender
While alternative tools offer safer nut-processing options, using a standard blender for nuts poses significant risks to your appliance. When you attempt to grind whole nuts, you're putting your blender at risk of serious damage that could shorten its lifespan or cause immediate failure.
Here's what can happen when you use your blender for chopped nuts:
- The blades will gradually become dull and damaged from repeatedly crushing hard nuts
- Your blender's motor may overheat while trying to grind large quantities
- Oils and fibers from nuts can accumulate in hard-to-clean areas, leading to mechanical issues
- You won't be able to grind nuts evenly, potentially damaging the motor as it struggles with inconsistent textures
These risks make it essential to contemplate whether the convenience is worth potentially ruining your blender. Similar to grinding meat, working in batches and pulsing the blender can help reduce strain on the motor when processing nuts.
Alternative Methods for Chopping Nuts
Several excellent alternatives to blenders exist for chopping nuts safely and effectively. You'll find that a mezzaluna, with its curved multi-blade design, works perfectly for processing large quantities of nuts while maintaining their texture. A Pampered Chef-style chopper offers quick, controlled results when you need roughly chopped nuts for your recipes.
If you're looking for an electric option, try using a food processor with short pulses to achieve the perfect rough chop without creating nut butter. For smaller batches, a mini chopper provides precise control and prevents overprocessing. You can also consider attaching a mill accessory to your stand mixer, which effectively breaks down hard nuts while preserving some texture. These methods give you better control and more consistent results than using a standard blender.
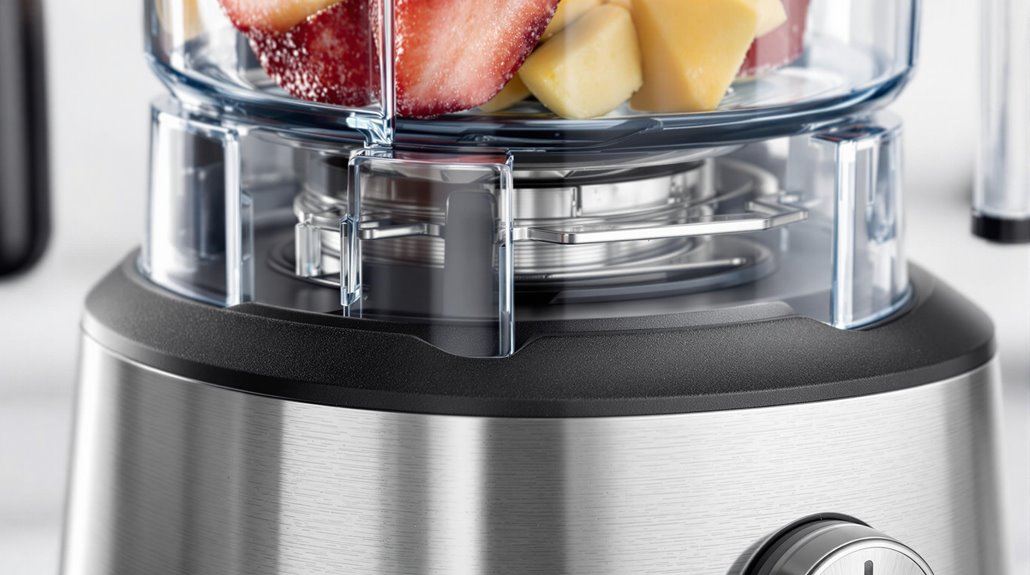
When to Use a Food Processor Instead
A food processor stands out as the superior choice for most nut-processing tasks. You'll get better results and protect your equipment when you choose a food processor over a BLENDER for grinding nuts. The specialized blades and larger capacity make it ideal for handling various quantities while maintaining control over the final texture.
Here's when you should reach for your food processor:
- When you're working with tougher nuts like almonds and cashews that could damage BLENDER blades
- When you need precise control over the texture, from coarsely chopped to finely ground
- When processing larger batches of nuts for recipes or FOOD prep
- When making nut-based products where texture consistency matters, like chunky nut butters or toppings
The food processor's versatility and efficient design make it the go-to tool for nearly all your nut processing needs.
Making Nut Butters: Special Considerations
Making nut butters at home calls for careful consideration of your equipment and process. While you might be tempted to use nuts in your blender, this isn't the best choice for creating smooth, creamy nut butters. The high-speed blades can wear down over time when processing whole nuts, potentially damaging your appliance.
Instead, consider using a food processor, which offers better control over the final texture. You'll also get better results by soaking your nuts in water before processing them.
If you're looking to create a fine powder first, an electric blade coffee grinder works exceptionally well. When these tools aren't available or you're short on time, don't hesitate to opt for store-bought nut butters - they're a convenient alternative that can save your blender from unnecessary strain.
Tips for Successful Nut Processing
Three key strategies guarantee successful nut processing in your kitchen. First, verify your nuts are at room temperature, as cold nuts won't blend smoothly into almond butter or other nut butters. Second, when you USE A BLENDER, work in small batches to prevent motor strain. Third, keep a tamper handy to push nuts toward the blades.
- Toast your nuts before blending to enhance flavor and release natural oils
- When processing brazil nuts or other oily varieties, pause every 30 seconds to prevent overheating
- Add a pinch of salt halfway through blending to distribute it evenly
- Clean your blender immediately after use to prevent nut residue from hardening
Remember to be patient during processing - it can take 10-15 minutes for nuts to alter from chopped to creamy butter consistency.