How to Use a Blender for Grinding Grains?
Using a blender to grind grains can be a convenient and efficient way to prepare ingredients for a variety of recipes. Whether you're looking to make your own flour, create homemade cereals, or blend grains for other culinary purposes, understanding how to effectively use your blender for this task can save time and enhance your cooking.
To achieve the perfect consistency without overheating the grains or damaging your blender, understand how to use its functions and speed adjustments effectively.
Let's discuss the steps and tips for using a blender to grind grains, ensuring you achieve the best results every time.
Choosing the Right Blender
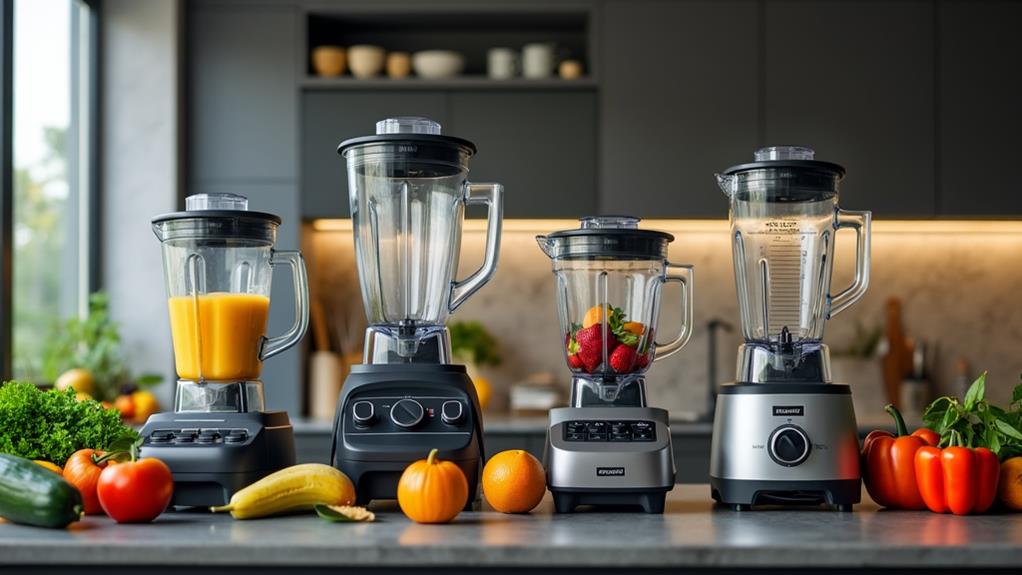
When selecting a blender for grinding grains, prioritize high-powered models like Vitamix or Blendtec, known for their robust motors essential for breaking down whole grains such as wheat berries. A strong motor ensures the blender can handle the tough texture of grains without overheating or malfunctioning.
Look for blenders with specific dry grain containers or blades, designed to optimize the grinding process for a finer and more consistent grind. Variable speed settings are also beneficial, allowing you to control the coarseness of the ground grains to achieve the desired texture for various recipes.
Durability is crucial. High-powered blenders with specialized containers are often a significant investment, so consider models with a solid warranty. This guarantees long-term use and consistently finely ground grains.
Preparing the Grains
To prepare your grains, start by measuring out 1-2 cups of whole grains, such as wheat berries. This amount ensures your blender can handle the load efficiently.
Follow these steps to achieve the desired grind:
Ensure the blender jar is completely dry. Any moisture can cause the grains to stick and clump together.
Add the grains to the blender jar. Avoid overfilling to maintain optimal performance.
Secure the lid tightly. This prevents grains from flying out during the grinding process.
Select the highest speed setting. This setting achieves a finer grind more quickly and efficiently.
Check for the desired consistency. Grind in short bursts and sift if a smoother texture is desired.
This method ensures your grains are ground efficiently and consistently.
Grinding Process
Starting at a low speed and gradually increasing it helps prevent overheating and ensures even grinding. High-powered blenders, such as the Vitamix, offer variable speed settings that provide precise control over the grinding process. This precision is essential for meeting the specific texture requirements of your recipe.
When grinding grains, follow these steps to select the appropriate settings:
- Start Low: Begin at the lowest speed to break down grains without causing excessive friction.
- Gradual Increase: Slowly increase the speed to ensure even grinding and prevent overheating.
- Use Pulse Function: For better control, use the pulse function to grind in short bursts.
- High Speed for Fine Grains: Once the grains are partially ground, switch to a higher speed for a finer consistency.
- Consistent Time: Maintain a consistent blending time to achieve a uniform texture.
Experiment with different settings to determine what works best for your specific needs. By carefully adjusting the speed and blending time, you can achieve the desired consistency and maximize the quality of your grains.
Monitoring Grinding Progress
When grinding grains, it's essential to regularly pause and check the texture to ensure you're achieving the desired consistency. This step is crucial, especially if you're aiming to produce flour. Depending on your recipe, you may need a fine, powdery texture for flour or a coarser texture for meal. By periodically stopping the blender, you can avoid over-grinding and ensure the grains don't become too fine if a coarser grind is required.
To monitor the grinding progress, turn off the blender and open the lid to check the texture. Rub a small amount of the mixture between your fingers to assess its consistency. If it's not yet ground to the desired texture, you can blend it a bit more. Adjusting the grinding time is key, as different grains and textures require varying durations.
Experiment with different grinding times to determine what works best for your specific recipe. Patience is important. By taking these small pauses and checking your progress, you'll achieve the perfect consistency every time, ensuring your grains are ground to meet your exact needs.
Adjusting for Fineness
Achieving the perfect consistency for your ground grains depends on how long you blend them. For finely ground flour, blend your grains for a longer period; for a coarser texture, a shorter blending time will suffice.
To find the ideal consistency for your ground grains, experiment with different durations while monitoring the texture. Here are steps to guide you:
Blend in short bursts: Start with short intervals and frequently check the texture.
Adjust duration: Gradually increase blending time if the grains remain too coarse.
Monitor closely: Regularly check to avoid over-blending into powder.
Sift for smoothness: After blending, sift to remove larger particles and achieve uniform texture.
Repeat if necessary: Blend again if the grains aren't fine enough.
Storing Ground Grains
Properly storing ground grains is essential for maintaining their freshness and nutritional value. After grinding your grains in a blender, store the freshly ground flour in an airtight container to prevent exposure to air and moisture, which can degrade its quality.
For short-term storage, keep the container in a cool, dry place and use the flour within a few days.
For medium-term storage, refrigerate the airtight container for up to two weeks.
For long-term storage, place the container in the freezer, where the flour can last about a month.
Keeping ground grains cold slows down the degradation process, preserving their freshness, flavor, and nutritional value. Ensure the container is sealed tightly to prevent moisture, which can cause spoilage.
Proper storage ensures your ground grains remain suitable for baking and cooking, maintaining their quality and enhancing the flavor of your culinary creations.
Cleaning and Maintenance

Maintaining the cleanliness and good condition of your blender ensures optimal performance when grinding grains. Regular cleaning prevents residue buildup and extends the appliance's lifespan.
Disassemble the blender by removing the jug, lid, and blades. Wash these parts with warm, soapy water, using a brush or sponge to reach hard-to-clean areas and remove all grain particles. This practice maintains hygiene and prevents unpleasant odors.
Essential Cleaning Tips:
- Clean promptly: Always clean your blender immediately after use to prevent residue from hardening.
- Avoid soaking the base: Never immerse the blender base in water to protect the motor and electrical components.
- Use a brush: Utilize a brush to reach tight spaces and ensure thorough cleaning of the blades.
- Check manufacturer instructions: Refer to the manufacturer's guidelines for specific cleaning recommendations.
- Regular maintenance: Routine cleaning and maintenance help prolong the life of your blender.
Proper cleaning practices are crucial. By following these steps, you'll ensure your blender remains in excellent condition, providing reliable performance every time you grind grains.
Frequently Asked Questions

Can I Use a Blender as a Grinder?
Yes, you can use a high-powered blender, such as a Vitamix or Blendtec, as a grinder. For optimal results, use a dry container to ensure efficient grinding and to avoid flavor cross-contamination. This method allows you to enjoy fresher, nutrient-rich ingredients.
Can I Use a Blender Instead of a Grain Mill?
Yes, you can use a high-powered blender, such as a Vitamix or Blendtec, as an alternative to a grain mill. For optimal results, use a dry container to achieve fresh, customizable flour.
How to Crack Wheat in a Blender?
To crack wheat in a blender, measure 1 to 2 cups of wheat berries and pour them into the blender. Pulse the blender a few times on a medium setting. Check the texture and repeat if needed until you achieve the desired consistency.
How Do You Blend Grains?
Measure 1-2 cups of grains, ensure the blender lid is secure, and blend on the highest setting until the grains become a fine powder. Sift if necessary to achieve the desired texture.
Conclusion
Using a blender to grind grains is a versatile and practical method. Remember to consider the type of grain, adjust the blending time, and maintain your blender to ensure optimal performance. With these tips, you can enjoy the convenience and benefits of freshly ground grains right in your kitchen.