How to Prevent Blender Leaks and Spills?

Blender leaks and spills can turn a simple kitchen task into a frustrating mess. Whether you're whipping up a smoothie, soup, or sauce, ensuring your blender operates smoothly without any leaks is crucial for both convenience and cleanliness. Understanding the common causes of leaks and how to prevent them can save you time and keep your kitchen spotless.
Let's explore practical tips and tricks to help you prevent blender leaks and spills. From proper assembly and maintenance to choosing the right settings and techniques, this guide will equip you with the knowledge to keep your blending experience hassle-free and efficient.
Key Takeaways
- Check Maximum Capacity: Always refer to your blender's user manual to know its maximum capacity and avoid overfilling.
- Secure the Lid: Make sure the lid is securely locked and that the sealing ring is intact and properly positioned.
- Cool Hot Liquids: Allow hot liquids to cool down before blending to prevent pressure buildup, which can cause leaks or spills.
- Inspect and Replace Parts: Regularly inspect gaskets and seals for wear and tear, and replace them as needed to maintain a good seal.
- Thorough Cleaning: Clean the blender thoroughly after each use to remove any residue that could affect the seal and lead to leaks.
By following these guidelines, you can minimize the risk of leaks and spills, ensuring your blender operates efficiently and safely.
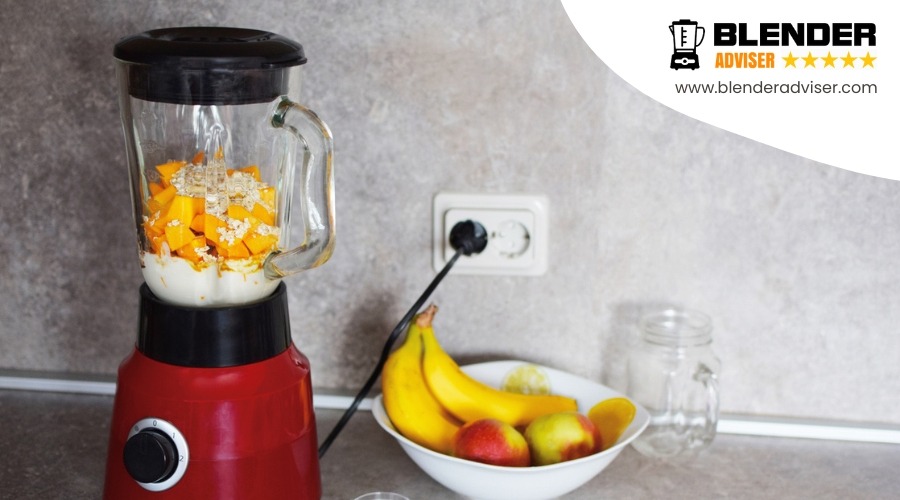
Check Blender Capacity
Always check your blender's maximum capacity to prevent overfilling and potential leaks. Exceeding this limit can strain the blades and cause liquid to escape through the lid seal, creating a mess on your countertop.
By adhering to the recommended capacity, you'll ensure smooth blending without spills. Most blenders have clear markings indicating the maximum fill line. If not, refer to the user manual for specific guidelines on maximum capacity for both liquids and solids. This seemingly minor step plays a significant role in maintaining a clean kitchen and a well-functioning blender.
Properly measuring your ingredients beforehand can save you from dealing with leaks and spills. Take a moment to check the capacity before blending—it can make a significant difference in your blending experience.
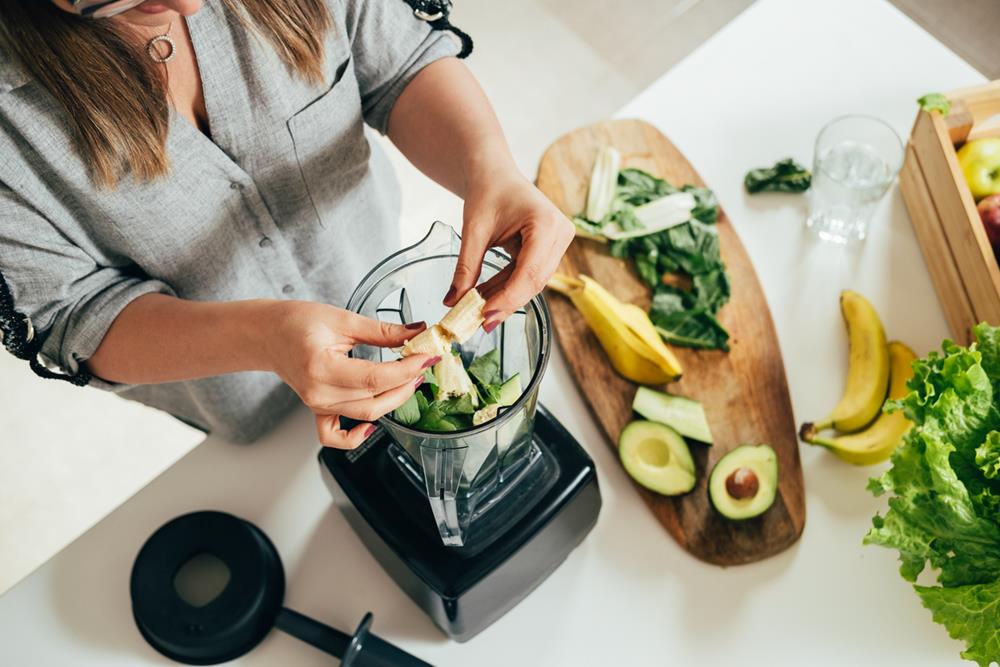
Secure the Lid
To prevent leaks and spills, ensure the blender lid is correctly placed and securely locked. Verify the lid's locking mechanism and confirm the seal ring is clean and intact.
Proper lid placement and maintenance ensure a smooth and mess-free blending experience.
Proper Lid Placement
Ensuring the blender lid is securely in place before blending is essential for preventing leaks and spills. Follow these steps for a secure fit:
- Examine the Sealing Ring: Regularly check the sealing ring for any damage or wear. A damaged ring can cause leaks, so replace it if necessary.
- Align the Lid Correctly: Properly align the lid with the blender jar. Misalignment can create gaps where liquids can escape.
- Press Down Firmly: After aligning, press down firmly on the lid to ensure it's fully engaged with the jar.
- Replace Worn Sealing Rings: To maintain a tight seal, promptly replace any worn sealing rings.
Incorporating these steps into your blending routine will significantly reduce the risk of leaks and spills. A secure lid is your first line of defense against messy kitchen accidents.
Locking Mechanism Check
Before blending, ensure the lid is securely locked to prevent leaks or spills. Double-check the locking mechanism each time to avoid messes in your kitchen. Align the lid correctly and press it down until you hear a 'click,' indicating it's properly fastened.
Inspect the rubber gasket around the lid, as it helps create a tight seal. A worn-out or misplaced gasket can compromise the lid's ability to lock securely. Always follow the manufacturer's instructions for locking the lid to prevent potential spills and leaks.
Securing the lid correctly also maintains the necessary pressure inside the blender, enhancing performance. Taking these simple steps reduces the risk of leaks and spills.
A secure lid is your first defense against a messy kitchen, so ensure everything is locked in place before blending.
Seal Ring Maintenance
Regularly inspect the rubber seal ring on your blender lid for any signs of wear or damage to ensure a secure, airtight seal. This small but vital component prevents leaks and spills during operation.
First, locate the seal ring's designated spot and confirm it's properly seated. An improperly placed seal ring can cause leaks even if the ring itself is intact.
Clean the seal ring and lid frequently to remove any food debris or residue that could compromise the seal. Use warm soapy water and a soft brush for effective cleaning.
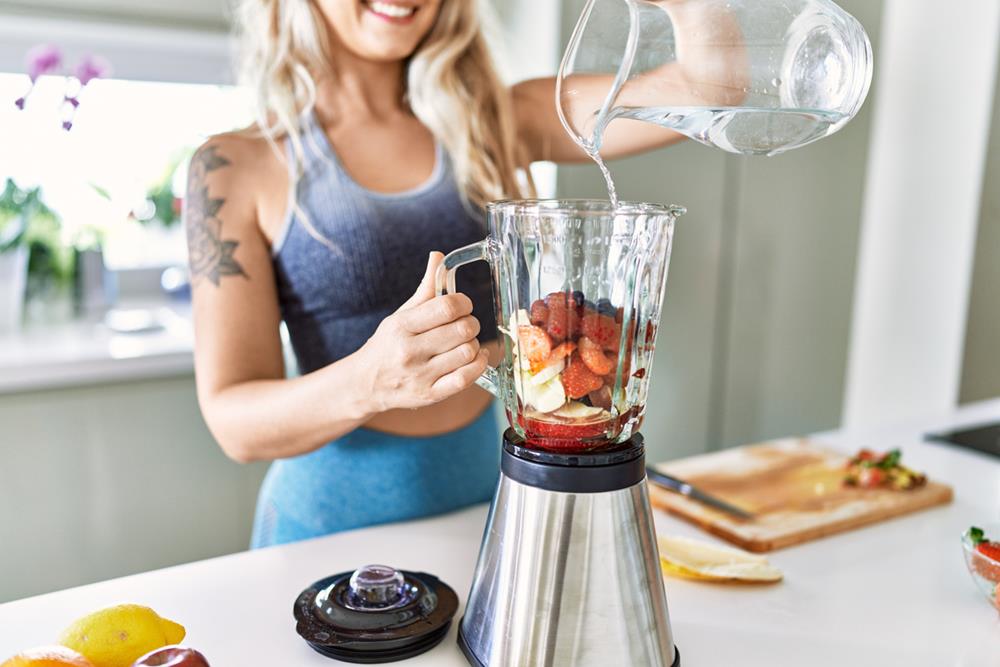
Avoid Hot Liquids
When blending hot liquids, manage the temperature to prevent pressure buildup and leaks.
Avoid exceeding safe liquid levels and always secure the lid tightly.
Let hot ingredients cool before blending to protect your blender's seals and components.
Temperature Control Importance
Blending hot liquids can lead to dangerous pressure buildup, causing leaks and spills that compromise safety. When hot substances are blended, steam forms inside the blender, increasing pressure and potentially causing the lid to pop off, allowing liquid to escape. This not only results in leaks but also poses a significant burn hazard.
Temperature control is crucial for preventing these issues. High temperatures can weaken seals and gaskets, making them more prone to failure and increasing the risk of leakage.
Clean After Each Use
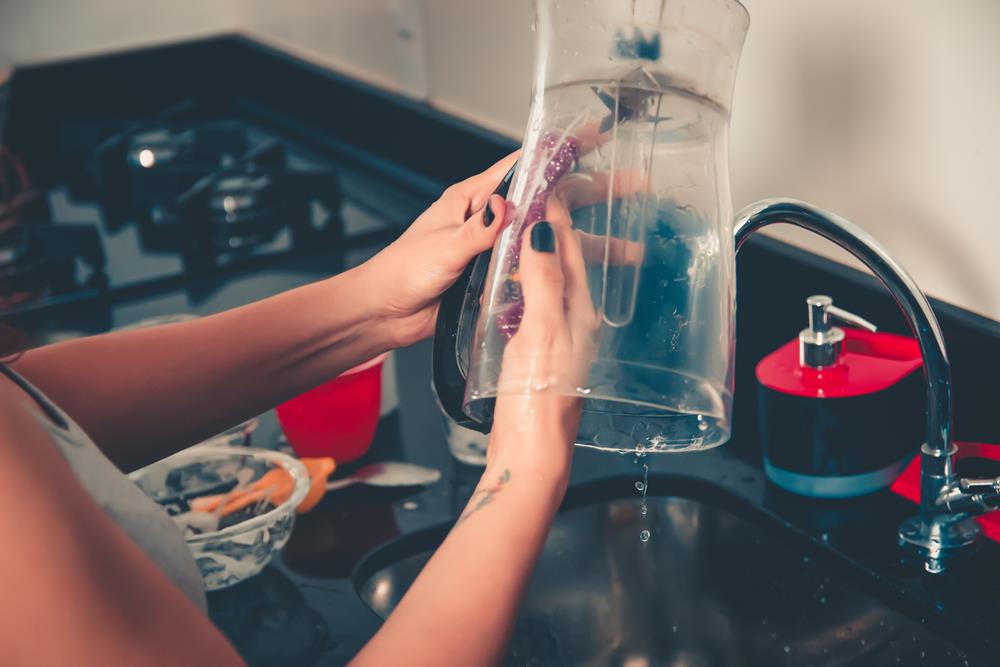
To maintain your blender and prevent leaks and spills, clean it thoroughly after each use. Start by disassembling the unit, focusing on the gasket and sealing components, which often trap food particles and liquids. Clean each part with warm, soapy water, then rinse thoroughly with clean water.
To ensure your blender remains leak-free and performs well:
- Inspect the gasket and seals: Check for trapped food particles or signs of wear.
- Air-dry components: Make sure all parts are completely dry before reassembling to prevent mold and bacteria growth.
- Use a soft brush: Clean hard-to-reach areas without damaging delicate parts.
- Reassemble correctly: Ensure all parts are properly aligned and secured.
Regular cleaning not only prevents leaks and spills but also keeps your drinks fresh and free from old residue. A clean blender is less likely to harbor bacteria, safeguarding the quality and safety of your beverages.
Inspect for Cracks
Once your blender is clean and dry, thoroughly examine the jar and base for any cracks or damage that could lead to leaks. Even a small crack can compromise the seal and cause liquid to escape during blending.
Begin by visually inspecting the blender jar, holding it up to the light to spot any hairline fractures or chips that mightn't be immediately visible.
Next, inspect the plastic base of your blender. Cracks in the base can be just as problematic and may result in spills. Run your fingers carefully over the surfaces of both the jar and the base to detect any small cracks or imperfections that may be missed by sight alone. This tactile inspection is particularly useful for identifying less visible damage.
Address any cracks promptly to prevent leaks and ensure a smooth blending experience. If you discover any damage, refrain from using the blender until the issue is resolved.
Regular inspections for cracks can save you from messy spills and keep your appliance in good working condition.
Replace Worn Parts
Regularly replacing worn parts is essential for preventing blender leaks and ensuring optimal performance. Over time, components like rubber gaskets, blades, and containers can wear out, leading to potential leaks and spills. To keep your blender in top shape, make it a habit to inspect these parts frequently.
Start by checking the rubber gaskets, as they play a crucial role in maintaining a proper seal. If they're worn or cracked, replace them immediately.
Next, inspect the blade assembly. Dull or damaged blades not only reduce blending efficiency but can also compromise the seal, causing leaks.
Frequently Asked Questions
How Do I Stop My Blender From Leaking?
To stop your blender from leaking, ensure the jar and blade assembly are tightly secured, check the rubber gasket for any signs of damage, avoid overfilling the jar, and make sure the lid is securely fastened. Follow proper usage guidelines, such as not blending hot liquids and performing regular cleaning and maintenance.
What Is the Black Liquid Coming Out of My Blender?
The black liquid coming out of your blender is likely due to food residue, mold, or deteriorating rubber gaskets or seals. Thoroughly clean and inspect your blender to address the issue.
Why Does My Kitchen Aid Blender Leak?
Your KitchenAid blender may leak due to a worn or dislodged rubber gasket in the blade assembly. Improperly sealed lids or cracked containers can also cause leaks, leading to kitchen messes and inefficient blending.
Why Is My Ninja Blender Leaking From the Bottom?
Your Ninja blender is likely leaking from the bottom due to a loose blade assembly or a damaged rubber gasket. Ensure that the blade assembly is tightly secured and inspect the rubber gasket for any damage. Additionally, check for any cracks in the jar to prevent further issues.
Conclusion
Preventing blender leaks and spills is all about proper assembly, maintenance, and mindful use. By ensuring that all parts are correctly fitted, regularly inspecting seals and gaskets, and using appropriate blending techniques, you can significantly reduce the risk of leaks and spills. Taking these preventive measures not only saves you from messy cleanups but also prolongs the life of your blender, ensuring it continues to perform optimally.