How to Maximize the Lifespan of Your Blender?
Maximizing the lifespan of your blender is not just about preserving a kitchen appliance; it's about ensuring consistent performance, efficiency, and convenience in your culinary endeavors. Whether you're whipping up morning smoothies, blending soups, or concocting delicious sauces, a well-maintained blender is a valuable ally in the kitchen. The longevity of your blender depends on a series of simple yet crucial factors, from mindful ingredient selection to diligent cleaning routines and occasional maintenance checks. By adopting these practices, you not just extend the lifespan of your blender but also improve its functionality and reliability, allowing you to unleash your creativity in the kitchen with confidence.
Let's delve into the intricacies of blender care and discover how small steps can yield significant benefits in the longevity and performance of this indispensable kitchen appliance.
Key Takeaways
- Rinse and clean the jar immediately after each use to prevent residue buildup.
- Regularly inspect and maintain the gasket to prevent leaks and ensure proper function.
- Store the blender in a cool, dry place away from direct sunlight and heat sources.
- Use the self-cleaning method with warm water and dish soap to simplify cleaning.
- Handle and assemble the blade carefully to avoid damage and ensure longevity.
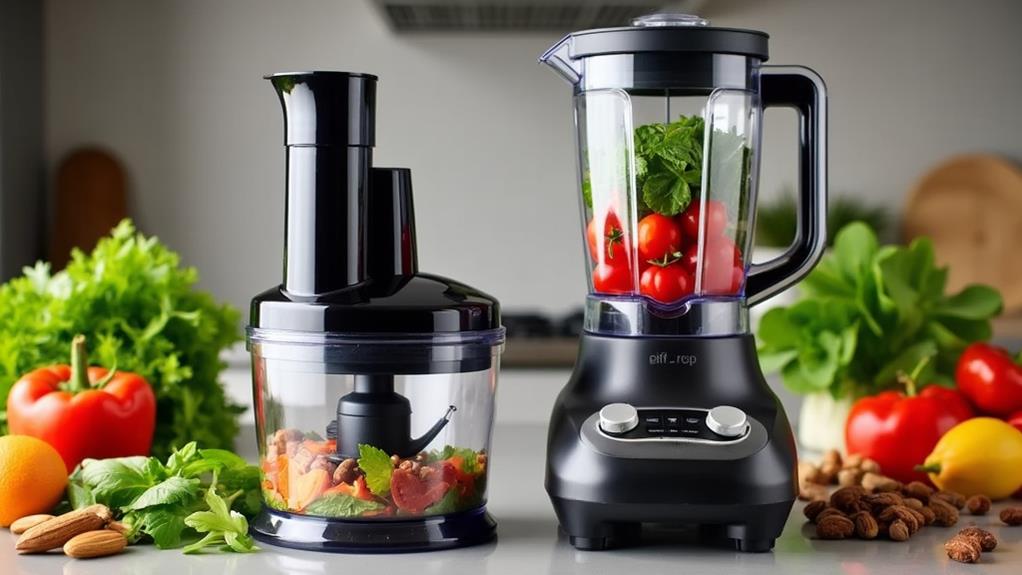
Regular Cleaning Routine
To ensure your blender remains hygienic and functions efficiently, it's crucial to regularly clean all its components, including the jar, lid, blades, gasket, and base. Regular cleaning prevents residue buildup and reduces the risk of germs and bacteria, particularly around the gasket, which is prone to accumulating grime.
Pay special attention to the gasket, as it's a common area for bacteria buildup. If your blender has removable parts, refer to the manual or online resources for specific cleaning instructions.
Blade Removal Tips
Properly removing your blender's blade is significant for maintaining its performance and longevity. Begin by unplugging your blender to ensure safety.
Carefully detach the blade unit from the pitcher, which may require unscrewing or releasing a base cap depending on your model. Always follow the manufacturer's instructions to prevent any damage.
Handle the blades with care, as they're extremely sharp. Inspect the blade unit for any residue buildup or stuck-on food particles. Cleaning these areas is essential for optimal blending performance and to prevent bacterial growth. A brush can help you reach tight spots that are otherwise difficult to clean.
Correctly disassembling the blade unit ensures thorough cleaning. Pay close attention to how the parts fit together; this will make reassembly easier.
After cleaning each component, carefully reassemble the blade unit. Ensure everything is securely in place before using your blender again.
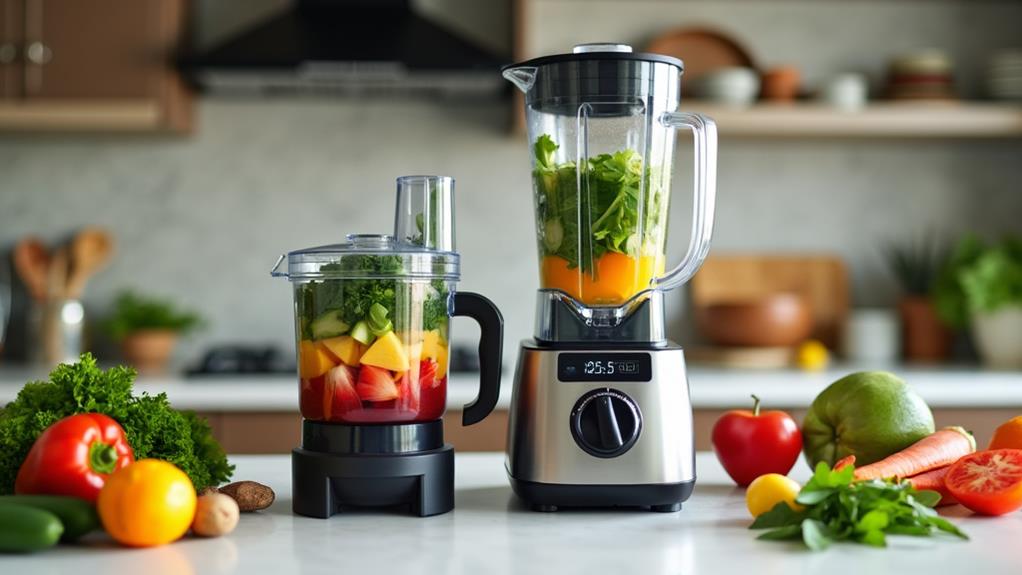
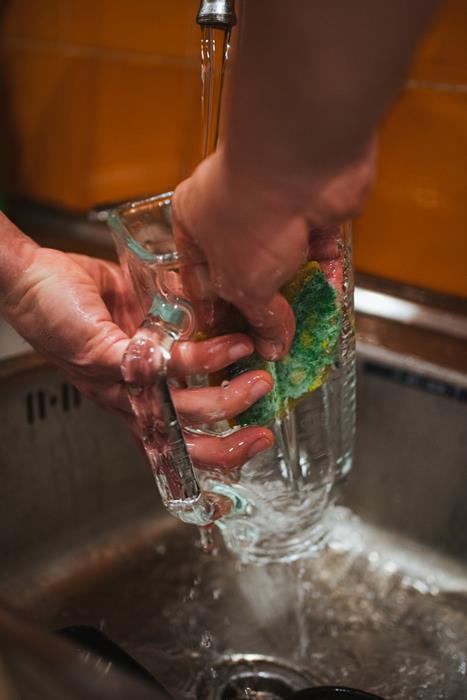
Cleaning Internal Parts
Properly disassembling your blender is essential for cleaning its internal parts and ensuring its longevity. Begin by removing the jar and lid, then carefully take apart the blades, gasket, and base. Refer to your blender's manual for specific instructions to ensure safe and effective disassembly. This process enables you to reach and clean areas that are typically inaccessible, preventing residue buildup that can impair performance.
Once disassembled, wash all parts with warm, soapy water. Pay special attention to the blades and gasket, as food particles often get trapped there. Rinse each part thoroughly to eliminate soap residue and let them air dry completely before reassembly.
After cleaning, reassemble the blender according to the manufacturer's guidelines.
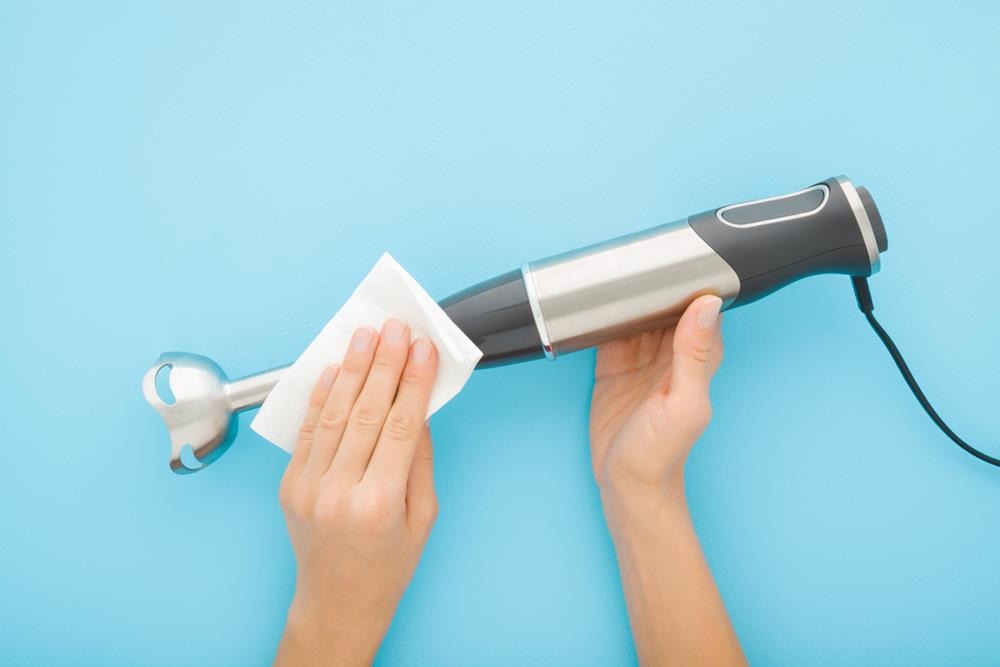
Avoid Abrasive Cleaners
Abrasive cleaners can scratch your blender's surface, leading to quicker wear and tear. Additionally, the harsh chemicals in these cleaners can damage the materials of your blender over time. To maintain your blender's condition, use mild dish soap and warm water for regular cleaning. Avoid scouring pads and harsh detergents that can deteriorate your blender's components.
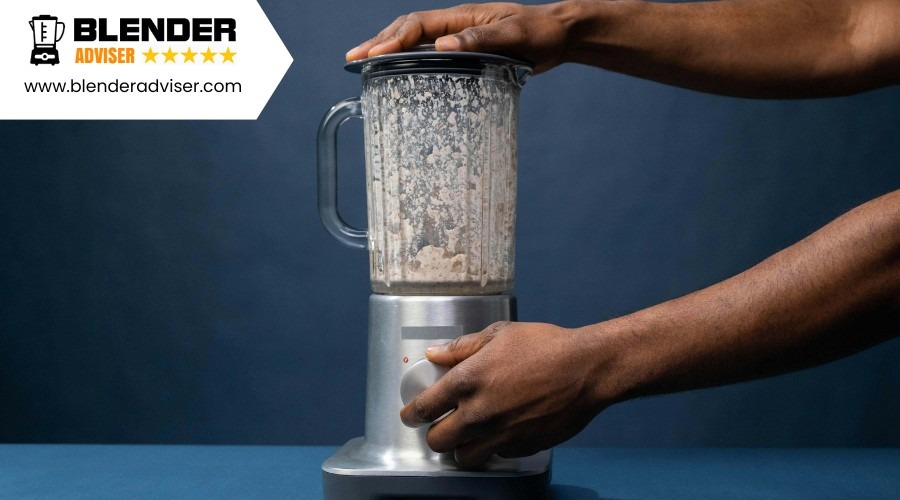
Self-Cleaning Method
To keep your blender clean and ready for its next use, fill it with warm water and a few drops of dish soap, then blend on high for 30 seconds. This quick process eliminates the need to disassemble and scrub each part.
After blending, rinse the blender with warm water to remove any soap residue. Place it on a drying rack to air dry, ensuring all parts are thoroughly dried before the next use. This method saves time and maintains the hygiene of your blender, preventing the buildup of food particles and bacteria.
Regular use of the self-cleaning method can significantly prolong the lifespan of your blender. By cleaning your blender immediately after each use, you reduce wear and tear caused by leftover residue, minimizing the need for more intensive cleaning sessions and keeping your blender in peak condition.
Deep Cleaning Tips
Deep cleaning your blender periodically ensures it stays in optimal condition, preventing mold and bacterial buildup while extending its lifespan.
Follow these steps for an effective deep cleaning:
Disassemble the Blender: Begin by taking apart the blender. Remove the jar, lid, gasket, and blades. Detachable components allow for a more thorough clean.
Wipe the Motor Base: Clean the motor base with a damp, soapy cloth, taking care not to let water seep into the motor. Avoid using abrasive pads that could damage the surface. Use grease-removing products sparingly to prevent undue wear on the motor.
Soak the Components: Fill a basin with warm water and add a few drops of dish soap. Soak the jar, lid, gasket, and blades for approximately 10 minutes to loosen any stubborn residue.
Scrub and Rinse: Use a soft brush to scrub each part meticulously, focusing on the gasket and blades where food particles often accumulate. Rinse all components under warm water and allow them to dry completely before reassembling.
Blade Maintenance
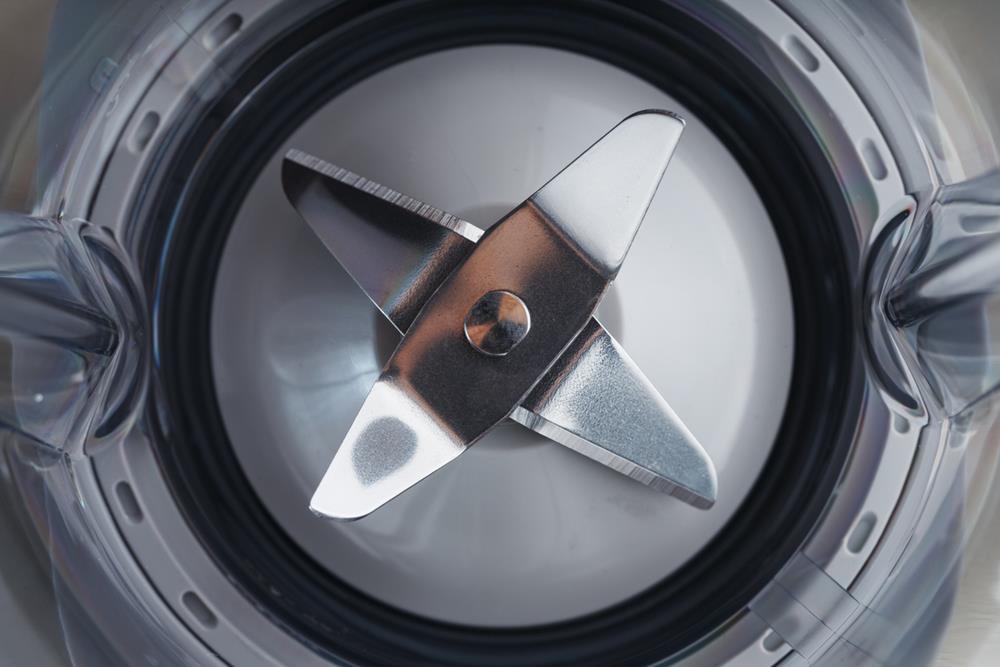
To keep your blender operating at peak performance, regularly check and tighten the blade assembly to prevent leaks. Proper blade maintenance is crucial for efficient operation and longevity. Begin by inspecting the blades for any signs of wear, such as chips, bends, or rust. If you notice any of these issues, replace the blades to maintain optimal blending performance.
Avoid frequently blending hard items like ice or frozen fruit, as they can dull the blades prematurely. When cleaning the blades, exercise caution to prevent injury. Use a brush or sponge to clean tight spaces and remove food residue. Never use your bare hands to clean the blades directly. Storing your blender blades separately from the base can also prevent damage and extend their lifespan. Place them in a safe, dry spot where they won't be knocked around or exposed to moisture.
Gasket Care
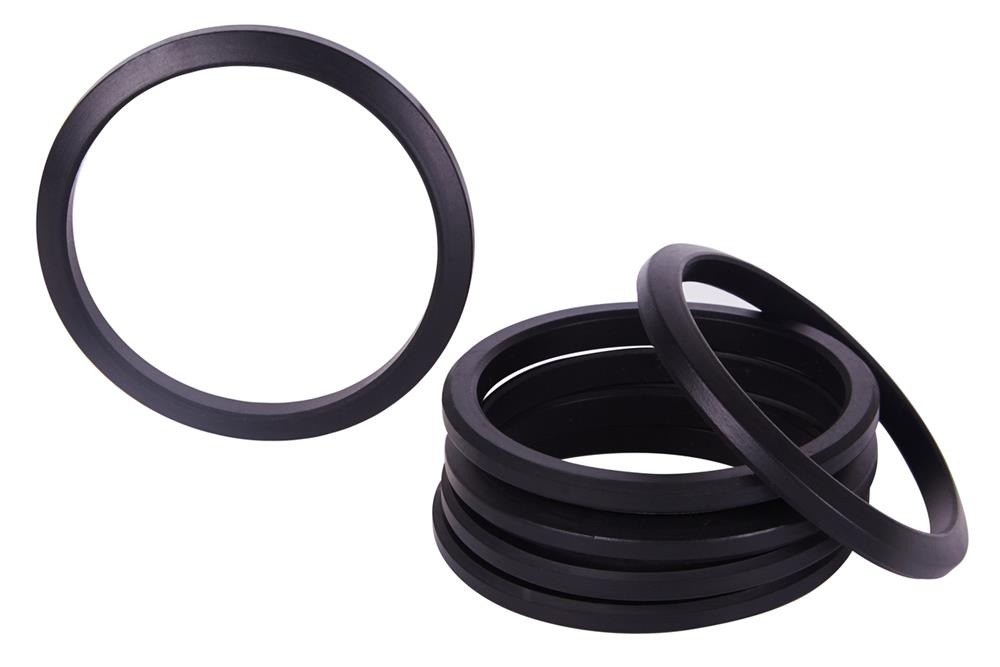
Proper gasket care is crucial for avoiding leaks and ensuring your blender runs efficiently. The gasket seals your blender, so maintaining it can significantly extend your appliance's lifespan.
Follow these tips to keep your gasket in prime condition:
Regular Inspections: Frequently examine the gasket for signs of wear and tear, such as cracks, warping, or material breakdown. A damaged gasket can lead to leaks and reduced blender performance.
Thorough Cleaning: Clean the gasket after each use to prevent food residue buildup, which can harbor bacteria.
Prompt Replacement: Replace the gasket immediately if you notice any damage. A worn-out gasket can't provide a proper seal, causing potential leaks and inefficient blending. Monitor its condition and replace it as needed.
Preventing Mold and Bacteria: Ensure the gasket is completely dry before reassembling the blender. Moisture can lead to mold growth, which is unsanitary and can degrade the gasket material.
Manual Reading
Understanding your blender's manual is important for proper use and long-term maintenance. The manual provides essential information on blending techniques, speed settings, and safety precautions. By thoroughly reading it, you'll know how to operate your blender effectively and avoid mistakes that could reduce its lifespan.
The manual also outlines proper cleaning procedures, which are important for maintaining performance and hygiene. For example, it may advise disassembling certain parts for a thorough clean or recommend specific cleaning agents that won't damage the machine's components.
Additionally, the manual includes maintenance instructions, such as lubricating moving parts or replacing worn components. These steps are vital for keeping your blender running smoothly over the years.
Lastly, understanding the warranty details and repair guidelines in the manual can save you time and hassle if issues arise. You'll know what's covered and how to get your blender fixed without voiding the warranty.
Taking the time to read your blender's manual is a small effort that offers significant long-term benefits.
Correct Storage
Proper storage of your blender can significantly extend its lifespan and maintain optimal performance. To ensure your blender remains in excellent condition, follow these practical storage tips:
Choose the Right Location: Store your blender in a cool, dry place to protect it from rust and damage. Avoid humid areas and keep it away from heat sources like ovens or stoves, as heat can degrade the blender's materials.
Avoid Direct Sunlight: Exposure to direct sunlight can cause discoloration and deterioration of plastic and rubber parts. Store the blender in a shaded area or inside a cabinet to protect it from harmful UV rays.
Disassemble for Storage: After cleaning, disassemble the blender parts to promote proper ventilation and prevent mold growth. This ensures that all components are dry and ready for the next use.
Use a Protective Cover: Invest in a blender cover or case to provide an additional layer of protection. A cover keeps dust and debris out and reduces the risk of accidental damage while stored.
Frequently Asked Questions
How Many Years Should a Blender Last?
A well-maintained blender should last between 5 to 15 years, depending on its quality. Higher-end models generally offer greater durability. Regular maintenance, proper usage, and choosing a reputable brand can significantly extend your blender's lifespan.
How Often Should You Replace a Blender?
You should replace your blender when it starts leaking, malfunctioning, or showing significant wear. Generally, with proper care and maintenance, a blender can last between 5-10 years. High-quality models tend to have a longer lifespan compared to budget options.
How Long Can a Blender Run?
To prevent overheating, you should avoid running your blender continuously for more than 1-2 minutes. If you're blending something tough, give the motor a rest. Always adhere to the manufacturer's recommendations for optimal performance and longevity.
Conclusion
To sum it up, the lifespan of your blender is in your hands, quite literally. By treating it with care, attention, and a few simple practices, you can ensure that your blender remains a steadfast companion in your culinary adventures for years to come. From proper assembly to choosing quality ingredients, regular cleaning, and occasional maintenance, each step plays a vital role in preserving the efficiency and functionality of your kitchen appliance. By following these guidelines, you not only extend its lifespan but also enhance its performance, allowing you to continue creating delicious and nutritious blends with ease.
So, remember to handle your blender with care, and it will reward you with countless batches of smooth perfection.