How to Make Nut Butters in a Blender?
Nut butters have become a popular and nutritious addition to many diets, offering a rich source of protein, healthy fats, and a variety of vitamins and minerals. Creating your own nut butters at home not only allows you to control the ingredients and customize flavors but also ensures a fresher, more cost-effective product. Using a blender to make nut butters is a convenient and efficient method that can yield smooth, creamy results.
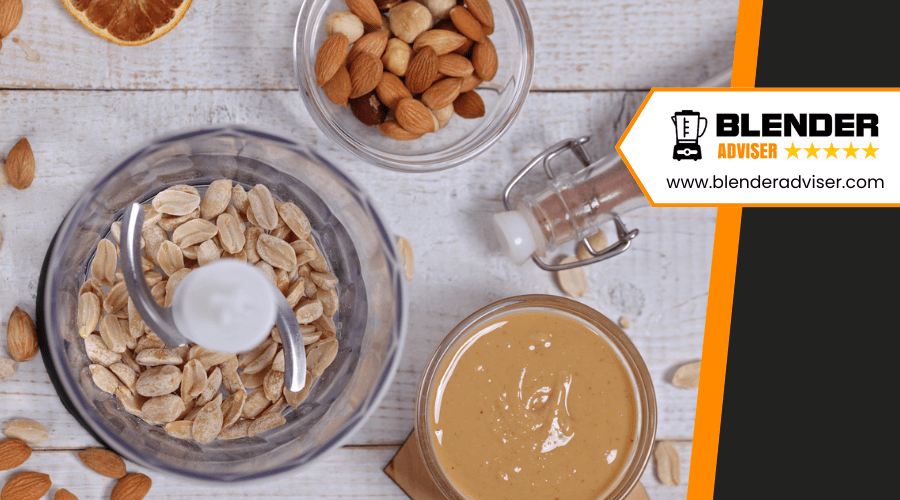
Curious about making smooth, flavorful nut butter at home using just a blender? Start by selecting high-quality nuts and giving them a quick roast to enhance their natural flavors. After cooling, place the nuts in the blender.
Ready to create nut butter that rivals store-bought versions? Let's explore each crucial step.
Key Takeaways
- Roast and cool nuts before blending to enhance flavor and achieve a smoother consistency.
- Use a high-speed blender, starting on low speed and gradually increasing until the mixture becomes creamy.
- Regularly scrape down the sides of the blender to ensure even processing.
- Gradually add oil, such as coconut or avocado oil, to achieve the desired texture.
- Store the nut butter in glass jars in the refrigerator to maintain freshness and extend shelf life.
Choosing Your Nuts
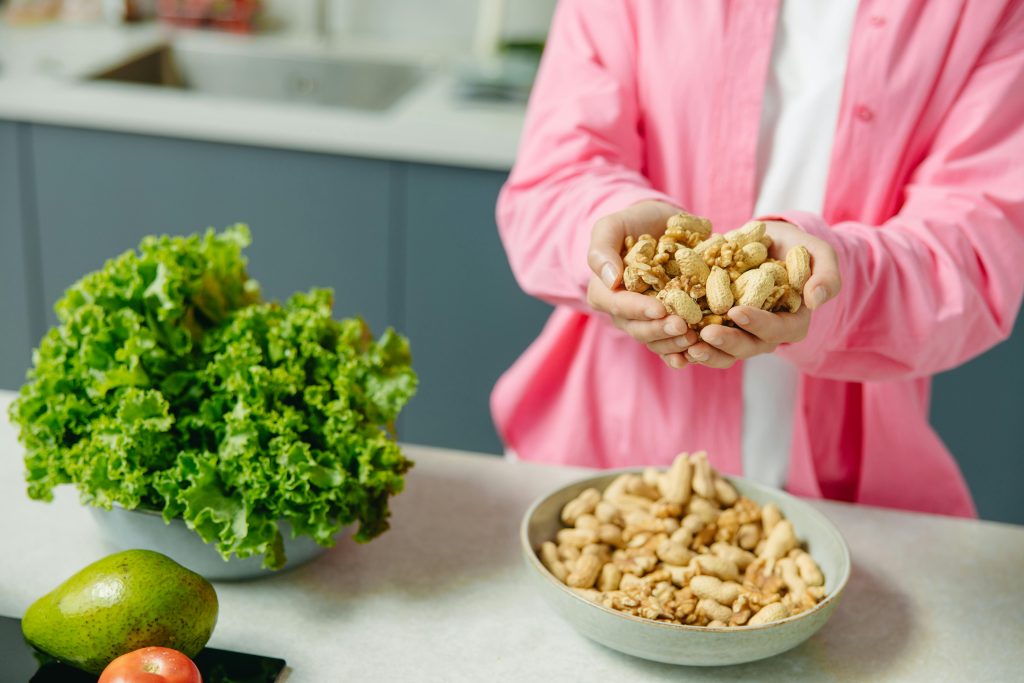
When selecting nuts for your homemade nut butter, consider both their flavor profiles and nutritional benefits. Almonds are a stellar choice, rich in vitamin E and magnesium, which support overall health. Their mildly sweet, nutty flavor pairs well with various ingredients, making them a versatile option.
Cashews, known for their creamy texture when blended, create a luxuriously smooth nut butter and are packed with minerals like copper and magnesium.
For a distinct taste, consider pecans or hazelnuts. Pecans offer a buttery richness, while hazelnuts provide a unique, almost chocolaty flavor. Both can elevate your nut butter to a gourmet level.
Walnuts are another excellent option, particularly if you're seeking a source of omega-3 fatty acids, which are beneficial for heart health.
You can also customize your nut butter by blending different nuts. For example, mixing almonds and cashews can result in a nut butter that's both nutrient-dense and exceptionally creamy. Feel free to experiment with various combinations to discover your ideal blend.
Preparing the Nuts
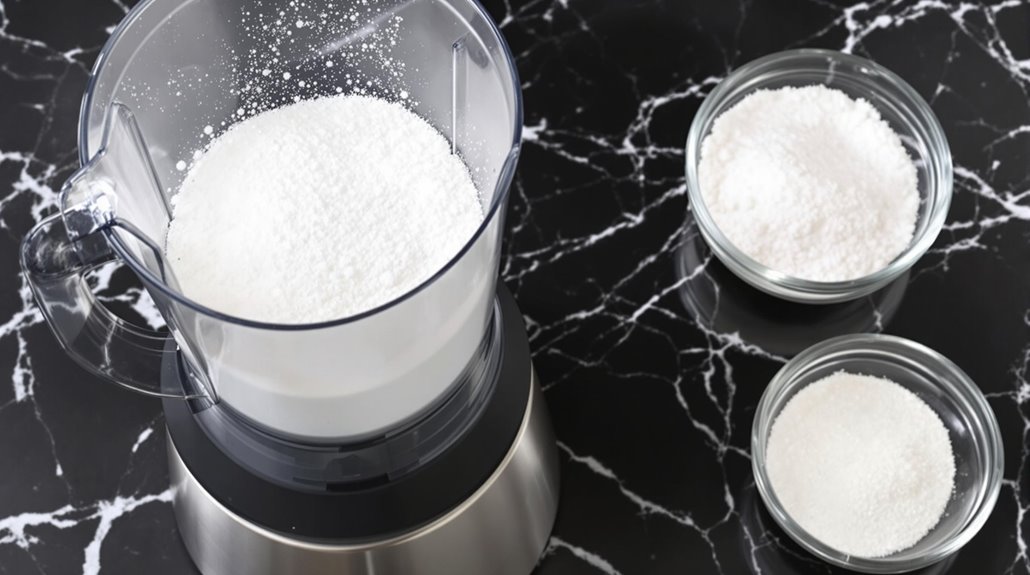
To prepare your nuts for blending into nut butter, start by roasting them in a preheated oven at 350°F for 8-12 minutes. This step is crucial for enhancing their flavor and releasing natural oils, which contribute to a creamy texture. Whether you're using almonds, walnuts, pecans, or hazelnuts, roasting will significantly improve the final product.
Follow these key steps:
- Spread Evenly: Arrange the nuts in a single layer on a baking sheet to ensure even roasting.
- Watch Closely: Monitor them to avoid burning, aiming for a light golden brown color.
- Cool Completely: Let the nuts cool before blending to prevent overheating your blender and to ensure smoother blending.
Once your nuts are roasted and cooled, they're ready for blending. Use a high-quality blender to achieve a smooth, creamy texture. Blending may take 10-12 minutes, so be patient.
With these steps, you'll be well on your way to making delicious homemade nut butter.
Blending Process

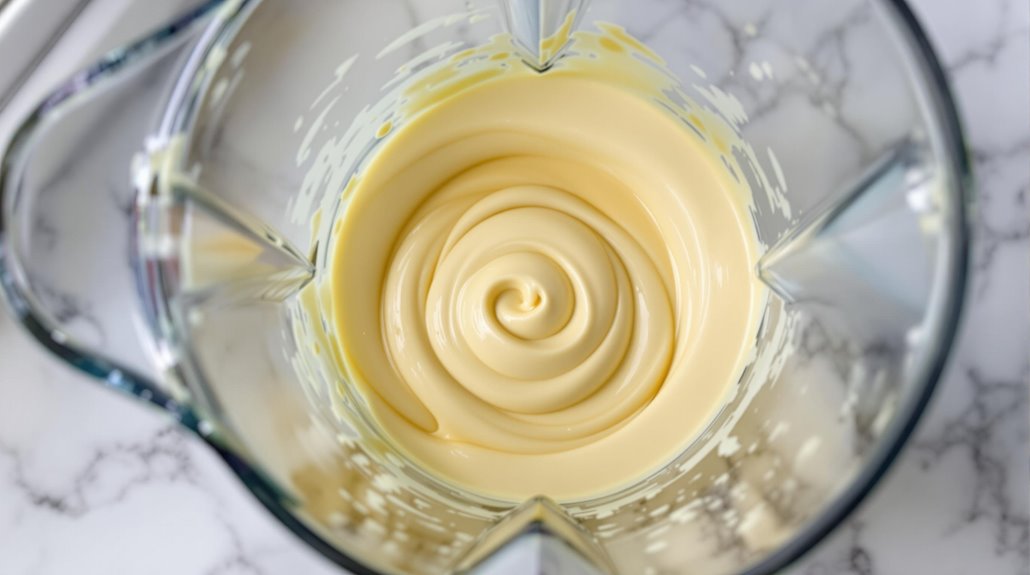
Start by placing the roasted and cooled almonds into your high-speed blender. Blend on low speed for about 7-9 minutes to break them down gradually and evenly, preventing overheating. During blending, you'll notice the almonds transitioning from a gritty texture to a smooth, creamy consistency.
Periodically stop the blender to scrape down the sides with a spatula, ensuring all almond bits are evenly processed. The blender's power is essential for crushing the almonds into a smooth butter without leaving chunks.
Here's a quick reference table for the blending process:
| Time (Minutes) | Texture | Action Needed |
|---|---|---|
| 0-3 | Gritty | Scrape sides, continue blending |
| 4-6 | Smoother | Scrape sides, check consistency |
| 7-9 | Creamy | Taste, add salt if desired |
Gradually add salt to taste during the final minutes of blending. Once you've achieved the desired creaminess, transfer the almond butter into a container. Refrigerate it to help it set and thicken. Enjoy your homemade creamy almond butter!
Adding Oil
A small amount of oil, such as coconut or avocado oil, can significantly enhance the creaminess and blendability of your nut butter. Adding oil helps bind the nuts together, making the mixture smooth and spreadable when using a blender. It's crucial to remember that a little goes a long way.
Here's how to effectively incorporate oil into your nut butter:
- Start Small: Begin with just a teaspoon of oil and blend. Check the consistency and add more if needed to avoid making the nut butter overly oily.
- Choose the Right Oil: Opt for oils like coconut or avocado that complement the flavor of your nuts. Each oil will bring a unique taste and texture, so experiment to find your perfect match.
- Monitor Consistency: Blend the nuts and oil, and observe the texture. If the nut butter is too thick, slowly add a bit more oil until it reaches your desired creaminess.
Adding oil not only aids in the blending process but also ensures your nut butter achieves a delightfully smooth texture. By carefully selecting and adding the right amount of oil, you'll create a creamy, spreadable delight every time.
Achieving Creamy Consistency
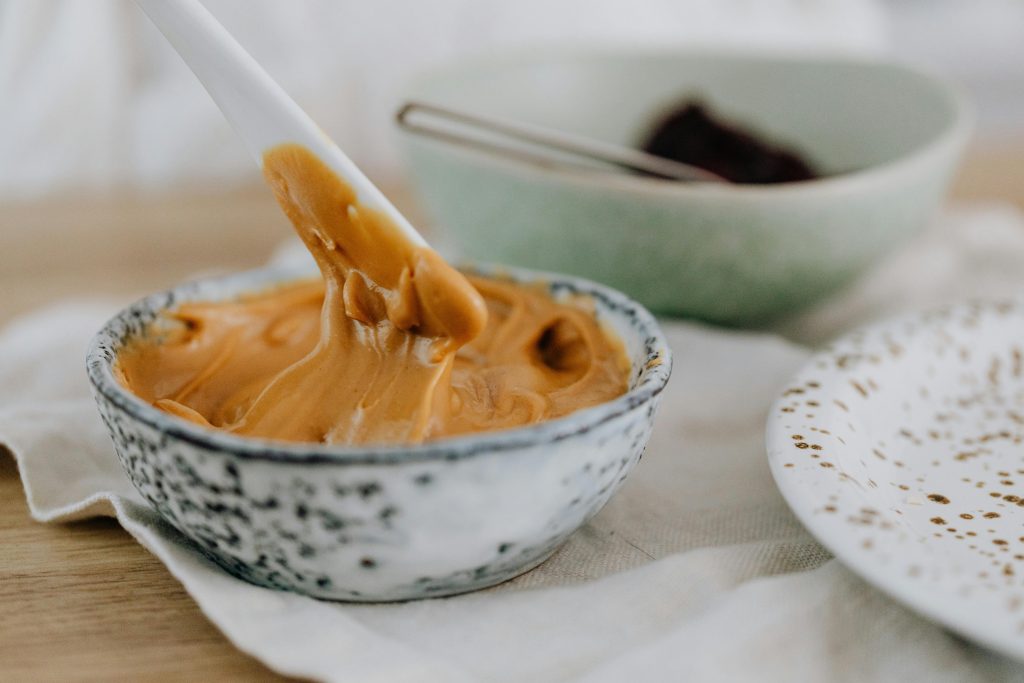
Achieving a creamy consistency in nut butter requires a few key techniques to enhance both flavor and texture. First, roast raw nuts at 350°F for 10-15 minutes, stirring occasionally to ensure even roasting. This step makes the nuts easier to break down in the blender, resulting in a smoother, creamier consistency.
Next, use a high-speed blender, as standard blenders may lack the power needed for the desired creaminess. Blend the roasted nuts for at least 10 minutes, stopping occasionally to scrape down the sides for even blending.
Gradually add oil to help achieve a smoother texture, starting with a small amount and adding more as needed. Avoid adding water or sweeteners during blending, as they can cause the mixture to seize up and lose its creamy consistency.
Patience is key; continuous blending will eventually transform the nuts into creamy nut butter.
Flavor Enhancements
Now that you've achieved a creamy consistency, let's explore flavor enhancements.
You can add natural sweeteners like honey or dates, incorporate spices for a unique twist, or infuse your nut butter with extracts such as vanilla or mint.
These additions create a delicious, personalized spread tailored to your taste buds.
Adding Natural Sweeteners
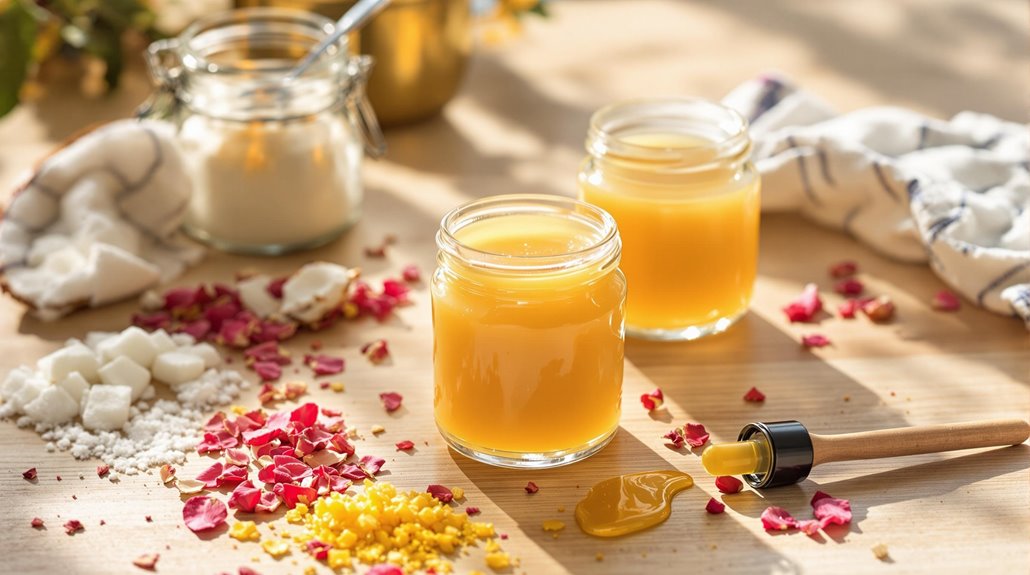
Enhancing your homemade nut butter with natural sweeteners like honey, maple syrup, or dates can elevate its flavor while keeping it wholesome and free from processed sugars. These natural options not only add a touch of sweetness but also complement the nutty taste perfectly, creating a delicious spread or dip that you'll love.
To get started, consider these popular natural sweeteners:
- Honey: A classic choice, honey adds a rich, floral sweetness that pairs beautifully with any nut butter.
- Maple Syrup: This natural sweetener brings a deep, caramel-like flavor that enhances the nut butter's richness.
- Dates: Packed with fiber and nutrients, dates provide a subtle sweetness and can make the texture extra smooth.
Using natural sweeteners helps maintain a healthier, natural profile for your nut butter. You can also experiment with monk fruit sweetener or stevia if you're looking for low-calorie options. The key is to find the perfect balance of flavor that suits your taste.
Incorporating Spices
Incorporating spices like cinnamon, nutmeg, or pumpkin pie spice into your nut butter can add warmth and depth to its flavor. These spices not only enhance the taste but also transform your homemade nut butter into a versatile ingredient for various recipes.
Imagine spreading cinnamon-infused almond butter on toast or adding a dash of nutmeg to peanut butter for a unique twist.
To create these flavorful blends, start with small amounts and adjust according to your taste preference. Experimenting with different spice combinations can lead to delightful discoveries.
For instance, a blend of cinnamon and pumpkin pie spice creates a cozy, autumn-inspired nut butter perfect for seasonal treats.
Almond extract is another excellent addition, especially for almond butter. It intensifies the nutty flavor, making your almond butter even more delicious. Remember, a little almond extract goes a long way, so start with a few drops and taste as you go.
Infusing With Extracts
Enhancing your nut butter with extracts like almond or vanilla can transform it into a gourmet treat, adding unique and delightful flavors. Almond extract imparts a rich, aromatic note, while vanilla extract introduces a subtle sweetness.
Here's how to infuse your nut butter with these extracts:
- Start Small: Begin with a small amount, such as 1/4 teaspoon, and gradually add more if needed. This prevents overpowering the natural nut flavors.
- Blend Thoroughly: Mix the nut butter well after adding the extract to ensure even distribution. This helps incorporate the flavor seamlessly.
- Taste and Adjust: Taste your nut butter after blending. If the flavor isn't strong enough, add a bit more extract and blend again.
Infusing your homemade nut butter with extracts allows you to customize its taste, making it uniquely yours. A little extract goes a long way, so experiment carefully and savor the enhanced flavors.
Storing Your Nut Butter
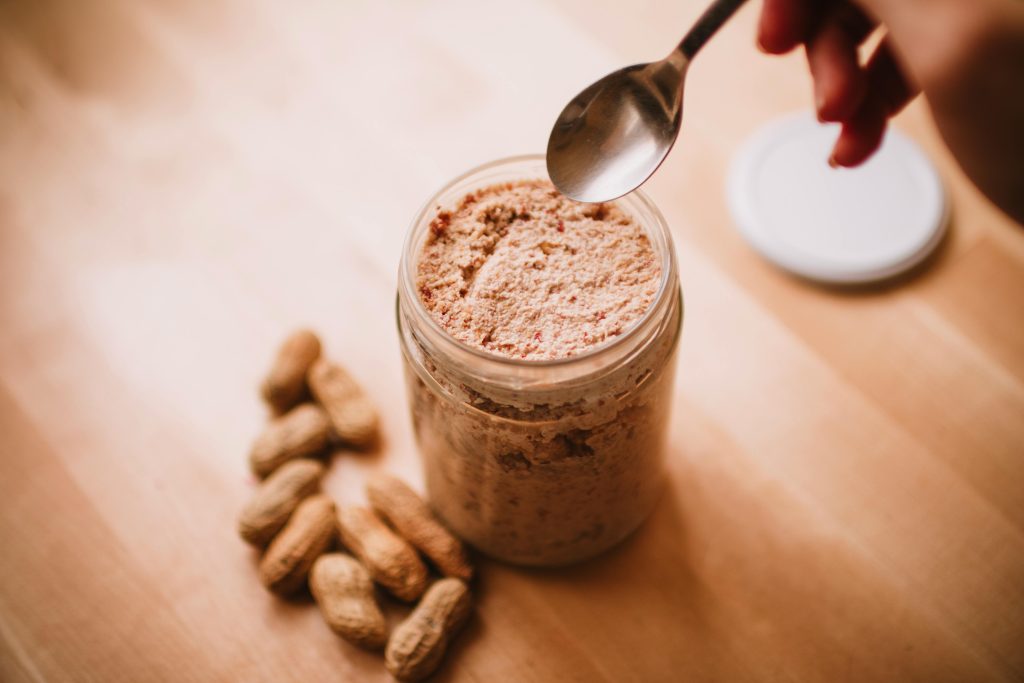
To keep your homemade nut butter fresh, store it in a glass jar or an airtight container. Proper storage is essential for preserving its shelf life and flavor.
Refrigerate the nut butter to prevent spoilage and oil separation; it can last up to three weeks in the fridge. Stir it before each use to mix in any separated oils.
For longer storage, freeze the nut butter in smaller portions. Thaw a batch in the fridge overnight when needed. This method ensures you always have fresh nut butter available.
Additionally, store your nut butter in a cool, dry place, away from direct sunlight or heat sources. These conditions help maintain its flavor and texture.
Serving Suggestions
Now that your homemade nut butter is properly stored, let's explore some delicious ways to enjoy it. Nut butter isn't just a smooth spread; it's a versatile ingredient that can elevate many dishes. Here are some serving suggestions to get you started:
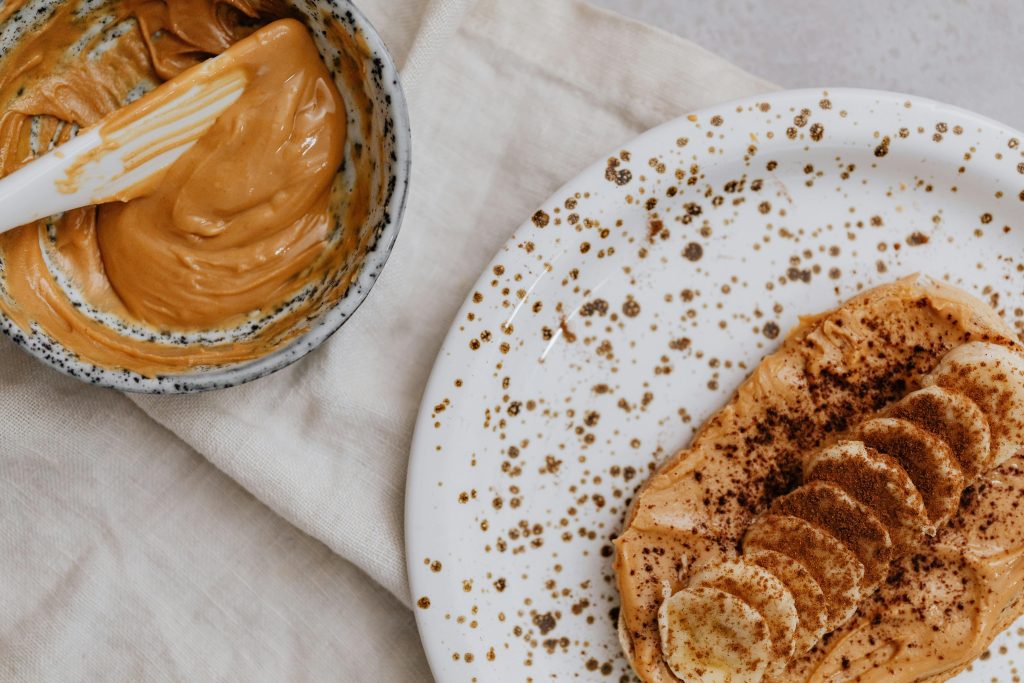
- Spread on Toast: One of the simplest yet most satisfying ways to enjoy nut butter is to spread it on toast. Whether you prefer whole grain, sourdough, or a bagel, a generous layer of nut butter can turn any morning into a delightful experience.
- Smoothies and Bowls: Add a spoonful of nut butter to your morning smoothie, oatmeal, or yogurt bowl. It won't only give your meal a creamy texture but also boost its nutritional value with healthy fats and proteins.
- Fruit Drizzle: Drizzle your nut butter over sliced apples or bananas for a quick and nutritious snack. The combination of smooth nut butter and fresh fruit offers a perfect balance of flavors and textures.
You can also incorporate nut butter into your baking recipes like cookies or brownies, or blend it into salad dressings and sauces. The possibilities are endless, making homemade nut butter a staple in any kitchen.
Conclusion
Creating nut butters in a blender is a simple and rewarding process that allows you to enjoy fresh, homemade spreads tailored to your taste. By following the steps outlined in this guide, you can experiment with different nuts, add your favorite flavors, and achieve the perfect consistency.
Not only will you benefit from the nutritional value of homemade nut butters, but you'll also enjoy the satisfaction of making a wholesome, preservative-free product right in your kitchen. So, grab your blender, pick your favorite nuts, and start blending your way to delicious, homemade nut butters that you can enjoy on toast, in recipes, or straight from the jar. Happy blending!