How to Clean and Maintain Blender Gaskets?
Blender gaskets are an important part of your blender that helps in creating a tight seal between the blade assembly and the blending container, preventing leaks and ensuring smooth blending. Over time, these gaskets can become dirty and worn out, potentially causing leaks and leading to a decrease in blending efficiency.
To keep your blender gaskets in optimal condition, it's important to clean them regularly and replace them as necessary. Here will provide you with some simple steps on how to clean and maintain blender gaskets for an optimal performance and longevity of your blender.
Key Takeaways
- Disassemble the blender and carefully remove the gasket before cleaning.
- Soak the gasket in warm, soapy water and scrub it gently with a brush or cloth.
- Rinse the gasket thoroughly and make sure it is completely dry before reassembling the blender.
- Regularly inspect the gasket for any signs of cracks, tears, or food particles.
- Sanitize the gasket periodically to prevent bacteria buildup.
Preparing the Blender
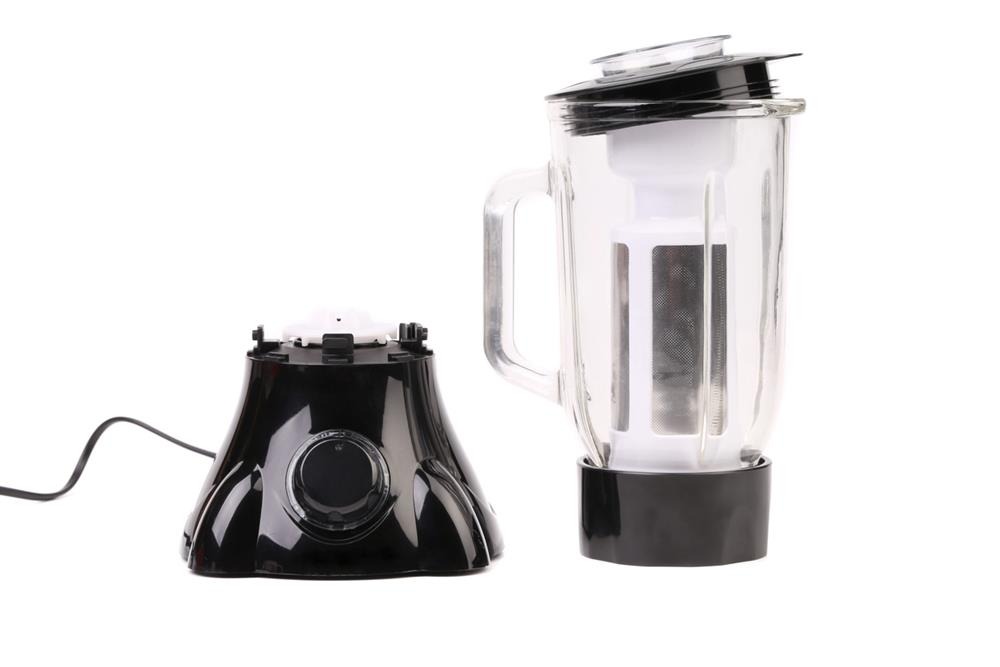
Before cleaning the blender gasket, unplug the blender and carefully disassemble the jar, lid, and gasket. This step is crucial for your safety and ensures thorough cleaning of each component. Start by gently removing the jar from the base to avoid damaging any parts.
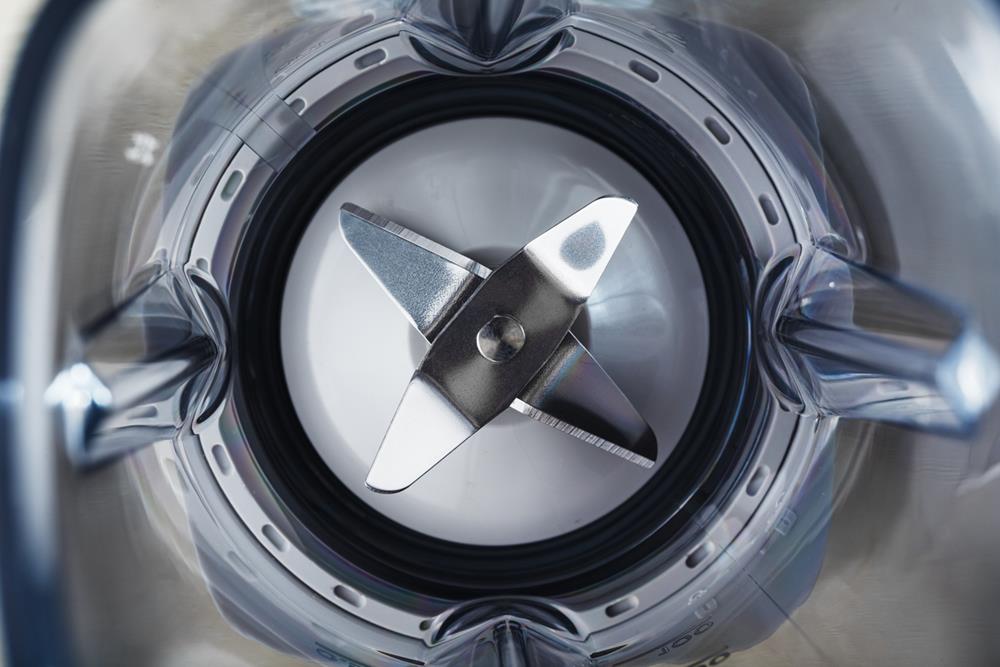
Once the jar is removed, take off the lid and set it aside. Next, locate the gasket, typically a rubber or silicone ring situated between the jar and the blade assembly.
Cleaning the Gasket
To clean the blender gasket, follow these steps:
- Remove the Gasket: Start by taking the gasket out of the blender base to access all areas where food particles might be trapped.
- Soak in Warm, Soapy Water: Submerge the gasket in warm, soapy water for a few minutes to loosen any stuck-on debris.
- Scrub the Gasket: Use a small brush or cloth to gently scrub the gasket, focusing on the edges and grooves where grime tends to accumulate. For tight spaces, a toothbrush can be particularly effective.
- Rinse Thoroughly: After scrubbing, rinse the gasket under warm running water to remove soap and any remaining debris.
- Sanitize Regularly: Regularly sanitizing the gasket is crucial to prevent bacterial growth and cross-contamination.
Drying and Reassembling
After thoroughly rinsing the gasket, ensure it's completely dry before reassembling to prevent mold and mildew.
Lay the gasket on a clean towel and let it air dry naturally. Avoid using a cloth to dry the gasket, as this can leave fibers or lint. If time is an issue, use a fan to expedite the drying process, but ensure every part of the gasket is dry.
While the gasket dries, inspect the other blender components. Ensure all parts are free from food particles or debris to maintain the effectiveness of your cleaning. Proper drying is crucial to maintain hygiene and prevent bacterial contamination.
Once everything is dry, carefully reassemble the gasket into the blender. Ensure it fits snugly for a tight seal to prevent leaks.
Inspecting for Wear
Regularly inspecting your blender gasket is crucial for maintaining its peak condition. Begin by examining the gasket for any cracks, tears, or signs of wear, as these issues can compromise the seal and lead to leaks or inefficient blending.
Discoloration on the gasket may indicate mold or mildew, which can be harmful and should be addressed immediately.
Regular Maintenance Tips

Regular maintenance of your blender's gaskets is essential to ensure its longevity and performance. Here are some tips to help you keep them clean and well-maintained:
Regular Cleaning: After each use, disassemble the blender and remove the gasket. Rinse it thoroughly under warm water to remove any residue. Use a small brush to clean hard-to-reach areas.
Deep Cleaning: Once a week, soak the gasket in a mixture of warm water and a few drops of dish soap for about 10-15 minutes. This will help loosen any stubborn particles. Rinse thoroughly afterward.
Inspect for Wear and Tear: Regularly check the gasket for signs of wear and tear, such as cracks, tears, or warping. If you notice any damage, replace the gasket to maintain a proper seal.
Avoid Dishwasher: While some gaskets are dishwasher safe, it's best to hand wash them to avoid potential damage from high heat or harsh detergents.
Dry Completely: Ensure the gasket is completely dry before reassembling the blender. Moisture can lead to mold growth or degradation of the gasket material.
Store Properly: When not in use, store the gasket in a dry, cool place. Avoid exposure to direct sunlight or extreme temperatures, which can cause the material to deteriorate.
Use the Right Cleaning Tools: Use non-abrasive sponges or brushes to clean the gasket. Abrasive materials can scratch and damage the gasket, reducing its effectiveness.
By incorporating these regular maintenance tips into your routine, you can extend the life of your blender's gaskets and ensure your appliance remains in top working condition.
Frequently Asked Questions
How to Clean Nutribullet Rubber Ring?
To clean the Nutribullet rubber ring, first, remove it from the blade assembly. Wash it with warm, soapy water, rinse thoroughly, and let it air dry completely. Regularly inspect and clean the ring to prevent bacterial growth and maintain hygiene.
How to Fix Blender Gasket?
To fix a blender gasket, first unplug the blender to ensure safety. Next, disassemble the blade assembly to access the gasket. Carefully inspect the gasket for any signs of wear or damage. Clean the gasket thoroughly using warm, soapy water. If you find any damage, replace the gasket with a new one that is compatible with your blender model. Reassemble the blade assembly and ensure it is securely fastened before using the blender again.
What Are Blender Gaskets Made Of?
Blender gaskets are typically made of rubber or silicone, both of which are flexible and durable materials. These gaskets ensure a tight seal between the blender jar and the base, preventing leaks. Regular maintenance is essential to keep them in good condition.
Conclusion
By cleaning and maintaining the blender gaskets regularly, you can ensure that the blender continues to work effectively and prevent leaks. If you notice any issues with the gasket, such as leaks or difficulty sealing, it's important to replace it promptly to avoid any further damage. With proper care, your blender gaskets can last a long time and help you create delicious blended creations for years to come.