DIY Homemade Glue: How to Blend Flour & Water for a Sticky Paste
To make homemade flour glue, combine equal parts all-purpose flour and room temperature water in a jar, whisking until smooth. Transfer the mixture to a saucepan and heat over low heat, stirring constantly until it thickens to a pancake batter consistency. Once cooled, apply the paste with a paintbrush for even coverage on paper crafts, collages, or papier-mâché projects. This eco-friendly adhesive can last up to a month when refrigerated - and there's so much more to uncover about customizing your perfect DIY paste.
Why Make Your Own Flour-Based Glue
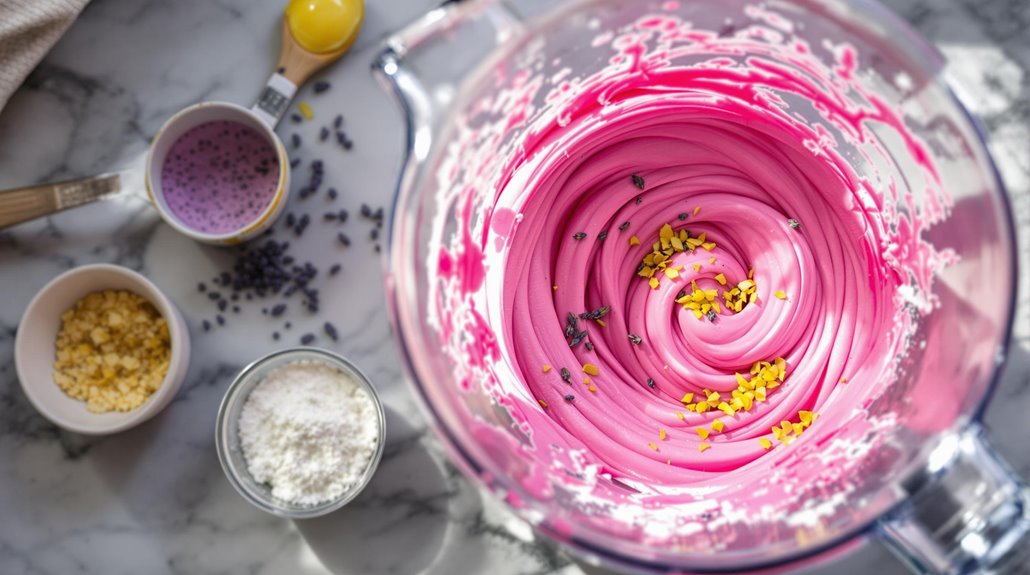
Making your own flour-based glue offers multiple advantages for crafters and DIY enthusiasts. When you make this simple paste using just flour and water, you'll save money while choosing an eco-friendly alternative to commercial adhesives. You're also free to customize your glue by adding ingredients like salt to help it last longer or food coloring to match your projects' color schemes.
The science behind this paste is fascinating - heating the mixture activates the gluten molecules in the flour, creating a strong adhesive bond. You'll find this homemade glue works perfectly for various projects, from paper mache to collages and decorative paper chains. Plus, when you store your DIY glue properly in an airtight container, it'll stay fresh and usable for up to a month, making it a practical choice for ongoing crafts. Similar to how blended food value remains high in nutrition, this homemade paste maintains its adhesive properties when properly prepared.
Essential Ingredients and Tools
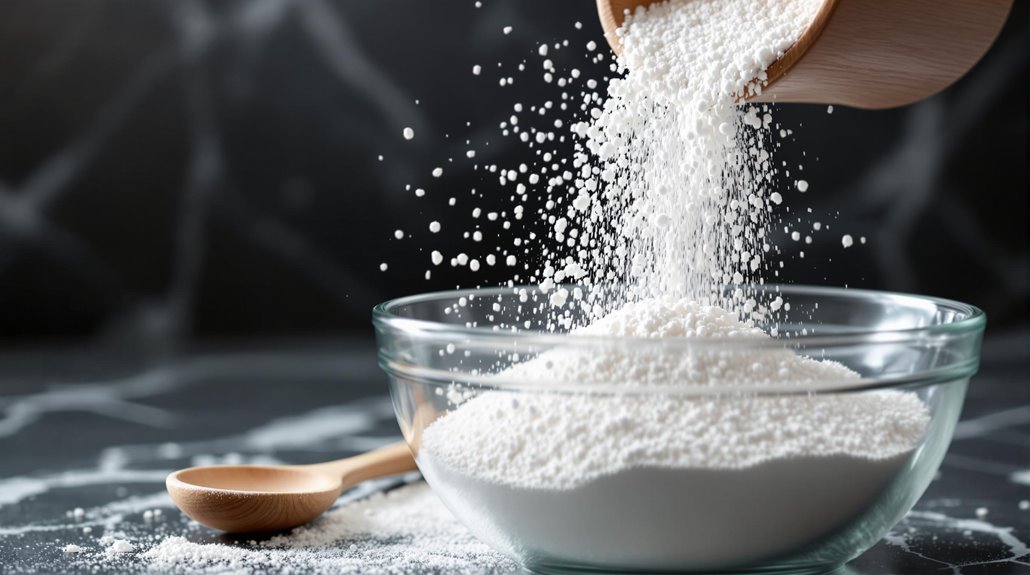
Before starting your DIY glue project, you'll need just a few basic kitchen items. This simple paste recipe requires only two household ingredients: plain all-purpose flour and water. You'll also need a jar or cup for mixing and storing your flour and water glue, plus a whisk or fork for blending.
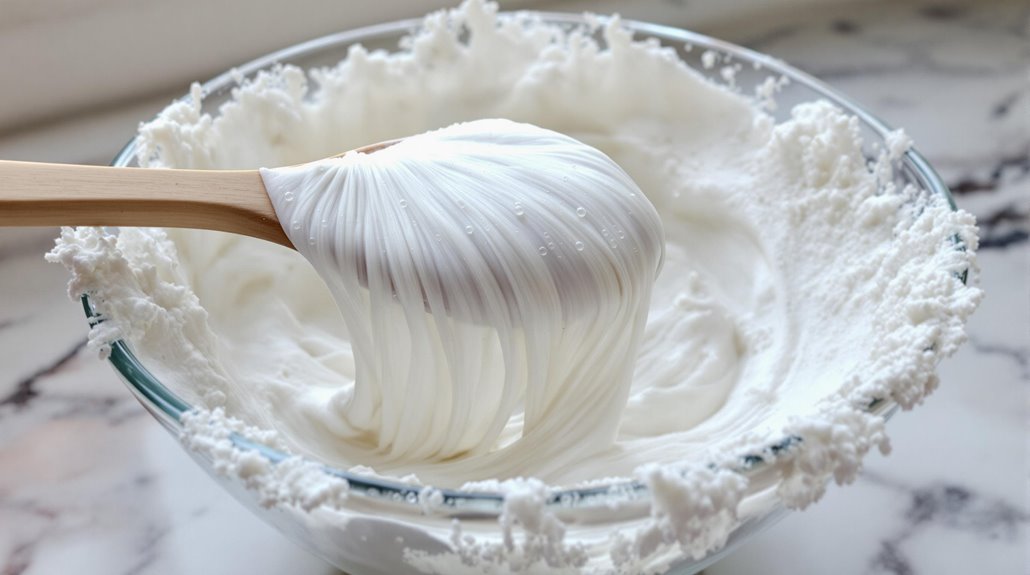
To create the perfect consistency for paper projects, mix the ingredients until they reach a pancake batter-like texture. You can always adjust by adding more flour or water until it's just right.
While mixing the ingredients cold works, heating them in a saucepan will activate the flour's adhesive properties more effectively. Remember to let your glue recipe cool completely before using it to avoid any issues with sticking or burning.
For generations before modern blenders, people used wooden spoons to manually blend ingredients like this into smooth, consistent mixtures.
Step-by-Step Mixing Instructions
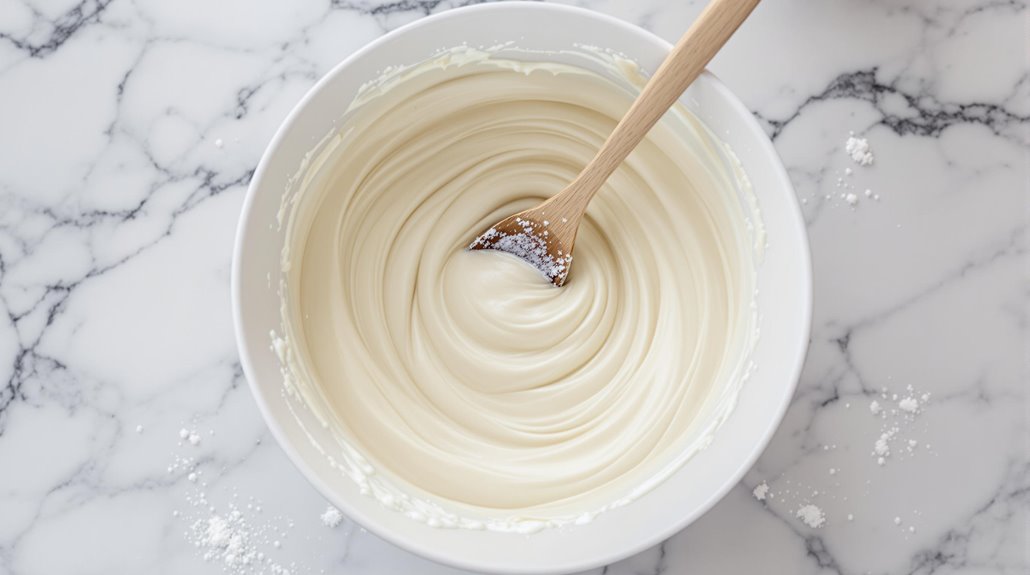
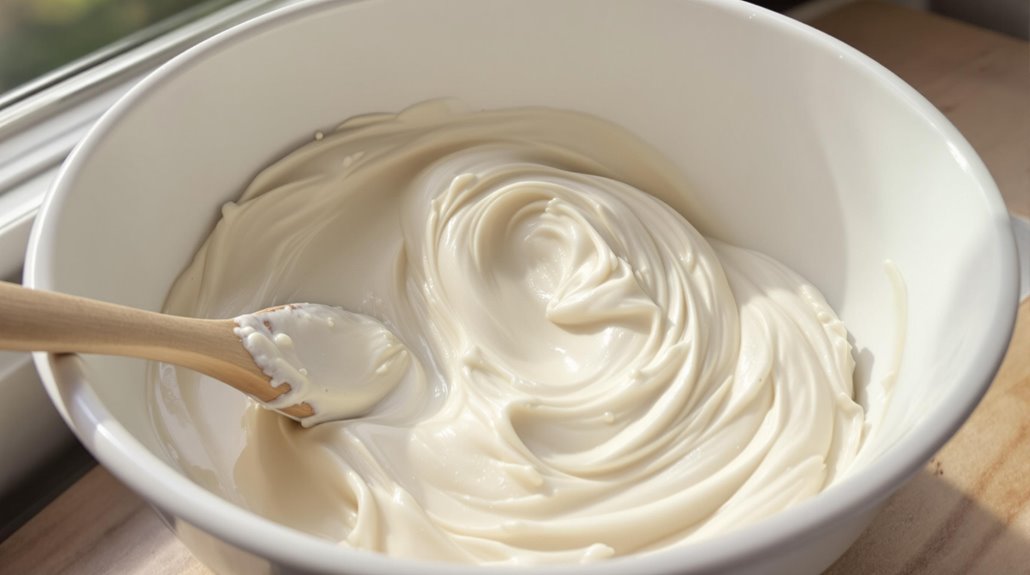
Now that you've gathered your ingredients and tools, let's begin the simple mixing process. Start by combining equal parts flour and room temperature water in a jar, whisking thoroughly to eliminate any lumps. You'll want the consistency to match heavy cake batter - similar to what you'd use for papier mâché projects.
Transfer your mixture to a saucepan and heat it over low heat, stirring constantly until it thickens. While some crafters add corn syrup or baking soda to their recipes, this basic version works perfectly for paper crafts.
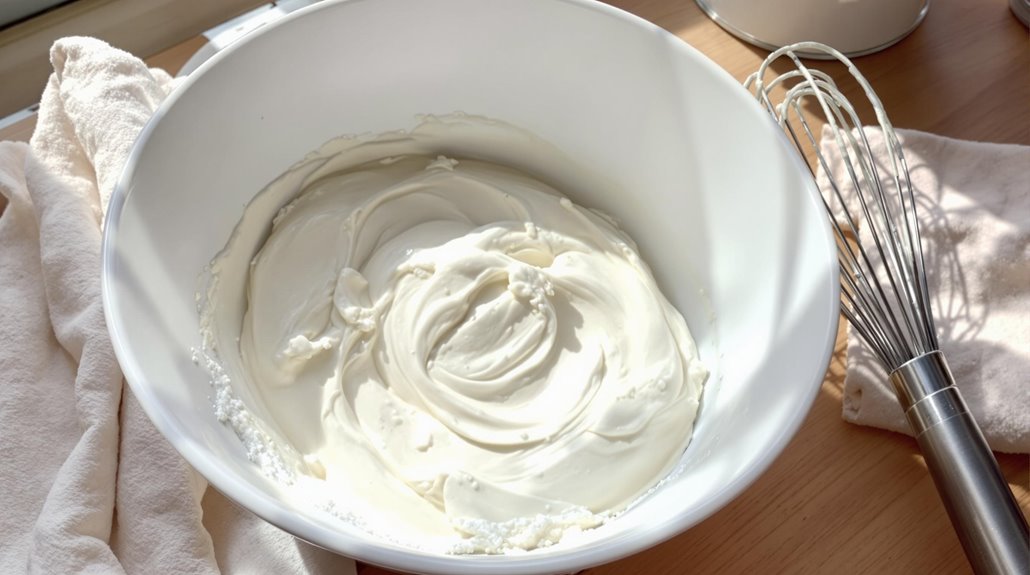
Once thickened, pour the warm water and flour paste back into your jar. Test the consistency - if it's too thick, add water; if too thin, incorporate more flour. Apply your homemade glue using a paintbrush for smooth, even coverage. Use a bottle brush for cleaning your jar thoroughly after each use to prevent residue buildup.
Proper Heating and Cooling Methods
Since temperature control plays an essential role in creating effective homemade glue, you'll need to monitor the heating process carefully. Start by heating water in a saucepan until it reaches a gentle boil. Add your flour mixture gradually while stirring to prevent lumps from forming. Keep stirring until you've achieved a thick paste consistency.
Once you've combined the ingredients, reduce the heat to medium-low and continue stirring for about 3-5 minutes. This helps activate the binding properties in the flour. Remove your mixture from the hot water bath and let it cool at room temperature. Don't rush to use the glue while it's still hot - you'll need to let it cool before using to achieve the right consistency. Stir together occasionally during cooling to maintain smoothness.
Best Applications and Uses
After your glue has cooled to the right temperature, you'll find it works best for specific craft projects. This no-cook flour paste is perfect for sticking paper together, creating colorful collages, and crafting paper chains.
When you make a simple flour-based glue using a cup of flour and a cup of water, you'll have an adhesive that's ideal for papier-mâché projects and fabric applications.
Apply the glue directly to your materials and allow them to dry completely to confirm a strong bond. If you've made extra, store your flour-based glue in an airtight container in your refrigerator for up to a month. Remember to avoid direct skin contact while working with the paste, as it may cause irritation. Keep paper towels handy to wipe up any spills during your craft projects.
Storage and Shelf Life
Storing your homemade glue properly will guarantee it stays fresh and usable for up to a month. Pour your mixture into a sealable container and place it in the refrigerator to maintain its consistency. Before each use, let the glue reach room temperature to confirm smooth application.
If you notice your glue has thickened or dried out, don't throw it away just yet. Simply stir in a small amount of warm water until you achieve the desired consistency. However, if you spot any signs of mold or notice an unusual smell, it's time to discard the batch. You can wipe the container clean with a paper towel and cold water before making a fresh mixture. Remember, proper storage is key to extending your homemade glue's shelf life and maintaining its effectiveness.
Safety Precautions and Handling
Making homemade glue requires careful attention to safety, just as proper storage does. When you're working with flour-based glue, make sure your workspace is clean and well-ventilated. While this DIY adhesive is perfect for kids' craft projects and Science Experiments, you'll still need to follow basic safety precautions.
Always wash your hands before and after you apply the glue, which helps prevent the spread of bacteria. If you get any glue on your skin or clothes, clean it right away with warm water. Keep the mixture away from your eyes and mouth, even though it's non-toxic. When crafting with children, supervise them to guarantee they don't mistake the paste for food. Have paper towels ready for quick cleanup of spills and drips.
Troubleshooting Common Issues
Several common issues can arise when crafting homemade glue, but they're usually easy to fix. When something's not working quite right, a simple chemical reaction adjustment helps us get back on track.
If your mixture started going too runny, add more flour a teaspoon at a time while stirring constantly until you reach the desired consistency.
When the paste becomes too thick or clumpy, gradually add more water and mix thoroughly to achieve a smooth texture.
If your glue isn't sticking properly, try heating the mixture slightly while stirring - this often activates the natural adhesive properties of the flour.
Remember to make adjustments gradually, as it's easier to correct the consistency by adding small amounts rather than trying to fix a drastically altered mixture.
Alternative Recipe Variations

Beyond the basic flour-and-water recipe, three versatile alternatives offer unique bonding properties for different craft needs. You'll find that a cornstarch-based paste, made by combining cup water with cornstarch and cooking until thick, provides excellent adhesion for paper projects.
If you're looking to make glue at home with dairy products, try mixing powdered milk, a teaspoon vinegar, and a teaspoon baking soda for a strong, non-toxic adhesive.
For a Simple Flour alternative that requires no cooking, just blend flour with water until you achieve a spreadable consistency. Want something stronger? Combine tablespoons corn syrup with cornstarch, water, and a pinch of salt, then heat the mixture. Each variation offers different drying times and holding strengths, letting you choose the perfect adhesive for your specific project needs.
Creative Craft Project Ideas
Now that you've learned the various glue recipes, let's put them to creative use. This easy recipe works well for both kids and adults, letting you make homemade glue for a variety of paper crafts. You'll only need a small amount to bring your creative visions together, and the glue will dry clear on any kind of paper.
Try these tested craft projects that stick strong for weeks:
- Handprint Butterfly Tree - Guarantee colorful handprints into a stunning tree filled with butterfly-shaped leaves
- Paper Heart Flowers - Create dimensional bouquets that stay perfectly arranged
- Handprint Sunflower - Design bright, cheerful sunflowers using layered handprints
Follow along with the step-by-step photo tutorial or video guide to bring these projects to life. The clear-drying adhesive consolidates your finished crafts look professional and polished.
Related posts